Most DIY and craft projects end up having some hiccups along the way. This project was one of those. I wanted to recreate the robin’s eggs on the HonestlyYum blog, where she dyed eggs using red cabbage. I didn’t want to use real eggs because I wanted to use them in my Easter decor from year to year. So I started searching for faux eggs that were dyeable. I tried two different type of crafts eggs, and they were both epic fails. Frustrated I looked up how to blow out real eggs so I could dye the shells.
What an experience, this was the first time that I had attempted to blow out eggs. Make sure you have plenty of eggs on hand there will be some that don’t make it. You may want to wear safety glasses; I totally got egged in the face during the process, LOL!
After emptying the eggs, I attempted to dye the shells in the red cabbage dye. The problem with empty eggs is that they float. I couldn’t figure out how to keep them submerged for hours. And the boiling of the red cabbage stunk up the house for days! On to Plan D, I created a teal dye using food coloring.
After some trial and error, I ended up with projects that I LOVE! Follow along below on how you can create your own Copper Leafed Robin Eggs and Gold Speckled Robin Eggs. The perfect addition to your Easter home decor!
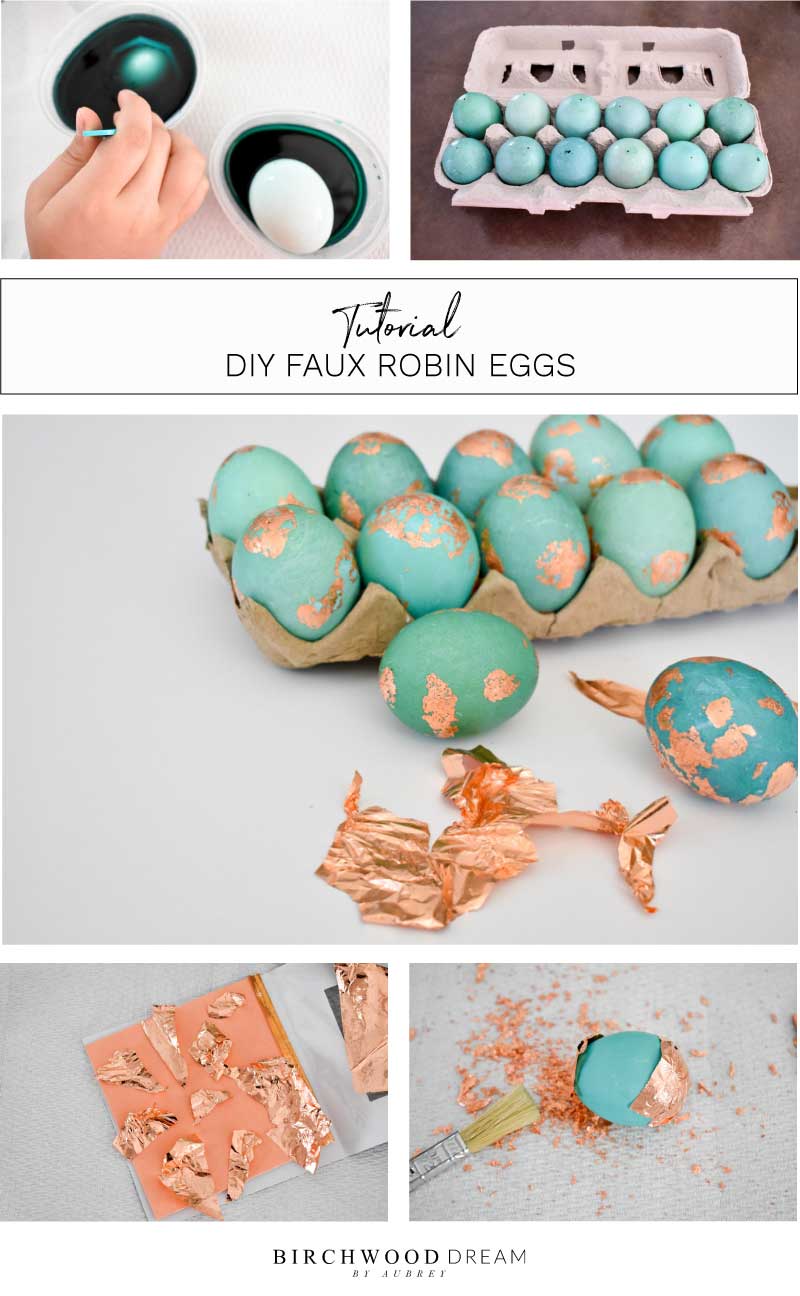
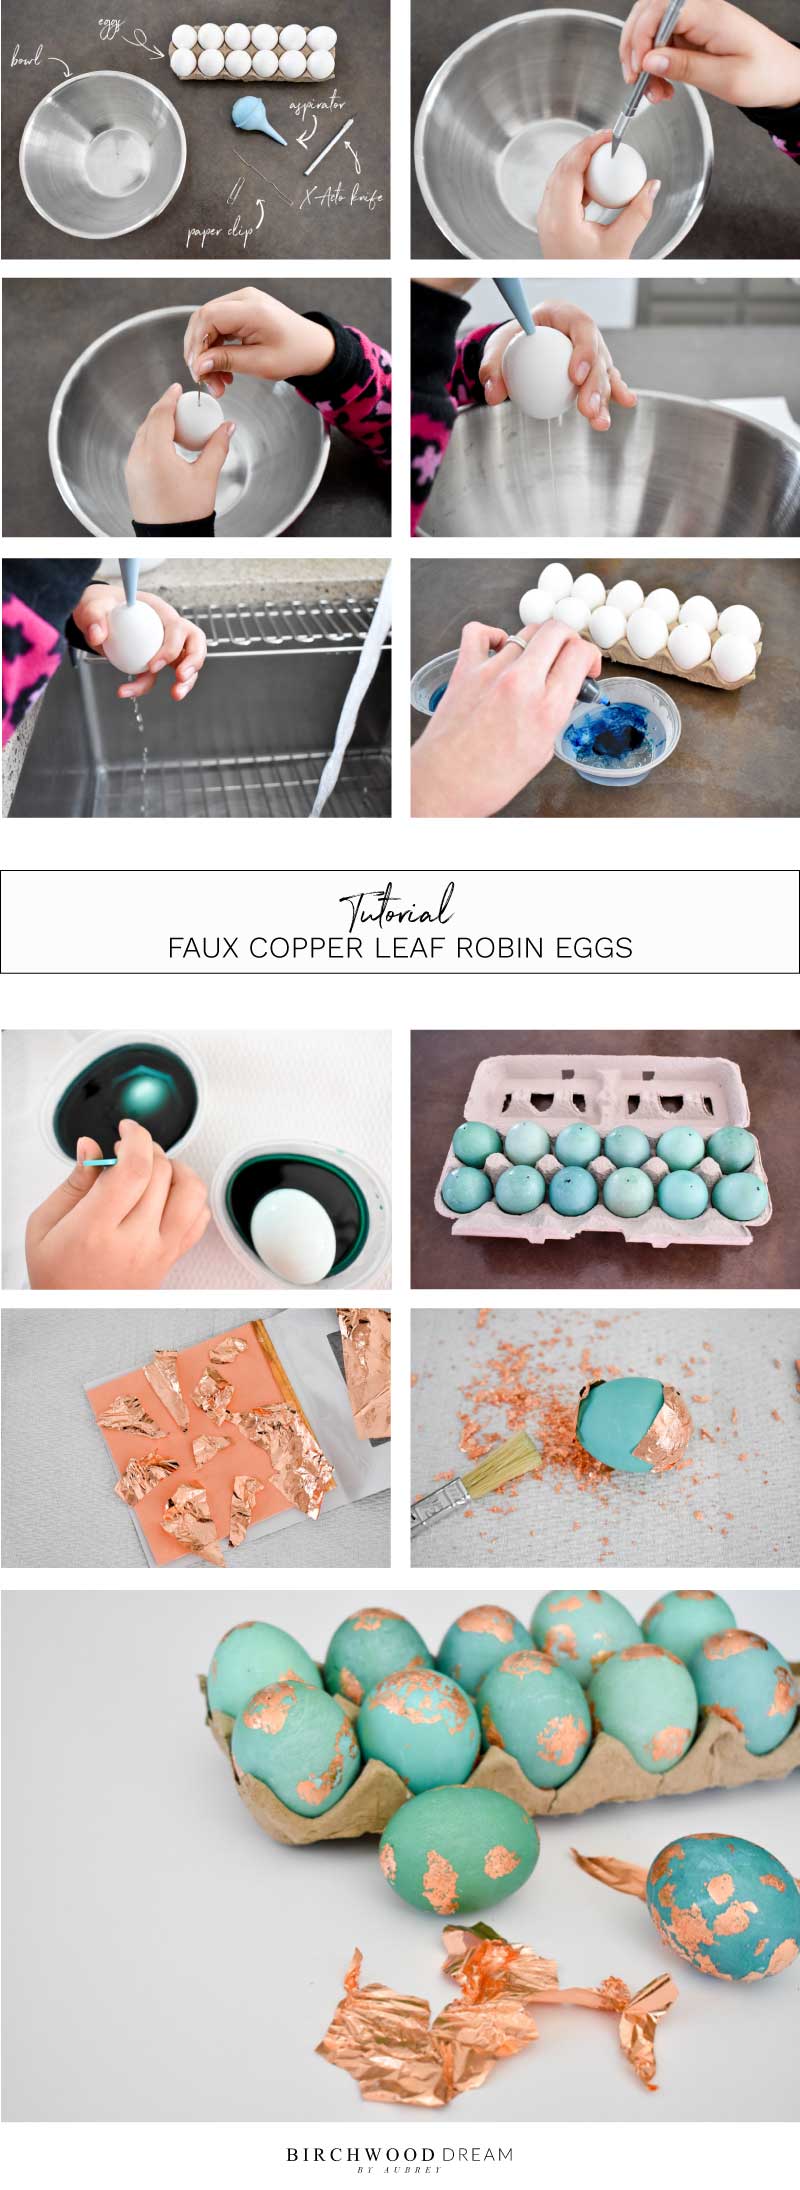
STEP 1 | BLOW OUT THE EGGS
GATHER THE SUPPLIES
Gather the following items.
This page may contain affiliate links, which means if you purchase by clicking on any of my links, I may get paid a small commission at NO extra cost to you. I only recommend brands and items that I use and trust. To learn more read my disclosure policy here.
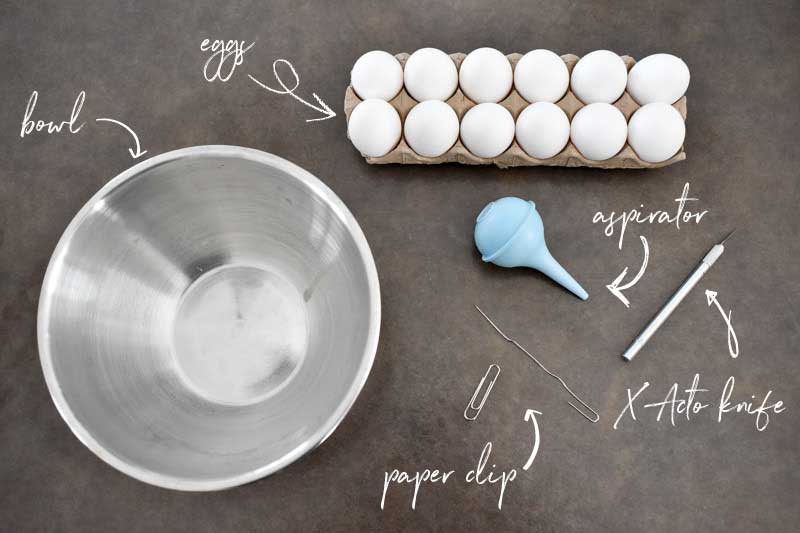 BLOWN OUT EGGS SUPPLY LIST:
- Eggs
- Bowl
- Paper Clip
- X-Acto Knife
- Aspirator
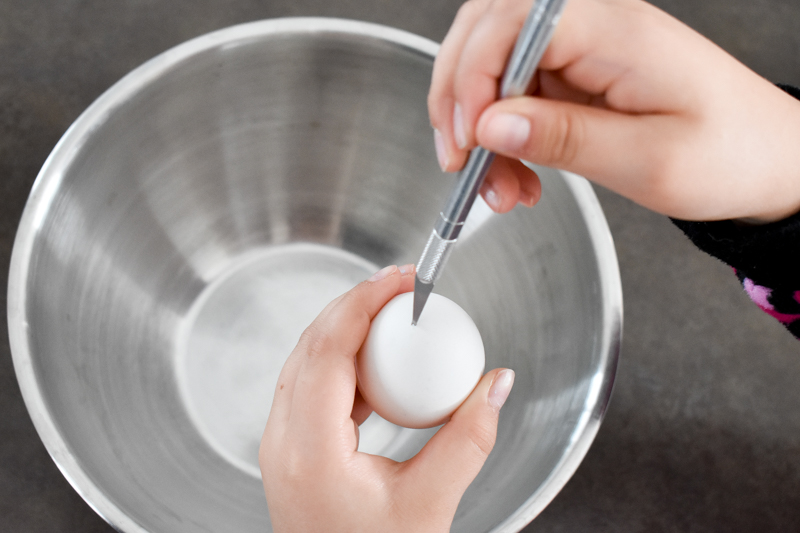
CREATE SMALL HOLES IN THE EGG
Using the X-Acto knife you want to create two small holes in the egg, one on each end. Being careful not to break the egg.
TIP: I found it helpful to stab the knife into the egg and then slowly twist the blade back and forth until a hole was created.
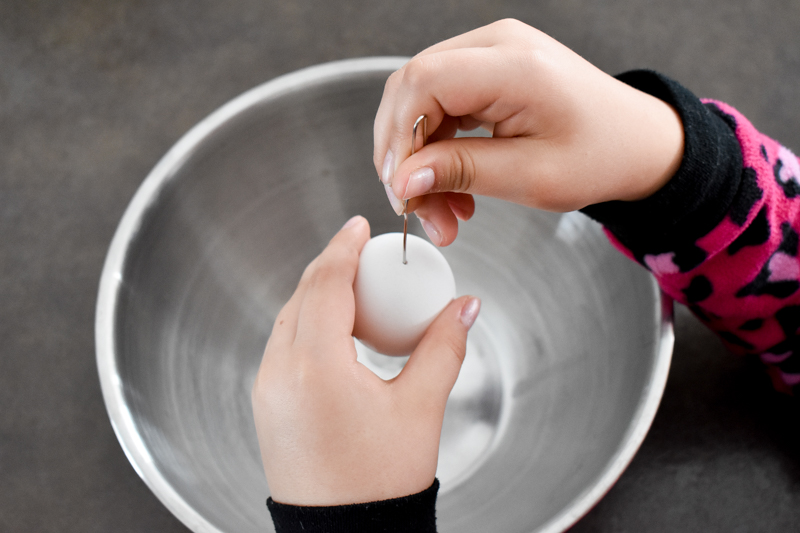
 SCRAMBLE THE EGG
Straighten the paper clip. Insert the straighten paper clip into the holes of the egg and move it around inside the egg to break up the yoke.
 BLOW OUT THE EGG
Using the aspirator, gently blow out the inside of the egg into a bowl. If nothing is coming out or you start to sense pressure building, stir up the egg with the paper clip and try again.
CAUTION: Watch out for flying egg guts! I got sprayed when squeezing it out too hard, LOL.
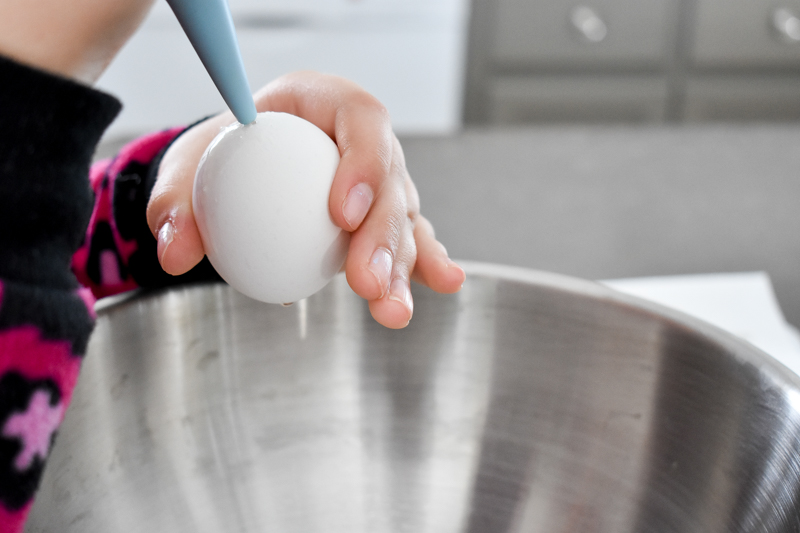
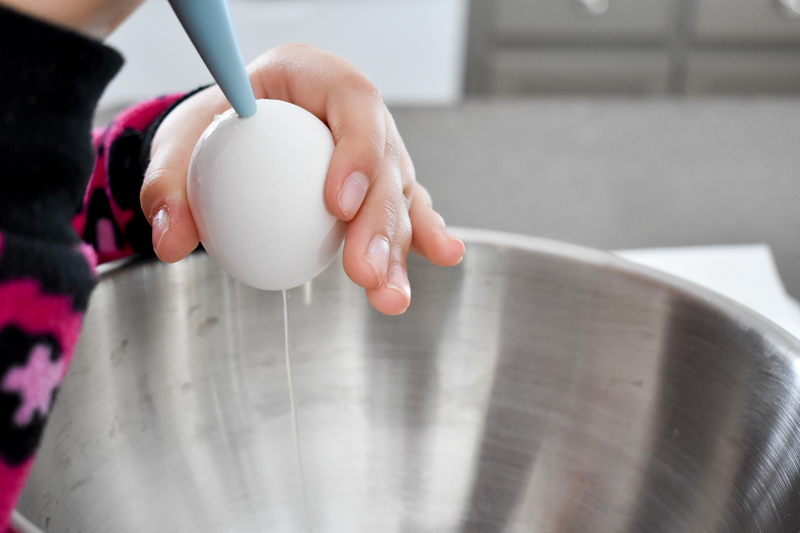 RINSE OUT THE EGGSHELL
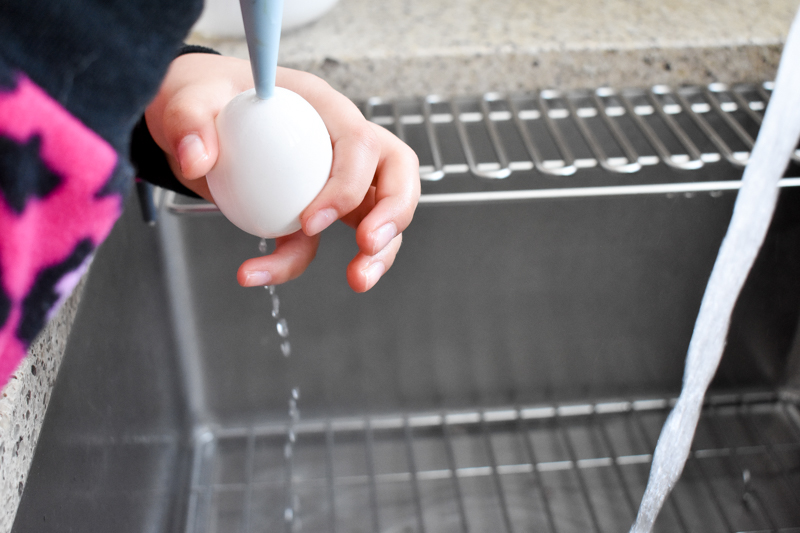
Once the egg white and yoke has been removed, rinse the eggshell. Add clean, warm water into the egg using the aspirator, shake to rinse. Blow out water with the aspirator. Repeat a couple of times. Set aside to dry.
 STEP 2 | DYE THE EGGS
EGG DYEING SUPPLY LIST:
MIX UP THE DYE
Create two different dye baths to get slightly different colors which help to create different tones of turquoise. I used the bowls from the PAAS egg dyeing kit.
Add white vinegar up to the fill line (approximately 1 Tablespoon of white vinegar), then fill to the second line with water (approximately 1/2 cup of water). I followed the instructions on the food coloring box for teal and added 6 drops of blue.
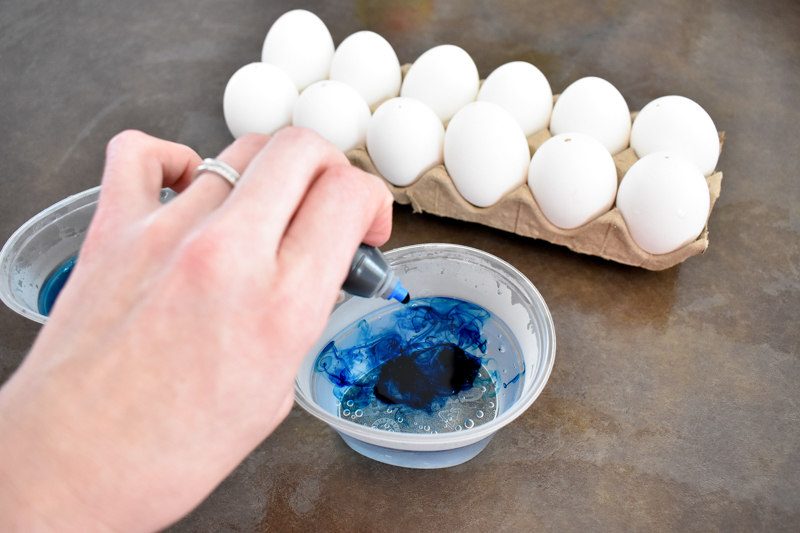 4 drops of green.
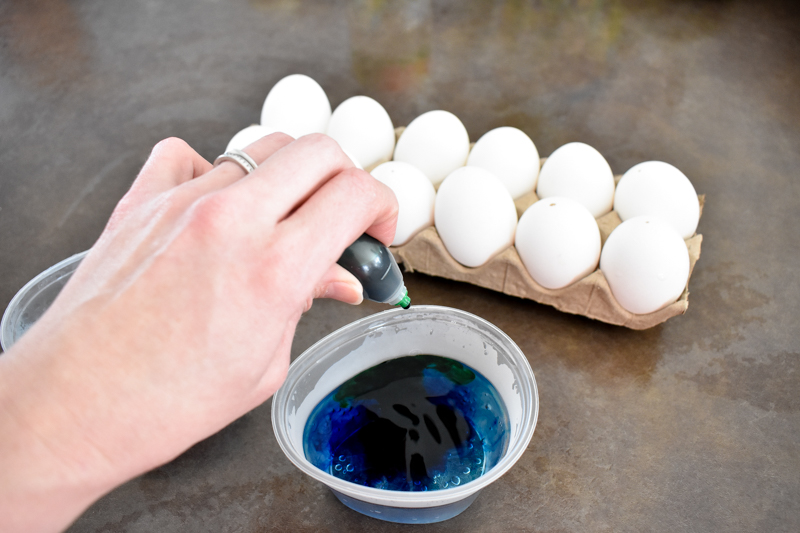 In one of the bowls, I added 2 drops of red dye. Stir to combine.
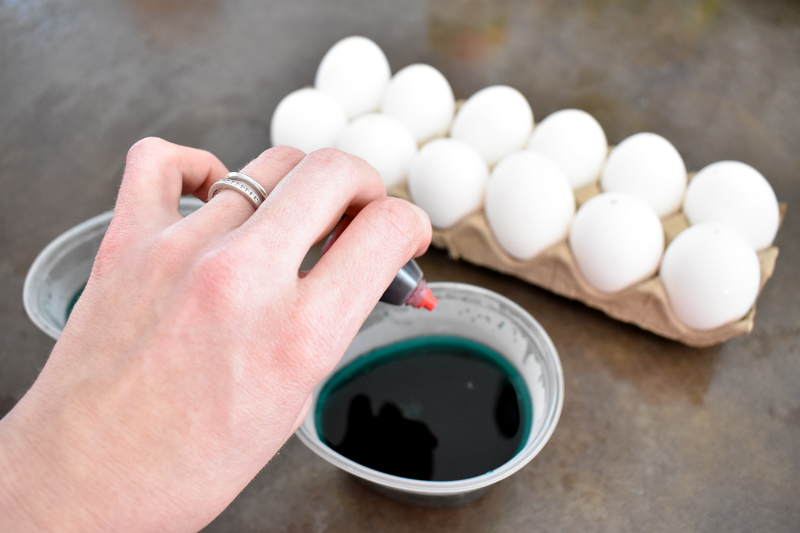 DYE THE EGGSHELLS
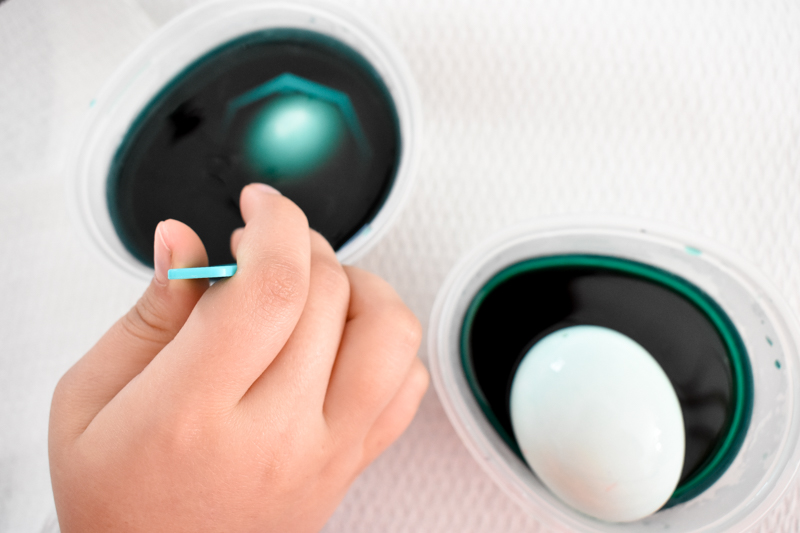
Since the eggshells are light in weight, they will float on top of the dye. Use the dipping stick from the egg dyeing kit and hold the egg down into the dye. Alter the amount of time in the dye bath to create lighter and darker eggs. Also, try switching the eggs from one dye bath to the other to create more depth in color.
 LET THE EGGS DRY
Once you are happy with the color, place the eye into the carton to dry. Blow out any dye that got inside the shell using the aspirator. Flip eggs over once while drying.
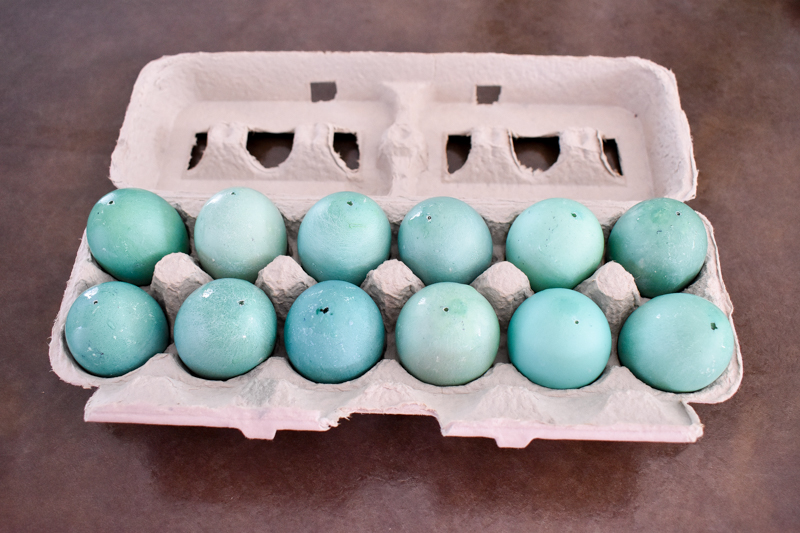 Once the eggs are dry, you can leave them as is or you can create two different effects below.
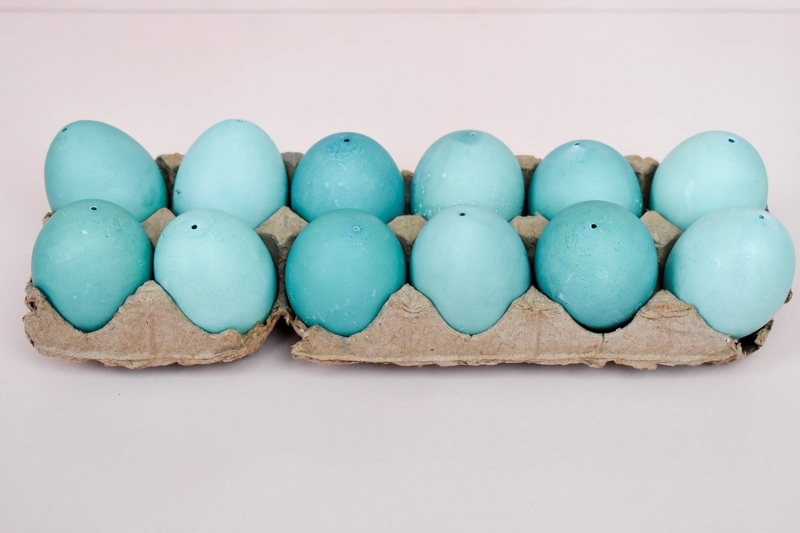 STEP 3 | ADD SHINY METAL TO THE EGGS
OPTION #1 – COPPER LEAFED ROBIN EGGS
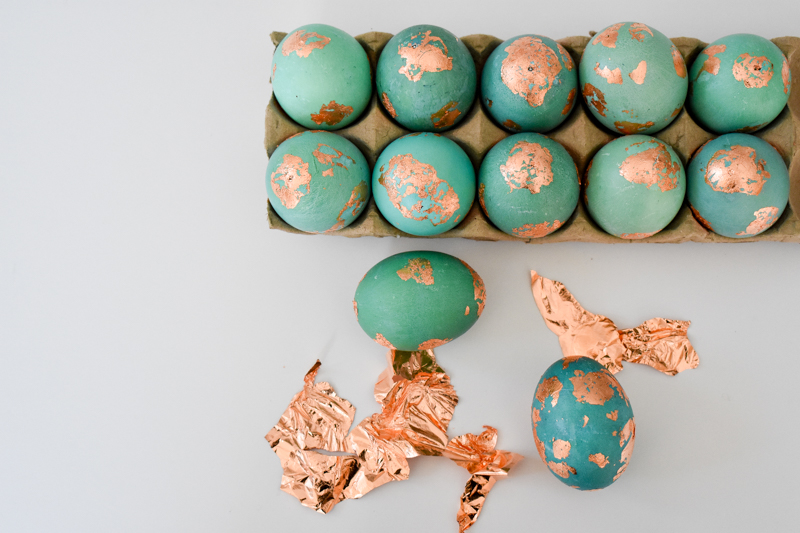 COPPER LEAFED EGGS SUPPLY LIST:
- Copper Leaf Sheets – I used Craftsmart Premium Copper Leaf from Michael’s, it isn’t available on their website
- Metal Leaf Adhesive
- Brush for Adhesive
- Stiff Brush
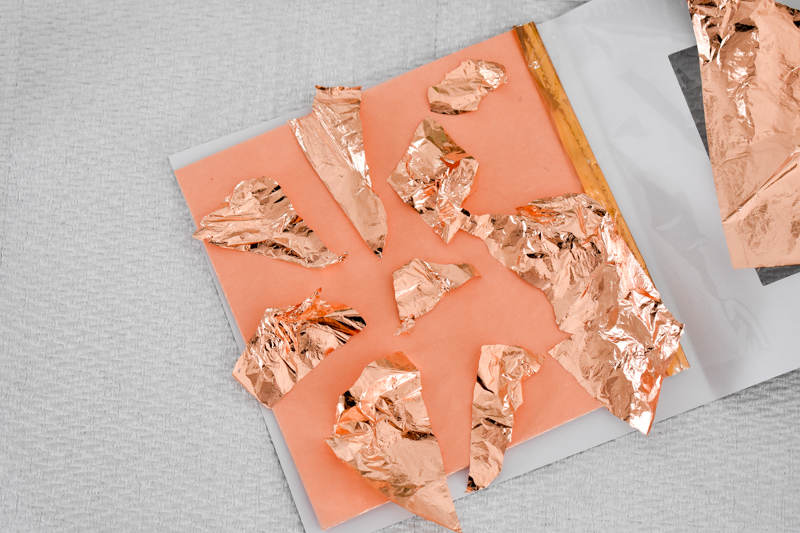
PREP COPPER LEAF SHEETS
Tear up a sheet of the copper leaf into smaller pieces and set aside until ready to use.
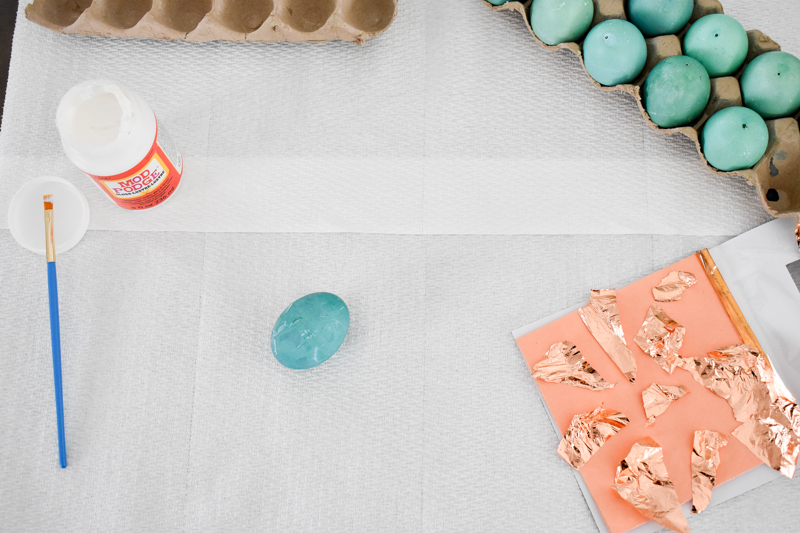
 ADD ADHESIVE TO EGG
Brush on the adhesive in random locations and patterns onto the egg. I used Mod Podge but found that it didn’t adhere the leaf very well. I should have used metal leaf adhesive. I got sick of running back and forth to the craft store and used what I had on hand.
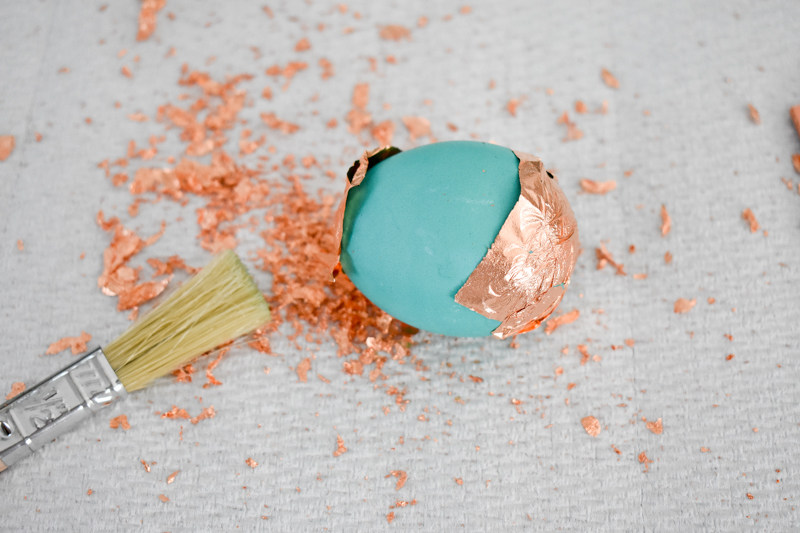
 APPLY LEAFING
After letting the glue get tacky, stick a piece of the copper leaf onto of the adhesive and set aside to dry. Once dry, brush away the excess with a stiff dry brush.
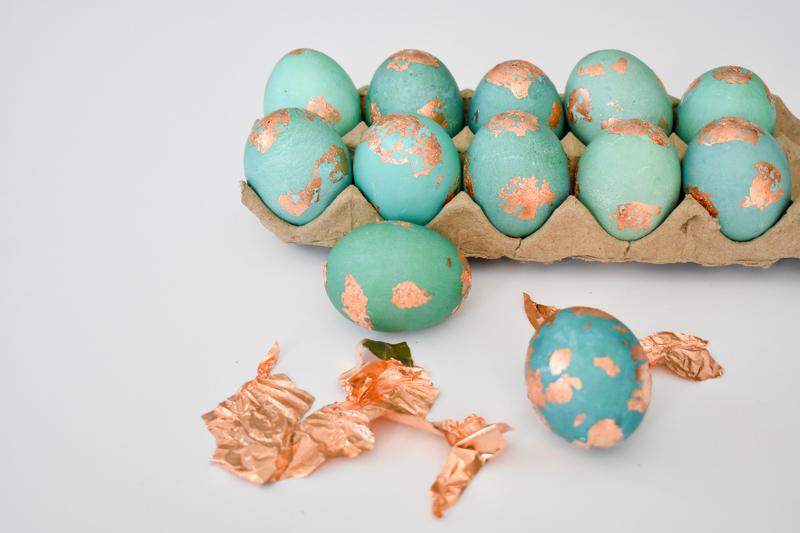
Add more adhesive and copper leaf until you are happy with the look.
 PROJECT COMPLETE
OPTION #2 – GOLD SPECKLED ROBIN EGGS
I based it on the tutorial from HonestlyYum.
GOLD SPECKLED ROBIN EGGS SUPPLY LIST:
- Gold Paint – I used Gilding Paint in Classic Gold
- Paint Brush or Old Toothbrush
- Disposable Gloves
- Paper Towels
IMPORTANT STEP: Create a paint booth using paper towels. Make sure to protect all surrounding areas from the paint spray, it WILL go everywhere.
It is recommended to wear disposable gloves to protect your fingers from the gold paint and for easier cleanup. Using an old toothbrush or stiff craft brush, dip in gold paint and run your finger along the brush to create a splatter effect onto the eggs. Let eggs dry.
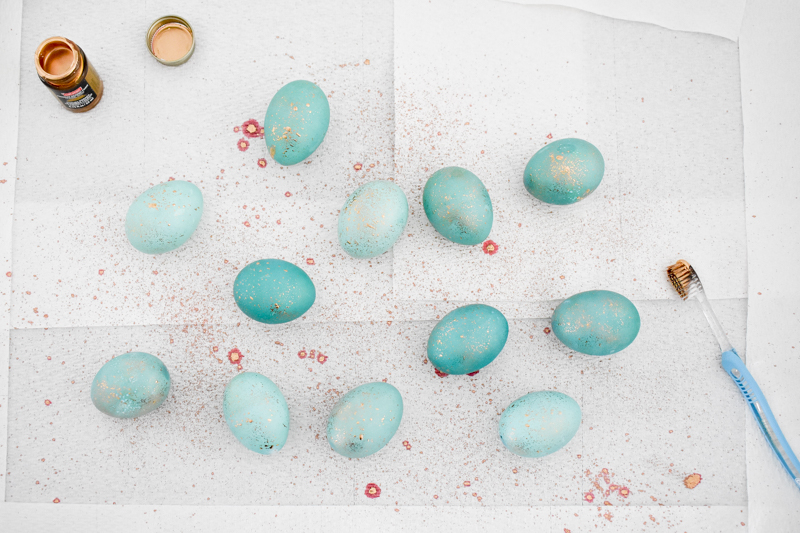 PROJECT COMPLETE
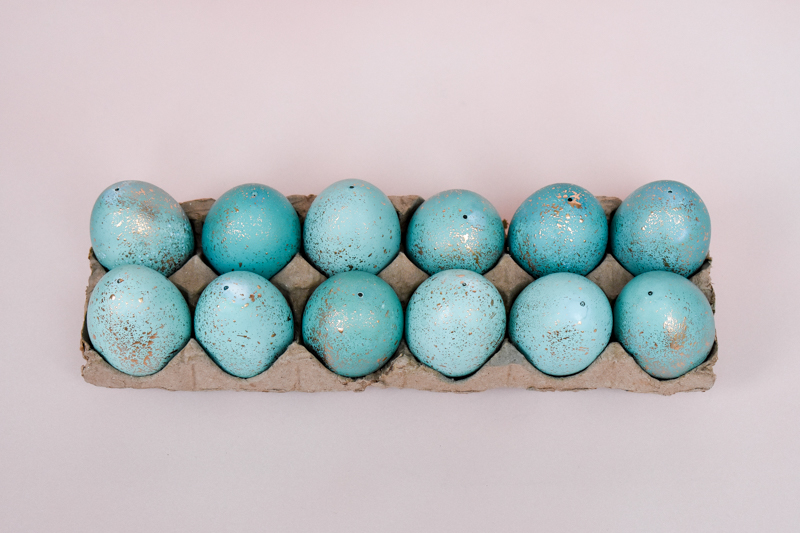
Which effect is your favorite?


Aren’t Erica’s eggs just stunning? I’ve just included them in a roundup of some of my fav Easter decor ideas and saw that you’d also linked through and I’m so glad I did! I also want to re-use my eggs each year, so finding your version and understanding the challenges has been incredibly helpful! I’ve also never blown out eggs, so thank you for those tips and also for the colour mixture which is gorgeous! I’ve never heard of an egg dyeing kit, so I shall have to seek one out. Sue
Thank you Sue! Yes Erica’s eggs are gorgeous. You should try blowing out some eggs. It was a fun adventure. The egg dyeing kit isn’t necessary for this project. I just used the plastic bowls and dipping wand that came inside it. Have fun creating some bright Easter eggs!