
Creating zipper pillow covers is one of the best sewing skills that I have learned. It allows me the ability to change up some or all of my pillow covers per season if I so desire without breaking the bank. You have a lot more color and pattern options available than what is available in your favorite store.
The tutorial is lengthy, but that doesn’t mean this is hard or time-consuming. I wanted to make sure you have all the photos and explanation you may need to sew one yourself. After doing this a few times, your speed will significantly improve. I can sew a pillow cover in approximately one hour from start to finish.
This page may contain affiliate links, which means if you purchase by clicking on any of my links, I may get paid a small commission at NO extra cost to you. I only recommend brands and items that I use and trust. To learn more read my disclosure policy here.
The project skill level is for a beginner to advanced beginner.
STEP 1 | GATHER THE SUPPLIES
You will need the following items.
SUPPLY LIST:
Sewing Machine with Zipper Foot
Iron and Ironing Board
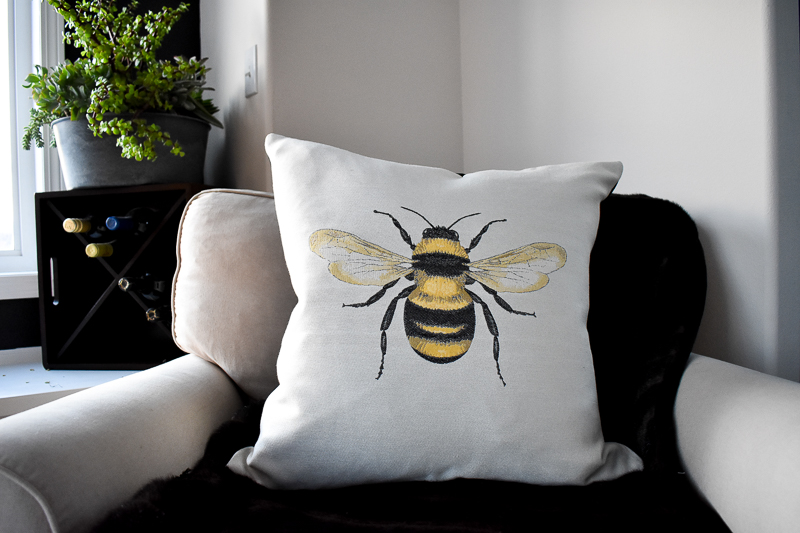
Fabric – Embroidered Bee and Black Velvet
1. Wonder Clips
2. Natural Cotton Thread Matching Zipper
4. Seam Ripper
5. Disappearing Ink Marking Pen
6. Seam Gauge
7. Glue Stick
10. Rotary Cutter
11. Self Healing Rotary Cutting Mat
STEP 2 | CUT THE FABRIC PIECES
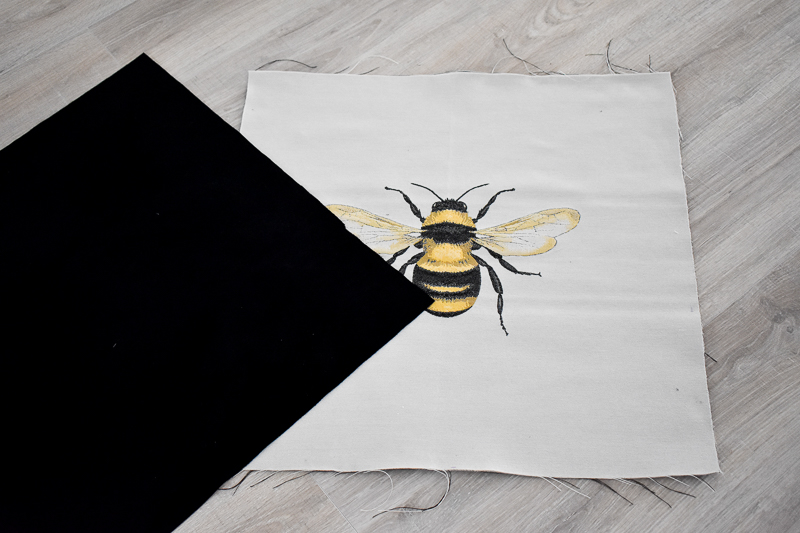
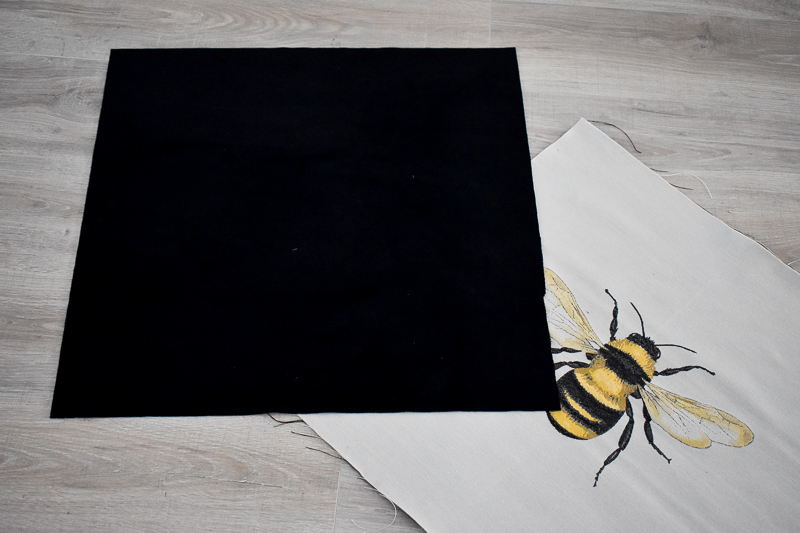
Cut out fabric pieces the same size as your pillow form. I am creating a 24″ x 24″ pillow, I cut out two 24″ x 24″ squares one for the front of the pillow and one for the back. I used the embroidered bee fabric for the front side and black velvet fabric for the back side of the pillow.
Our finished cover will be approximately 23.25″ x 23.25″ after subtracting our 3/8″ seam allowance from both sides. You can adjust the size depending on your pillow insert and how full you want your pillow.
 STEP 3 | PREP INVISIBLE ZIPPERS
IMPORTANT: Don’t skip this step; it helps you to achieve a professional finished product.
Remove the invisible zipper from the package. Unzip zipper. If you look closely at the zipper teeth, you will notice that the teeth will be curled.
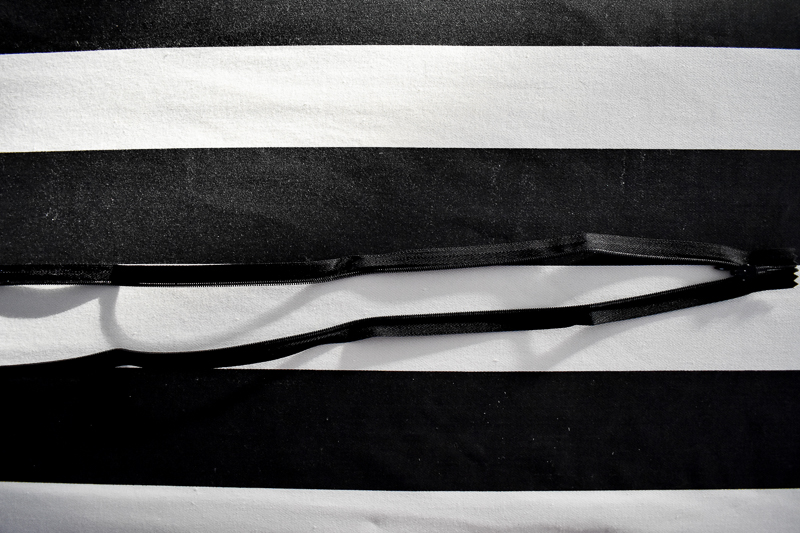 We want to fix this with our iron by pressing the teeth and zipper flat. Notice the difference before and after pressing the zipper.
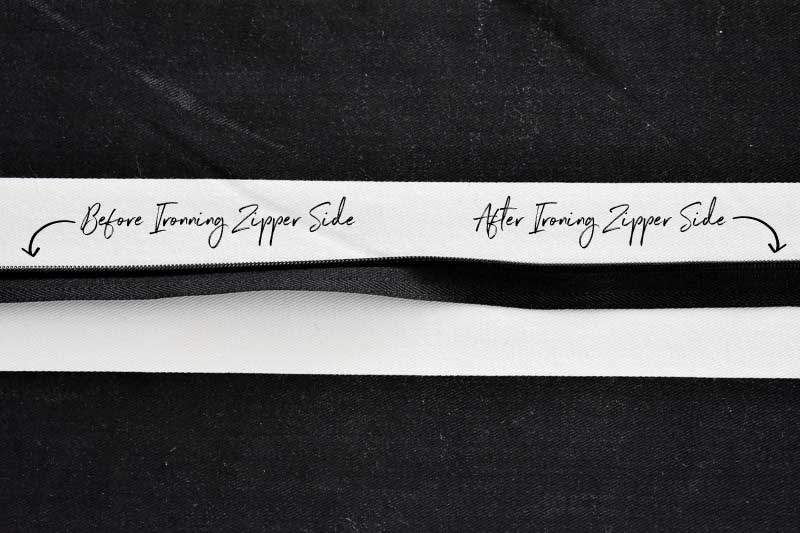 Close up look at the curled verses straight teeth. I know it is hard to see with the black zipper.
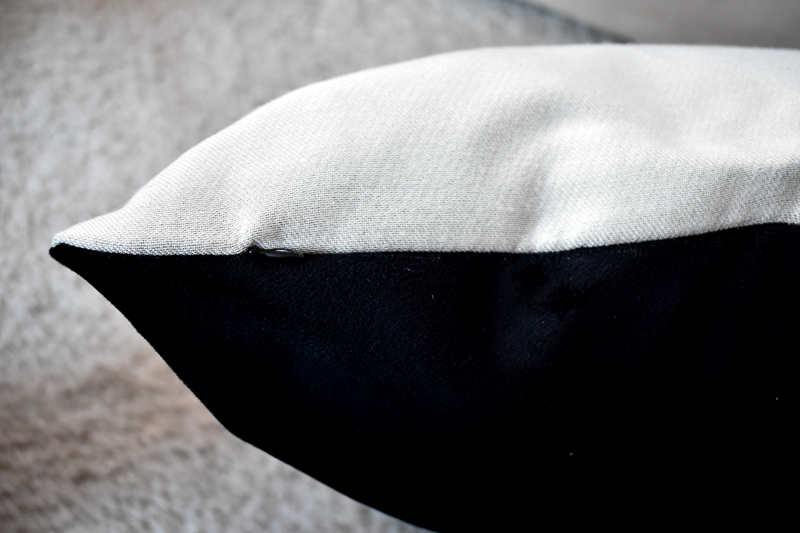
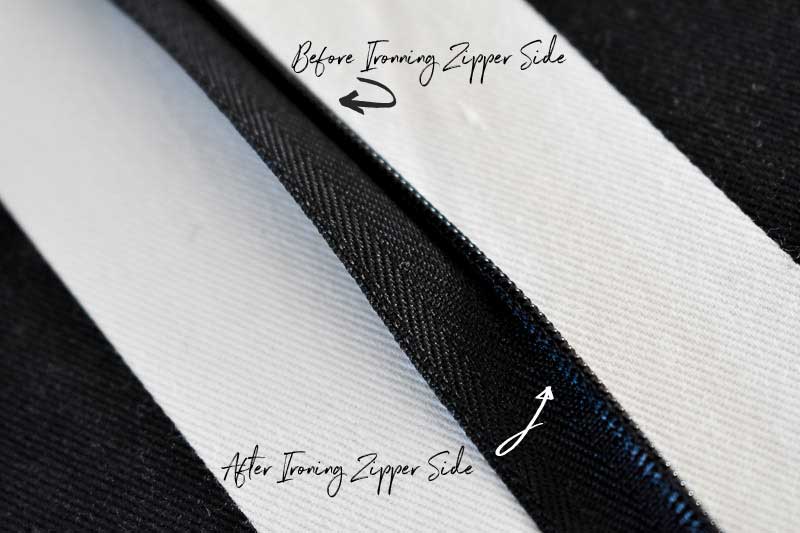 The purpose of this is to press the teeth down so you can sew close to the zipper teeth. Doing this will hide the zipper on the finished pillow, and all you will see is the zipper pull.
 STEP 4 | PREP FABRIC
Press fabric pieces and put RIGHT sides together. Determine the bottom of the pillow and put that to the top of your table or ironing board.
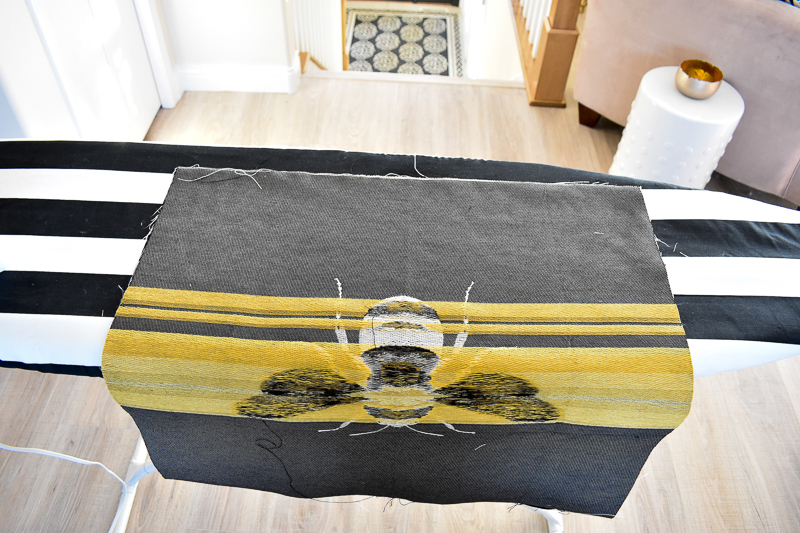 Clip or pin the other three sides starting a third of the way down from the pillow bottom.
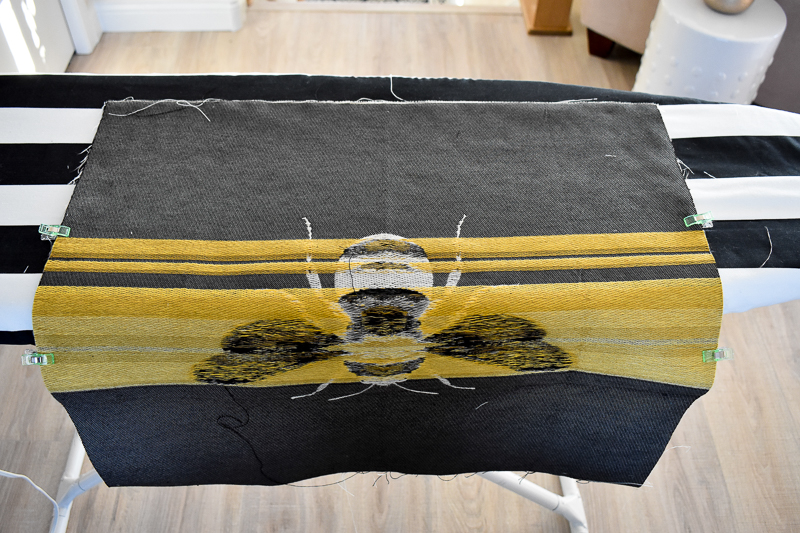
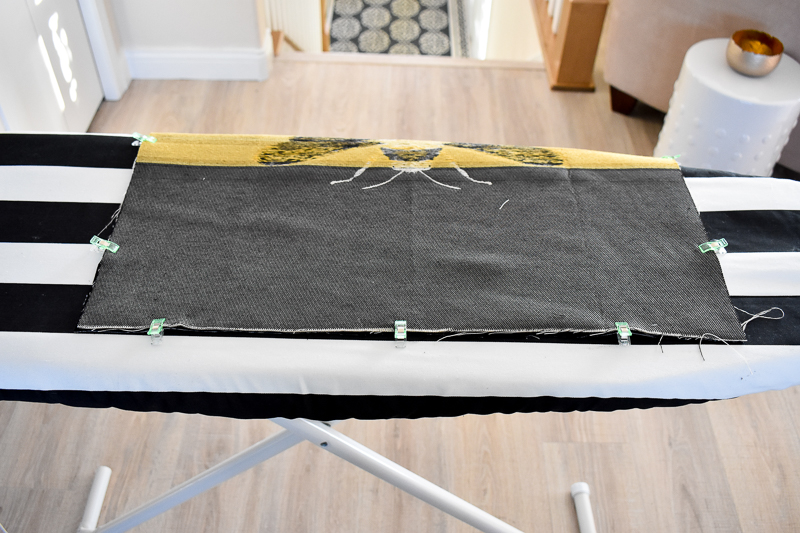
PRO TIP: Make sure that the bottom edges of the fabric pieces are perfectly aligned.
STEP 5 | MARKING THE ZIPPER LOCATION
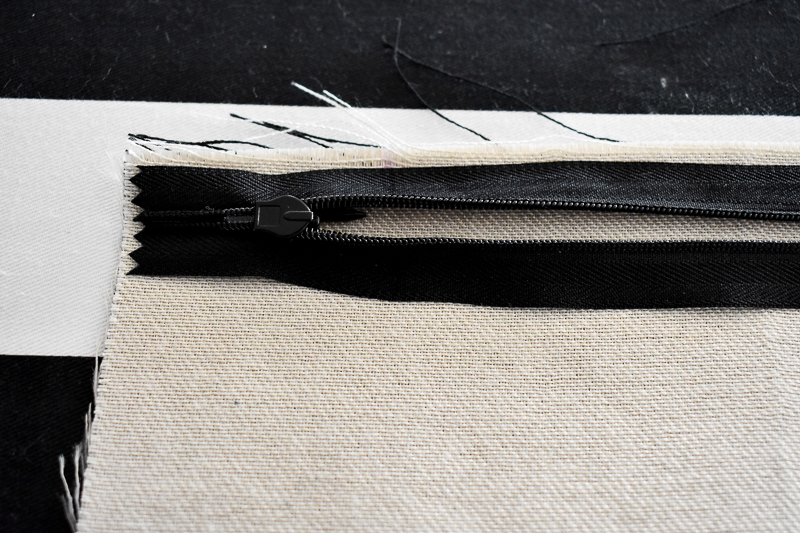
We will be sewing the zipper to the RIGHT side of your pillow fabrics. Pull back the top layer of fabric. Measure and create a mark at 2″ from each end of the pillow with a Disappearing Ink Marking Pen.
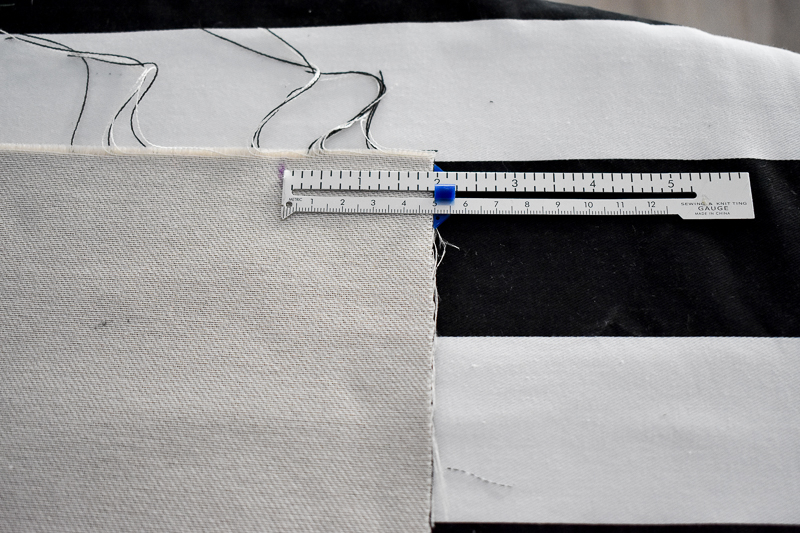 Place the invisible zipper RIGHT side down; zipper pull is facing the RIGHT side of your fabric. Align zipper edge with the bottom edge of your fabric.
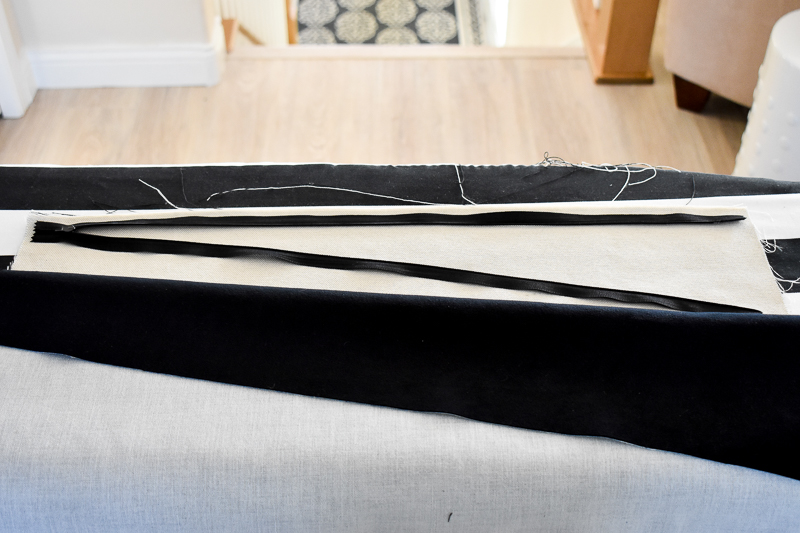 Determine zipper location and mark the zipper where it hits the 2″ markings on the pillow. Again make sure zipper pull is facing DOWN.
 STEP 6 | GLUE ZIPPER IN PLACE
Gluing the zipper in place is my favorite trick for keeping the zipper in place as you sew. And it requires no pins or clips just an Elmer’s Glue Stick.
Place paper underneath the fabric to protect your ironing board cover from the glue. 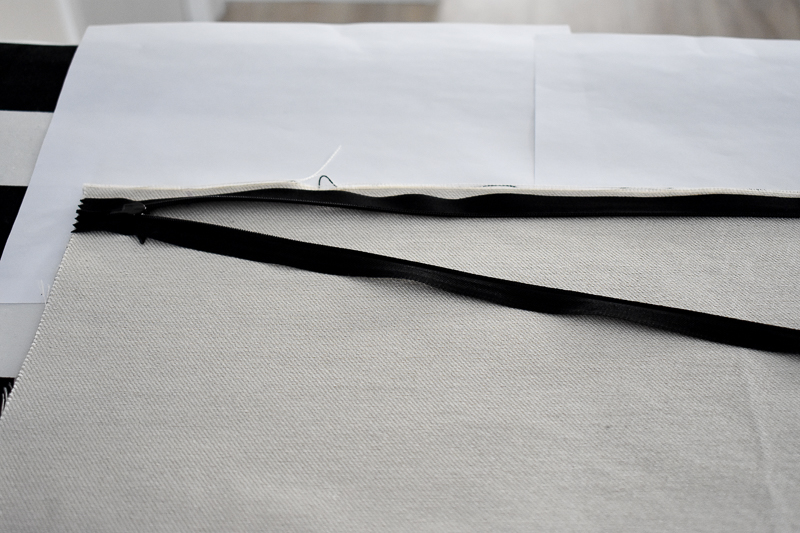 Apply glue to the length of your fabric where we will be placing the zipper. Working quickly, adhere the zipper onto the glued fabric. Add more adhesive if needed.
Remove the paper underneath the fabric. Set the glue by pressing zipper with an iron.
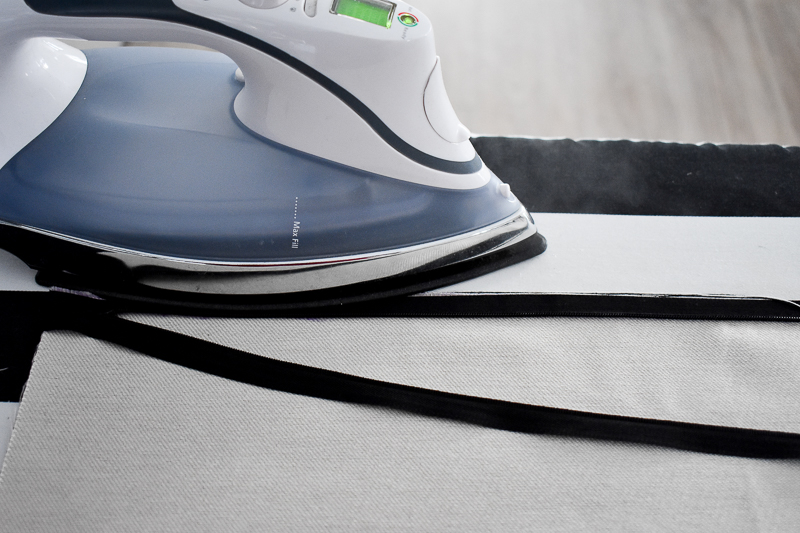 You just prepped a zipper with no pins!
STEP 7 | SEW ZIPPER
Place zipper foot onto the sewing machine. Start as close as you can to the zipper pull. 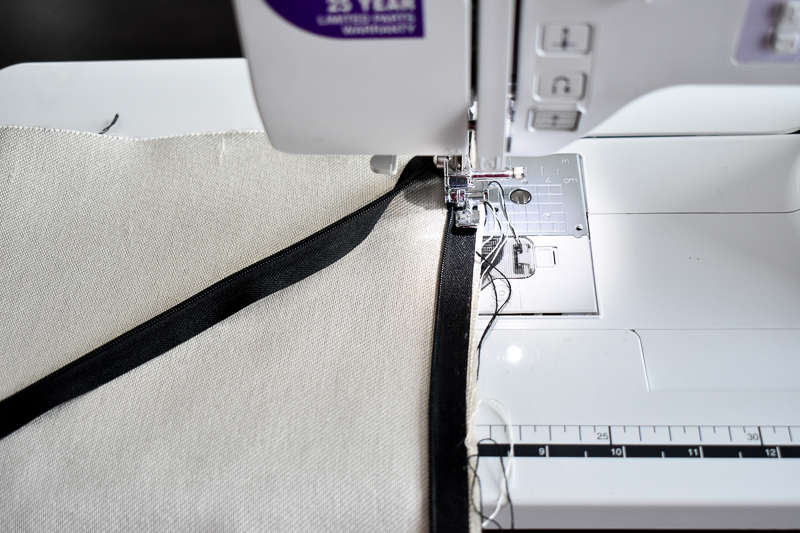 Backstitch and sew the length of the zipper stopping at your 2″ marking.
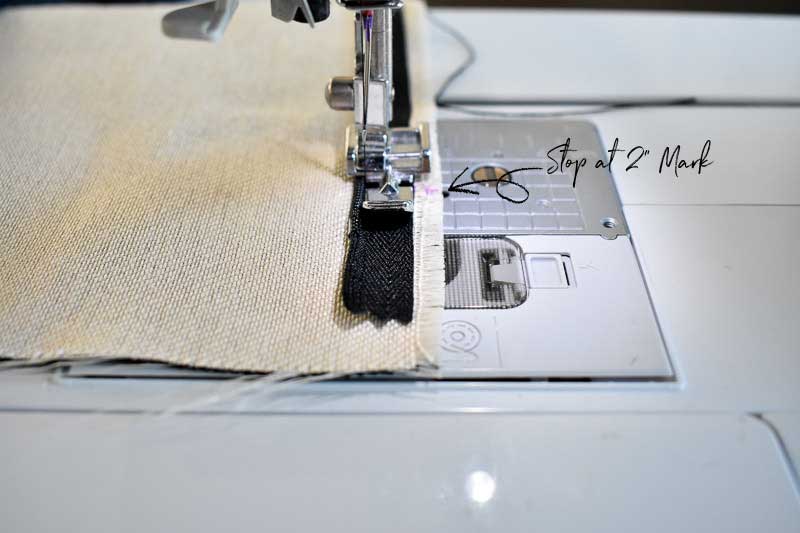 Trim threads.
STEP 8 | SEW OTHER SIDE OF THE ZIPPER
One down, one more to go. Place your pillow cover WRONG side down onto the ironing board. Pull back the top layer with the zipper you just sewed on. 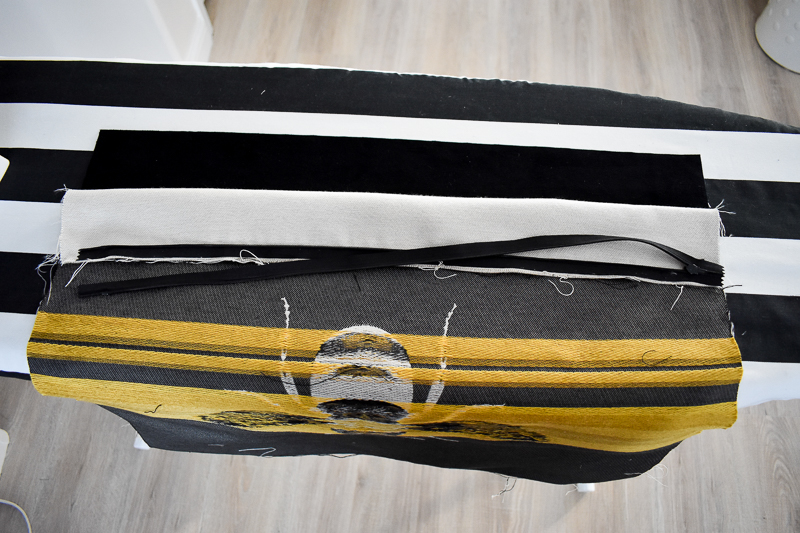 Measure and create a mark at 2″ from each end of the pillow with a Disappearing Ink Marking Pen again.
Align the marks on the zipper to the new marks you just made.
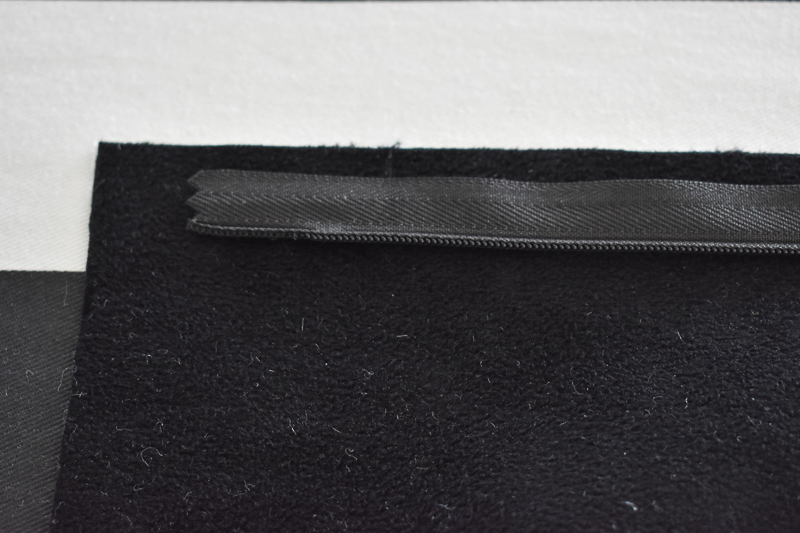 Place paper underneath the fabric and glue zipper into place as you did in Step 6 and Step 7.
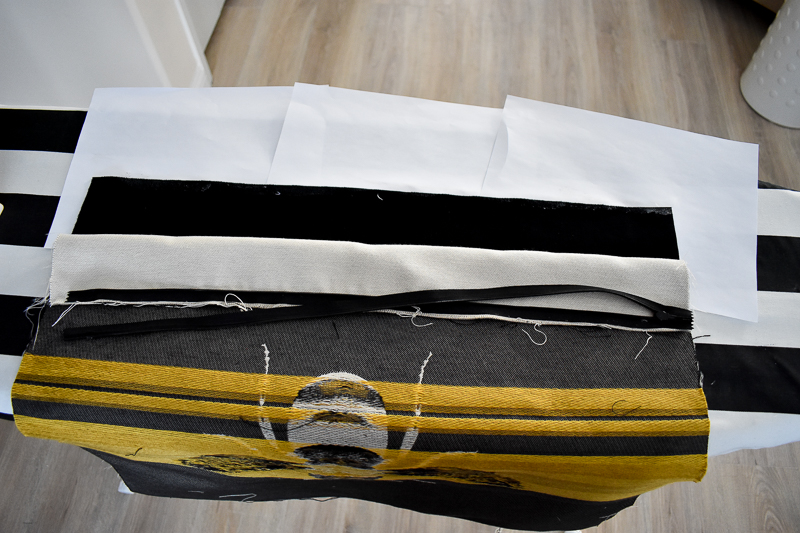 Backstitch and sew the length of the zipper starting and stopping at your 2″ marking. Trim threads.
Test it out and close your zipper. Congrats you just sewed an invisible zipper see it wasn’t hard at all. And you will get even faster with practice.
STEP 9 | FINISH ZIPPER SIDE OF PILLOW
Now that we have the zipper attached we need to finish each end creating new zipper stops.
IMPORTANT STEP: Make sure to zip the zipper half way.
Still using the zipper foot on the sewing machine, start sewing approximately 1/4″ to 1/2″ above the 2″ markings where we had started and stopped sewing the zipper.
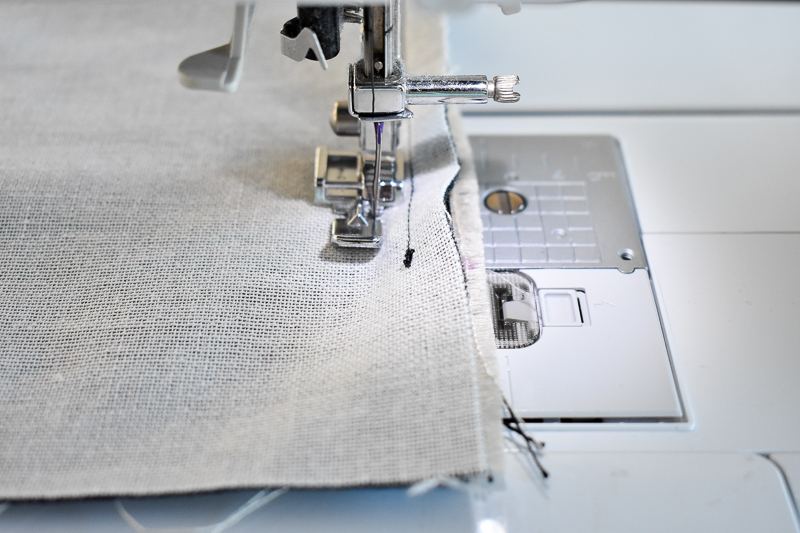 Backstitch and sew to the end of the fabric pieces and trim threads.
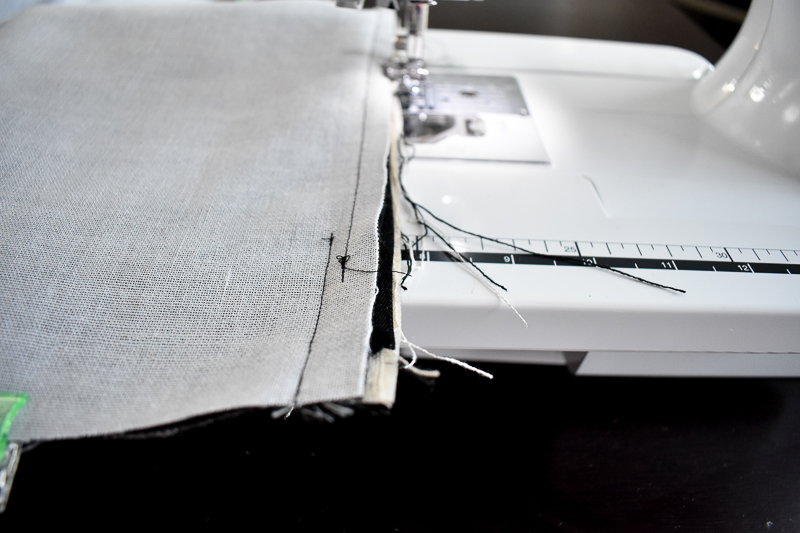 Flip the pillow and repeat on the other side.
PRO TIP: If making more than one pillow cover, this is the point where I stop and start on the next cover. It keeps me from switching the sewing machine feet, and it is easier repeating the same steps.
STEP 10 | MARK TWO BOTTOM CORNERS
Now let’s finish sewing our fabric pieces together to create our pillow cover. Switch to the Zigzag foot on the sewing machine.
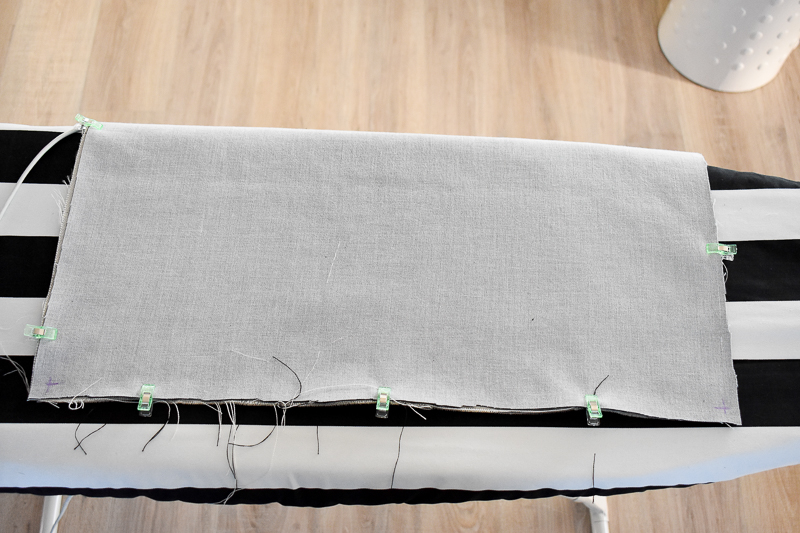
Your fabric pieces should still be clipped or pinned with RIGHT sides together.
I found it helpful at the beginning to mark my bottom corners where I need to turn the fabric and switch directions — using your seam gauge measure 3/8″ from each side of the bottom edge and mark with a Disappearing Ink Marking Pen where they intersect in both directions.
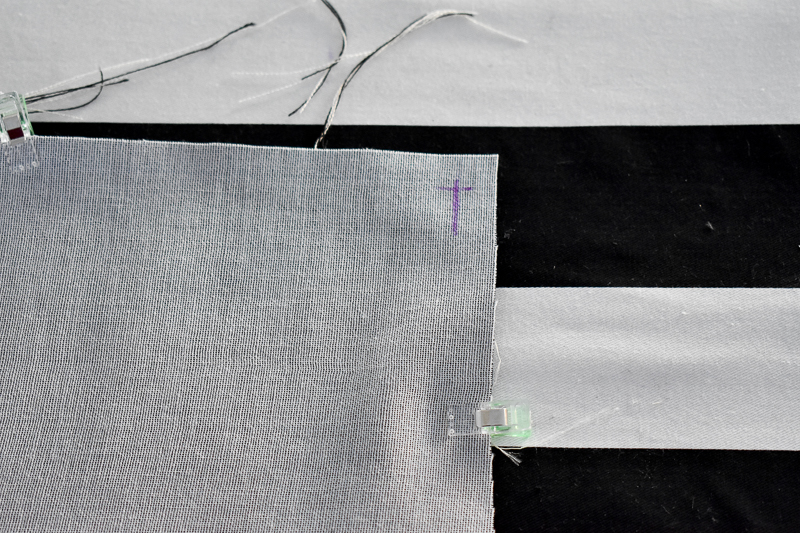
 STEP 11 | FINISH SEWING PILLOW COVER
IMPORTANT STEP: Double check that your zipper is unzipped half way. You will need to be able to get your hand in this opening to unzip the zipper and flip the cover right side out once we have sewed the pillow cover.
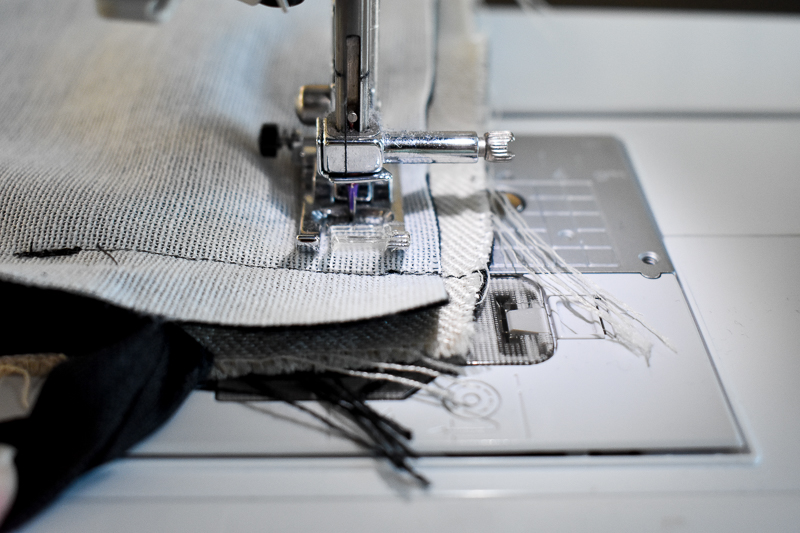
To finish sewing our pillow cover, start at the bottom where your zipper is located. Backstitch and sew the remaining three sides of the pillow cover shut using a 3/8″ seam allowance. I like to align the edge of the fabric pieces with my zipper foot. I find this easier to maintain a straight line.
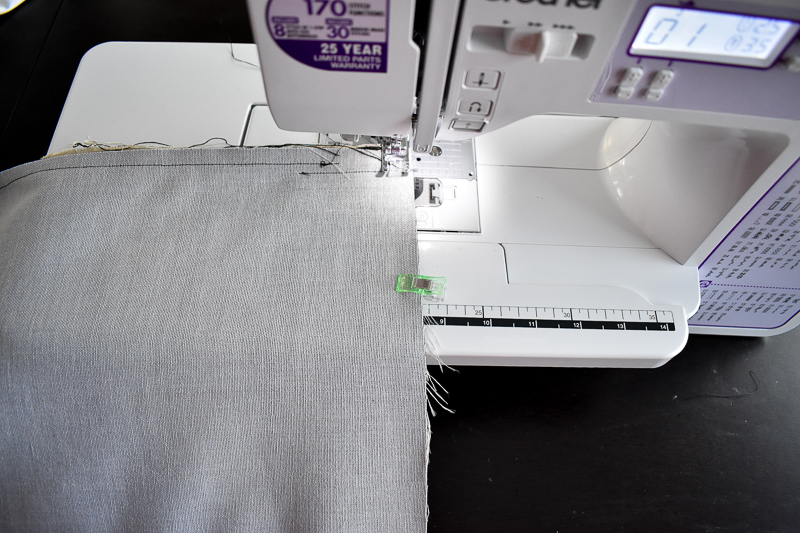 Stop when the needle reaches your corner marking.
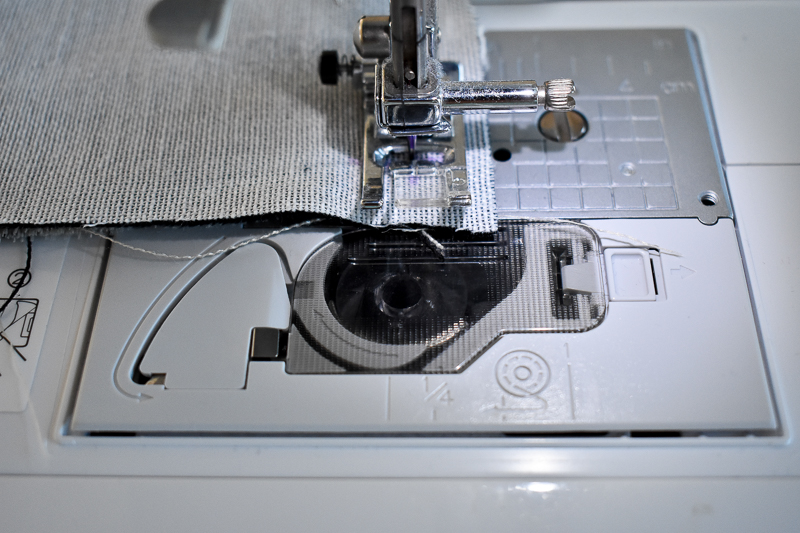 With the needle DOWN into your fabric, raise up your presser foot.
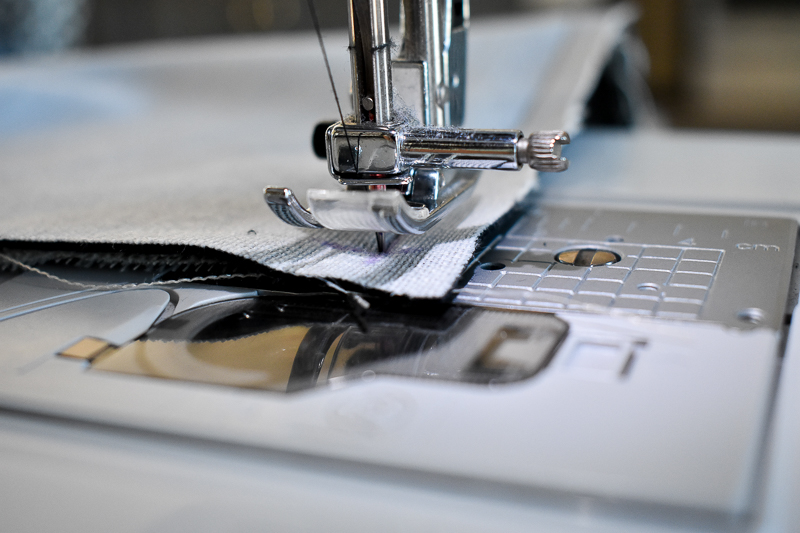 Rotate the pillow cover 90-degrees to sew the next side. Lower your presser foot.
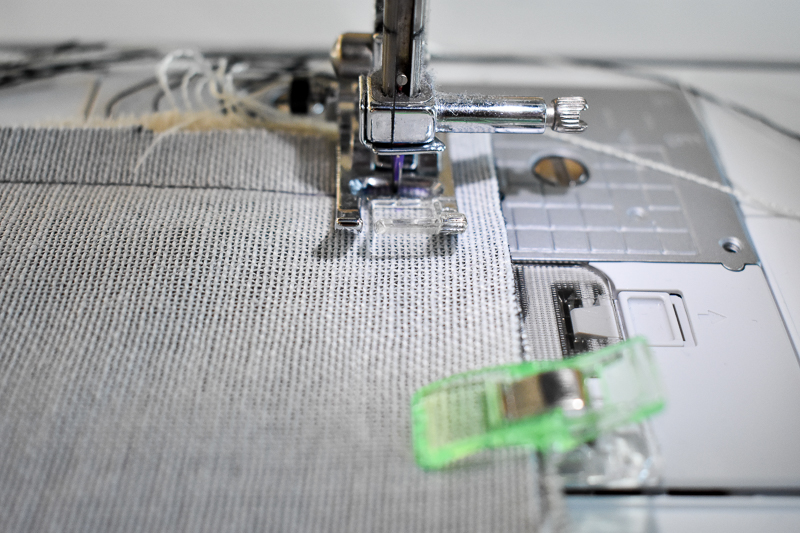 Sew the top edge of the pillow cover until you reach your other corner marking. Again with your needle DOWN into the fabric. Raise your presser foot and turn the pillow cover 90-degrees to sew the last open side of your pillow cover. Lower your presser foot.
As you reach the other end of the zipper, make sure you pull the zipper teeth out of the way as you sew to the end of the fabric: backstitch and trim threads.
 STEP 12 | CLEAN UP ZIPPER ENDS
Voila, you just sewed a pillow cover with an invisible zipper! Now it is time to clean it up.
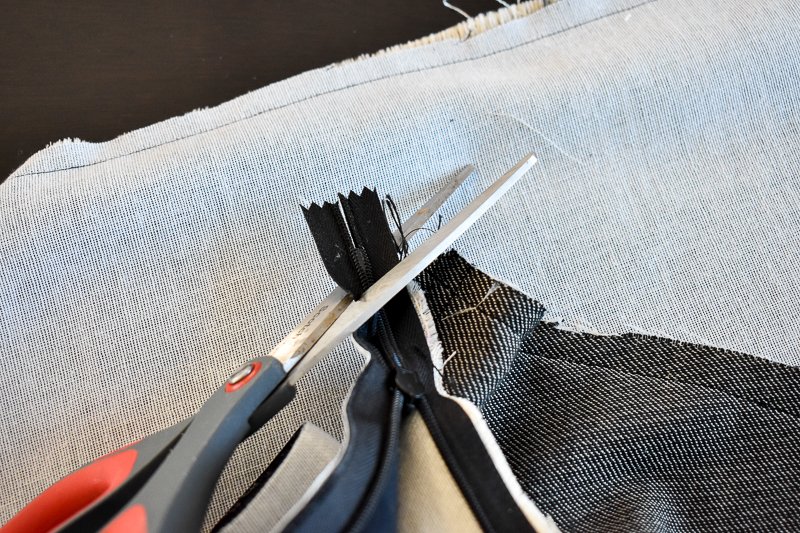
Trim off extra zipper ends as needed. Don’t use your fabrics scissors for this step; you want to keep those sharp and only for fabric cutting.
 STEP 13 | CLIP CORNERS
While pillow cover is still wrong sides out, clip the corners at a 45-degree angle. Cutting the corner fabric will help remove some of the bulk and give your corner a sharp point.
Be careful NOT to cut your corner point.
 OPTIONAL STEP | FINISH RAW EDGES
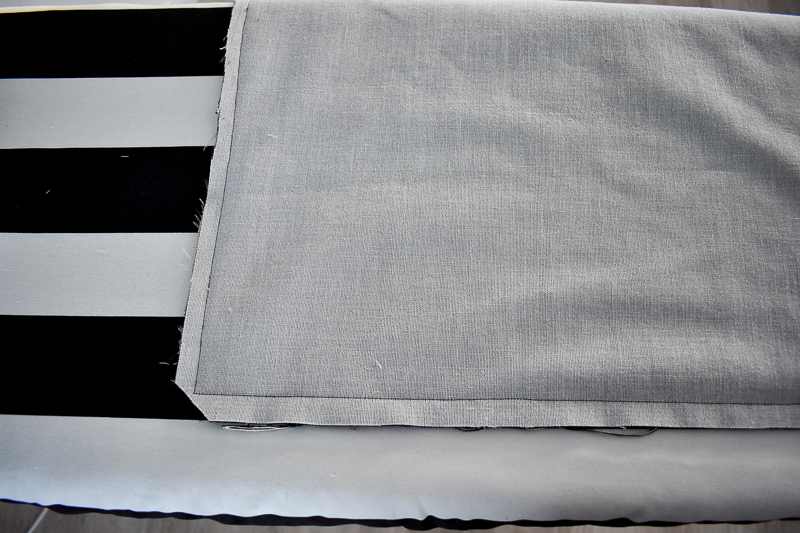
If you have a serger, you can serge the raw edges of your pillow cover to prevent unraveling. Or you can use pinking shears to finish the raw edges.
STEP 14 | TURN PILLOW COVER
Reach into the zipper opening and unzip the zipper. Then flip the cover right sides outs.
Using a chopstick or Point Turner from the inside of the cover, CAREFULLY push out the corners. Be careful NOT to poke through the corner.
Press pillow cover.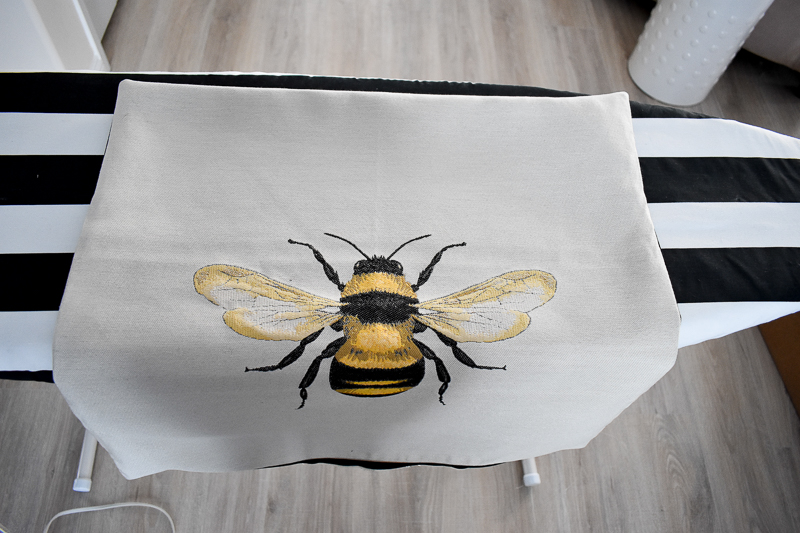 Stuff pillow form into the pillow cover and zip.
PILLOW COMPLETE
See how easy it is to create custom pillow covers with an invisible zipper? Don’t say I didn’t warn you if you start to amass a pillow cover collection like me! 😉







I have been waiting for this tutorial! 😉 I have a about a dozen pillow covers to make for around my whole house and a brand new zipper foot burning a hole in my sewing kit…can’t wait to finally use it!
That’s great to hear! Let me know how it goes and if I need to make any tweaks to the tutorial 😀