I’m here with another post in the basement update series, revealing the new base molding along with tips and tricks on how to achieve a gap-free installation with painted molding. Now you can have gap-free molding too!
If you missed any of the posts in the basement update series, catch up here.
We are adding a new taller pre-primed stock base molding from Lowe’s. It is the same base molding that we have switched to throughout the house. Changing to a pre-primed molding versus painting over the stained oak molding saves time and paint, plus I like the look of a higher base molding.
Supplies
- Paintable Nail Filler
- Fine Grit Sanding Sponge
- Paintable Silicone Caulk
- Caulking Gun
- Paper Towels or Rags in a Box
- Bucket of Warm Water
- Trim Paint
- Painting Supplies
Prep the Molding
Remove the old base molding. Paint the new base molding with two coats of the trim paint out in the garage BEFORE being installed. It is easier to paint the molding on saw horses than on the ground.
Install Base Molding and Fill Nail Holes
After the new base molding is installed, fill the nail holes using a paintable nail filler. Once the filler is dry go back and sand smooth with a sanding sponge. Make sure when you run your fingers over the base molding it feels smooth to the touch, no bumps.
Prep Caulk Tube
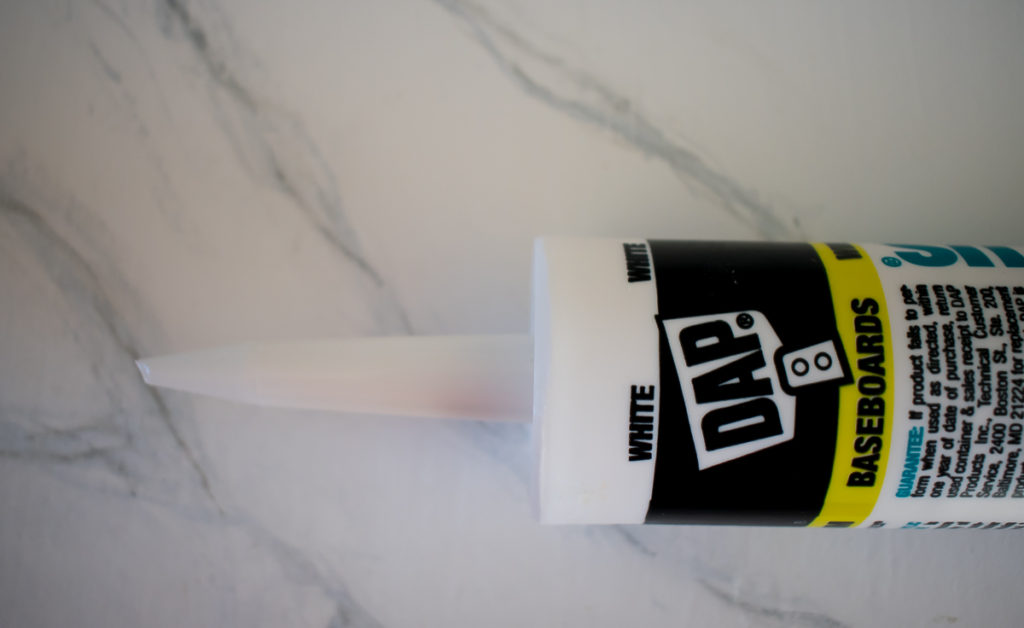
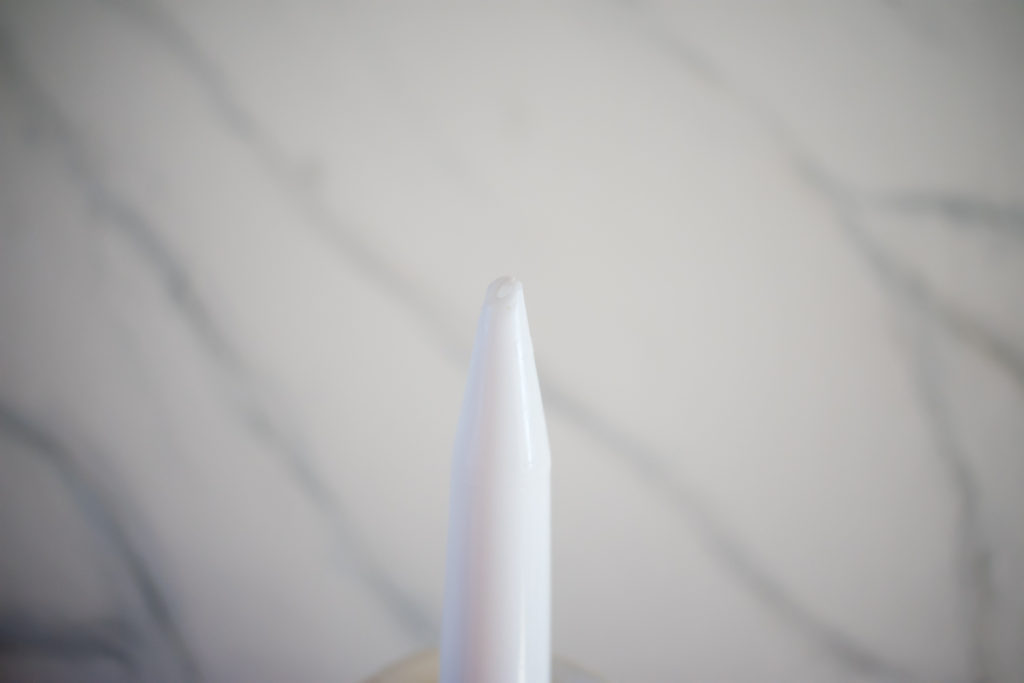
Open the caulk tube by cutting the tip off the tube. Make sure you cut it at an angle for ease in application.
PRO TIP: Don’t cut the hole too large. It is best to err on starting with a smaller hole; you can always make it larger.
Apply the Caulk
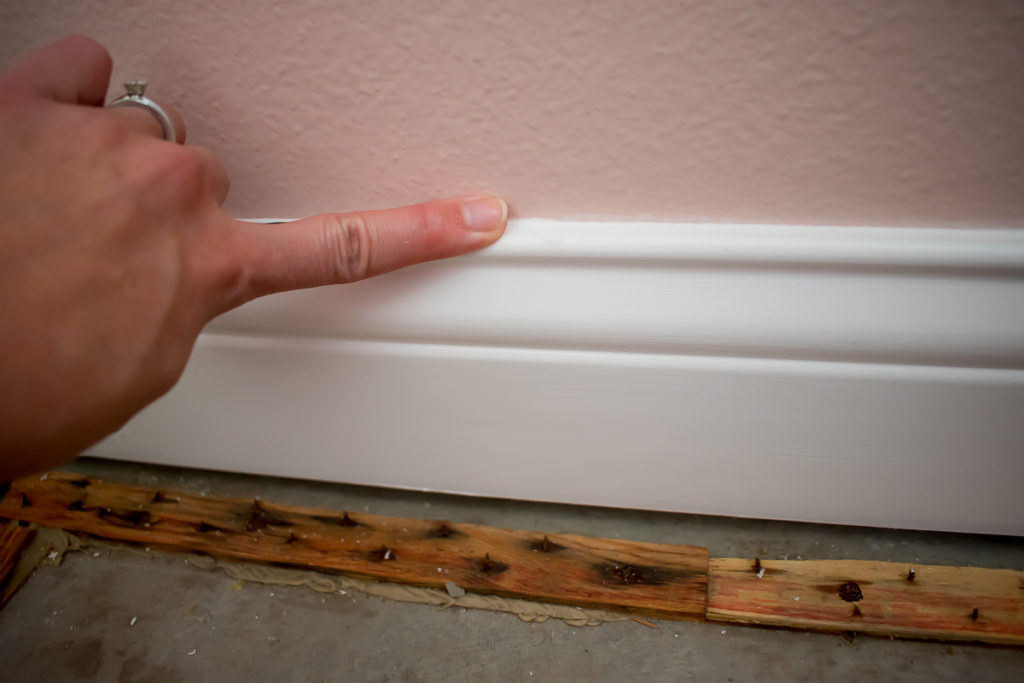
Squeeze the caulk into the gap. Don’t go overboard; you can always go back and add more.
Smooth the Caulk Bead
Have a bucket of warm water and paper towels next to you. Dip your finger into the water and run it along the caulk to smooth it and fill all gaps. And let it dry.
Add Final Paint Coat
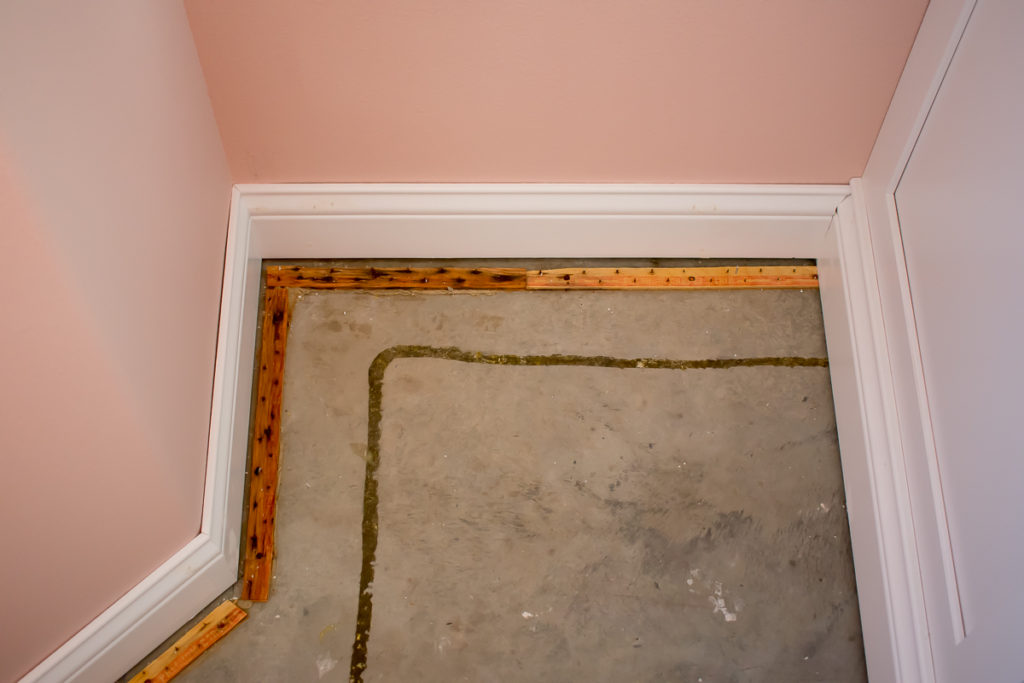
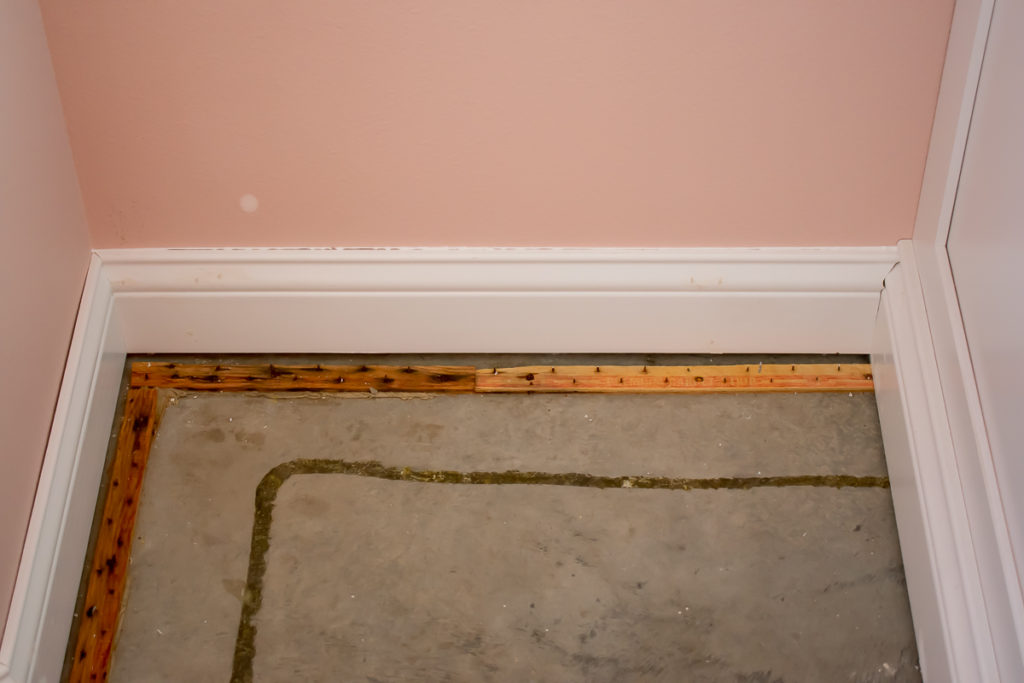
Time to add the last coat of paint to the trim for a smooth finish. Do all this before the carpet is installed. You will have cement floors for a couple of weeks during this process, depending on how long it takes you to complete.
Project Complete!
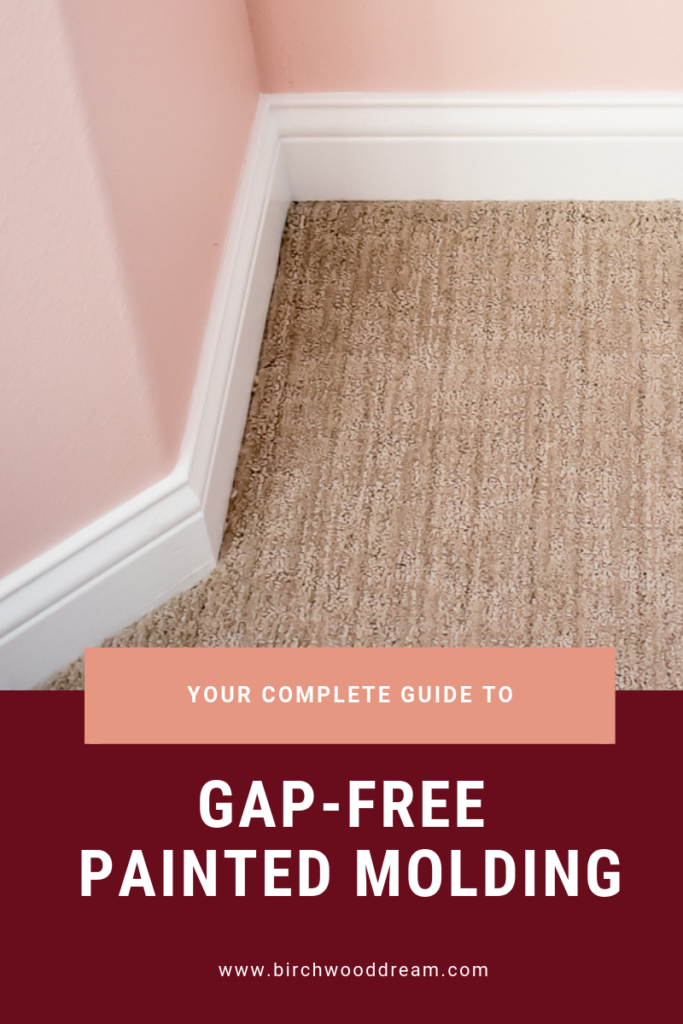
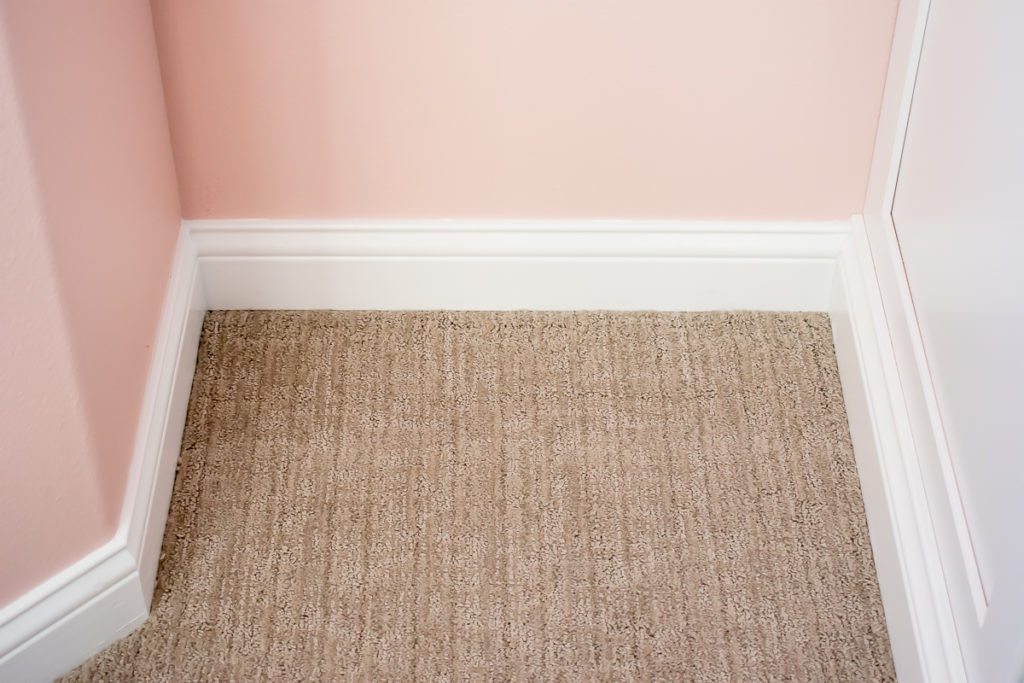
Here is an image of the finished base molding with the new carpet. Taking the time to do the extra step of filling the gaps with caulk makes a huge difference in the final project!


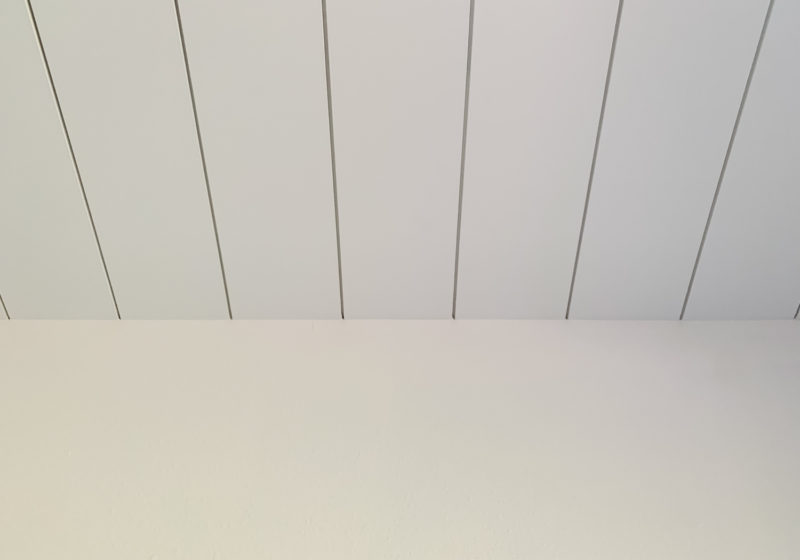


[…] gaps along the wall with paintable silicone caulk. See my post on how to achieve gap-free molding here. Such a simple step that produces fantastic […]