Wow, how does time fly! One week left in the One Room Challenge before I unveil the new master bedroom, and do I still have a lot of things to do! You think I have five weeks to complete a room makeover, that’s a ton of time, no problem. Until you actually do it, and you are exhausted and running out of time quickly.

If you missed any of my posts in the One Room Challenge series, catch up here.
- One Room Challenge Week 1 | The Plan
- One Room Challenge Week 2 | Decisions Made
- One Room Challenge Week 3 | Paint, Paint, Paint
- One Room Challenge Week 4 | Wallpaper
Progress Made
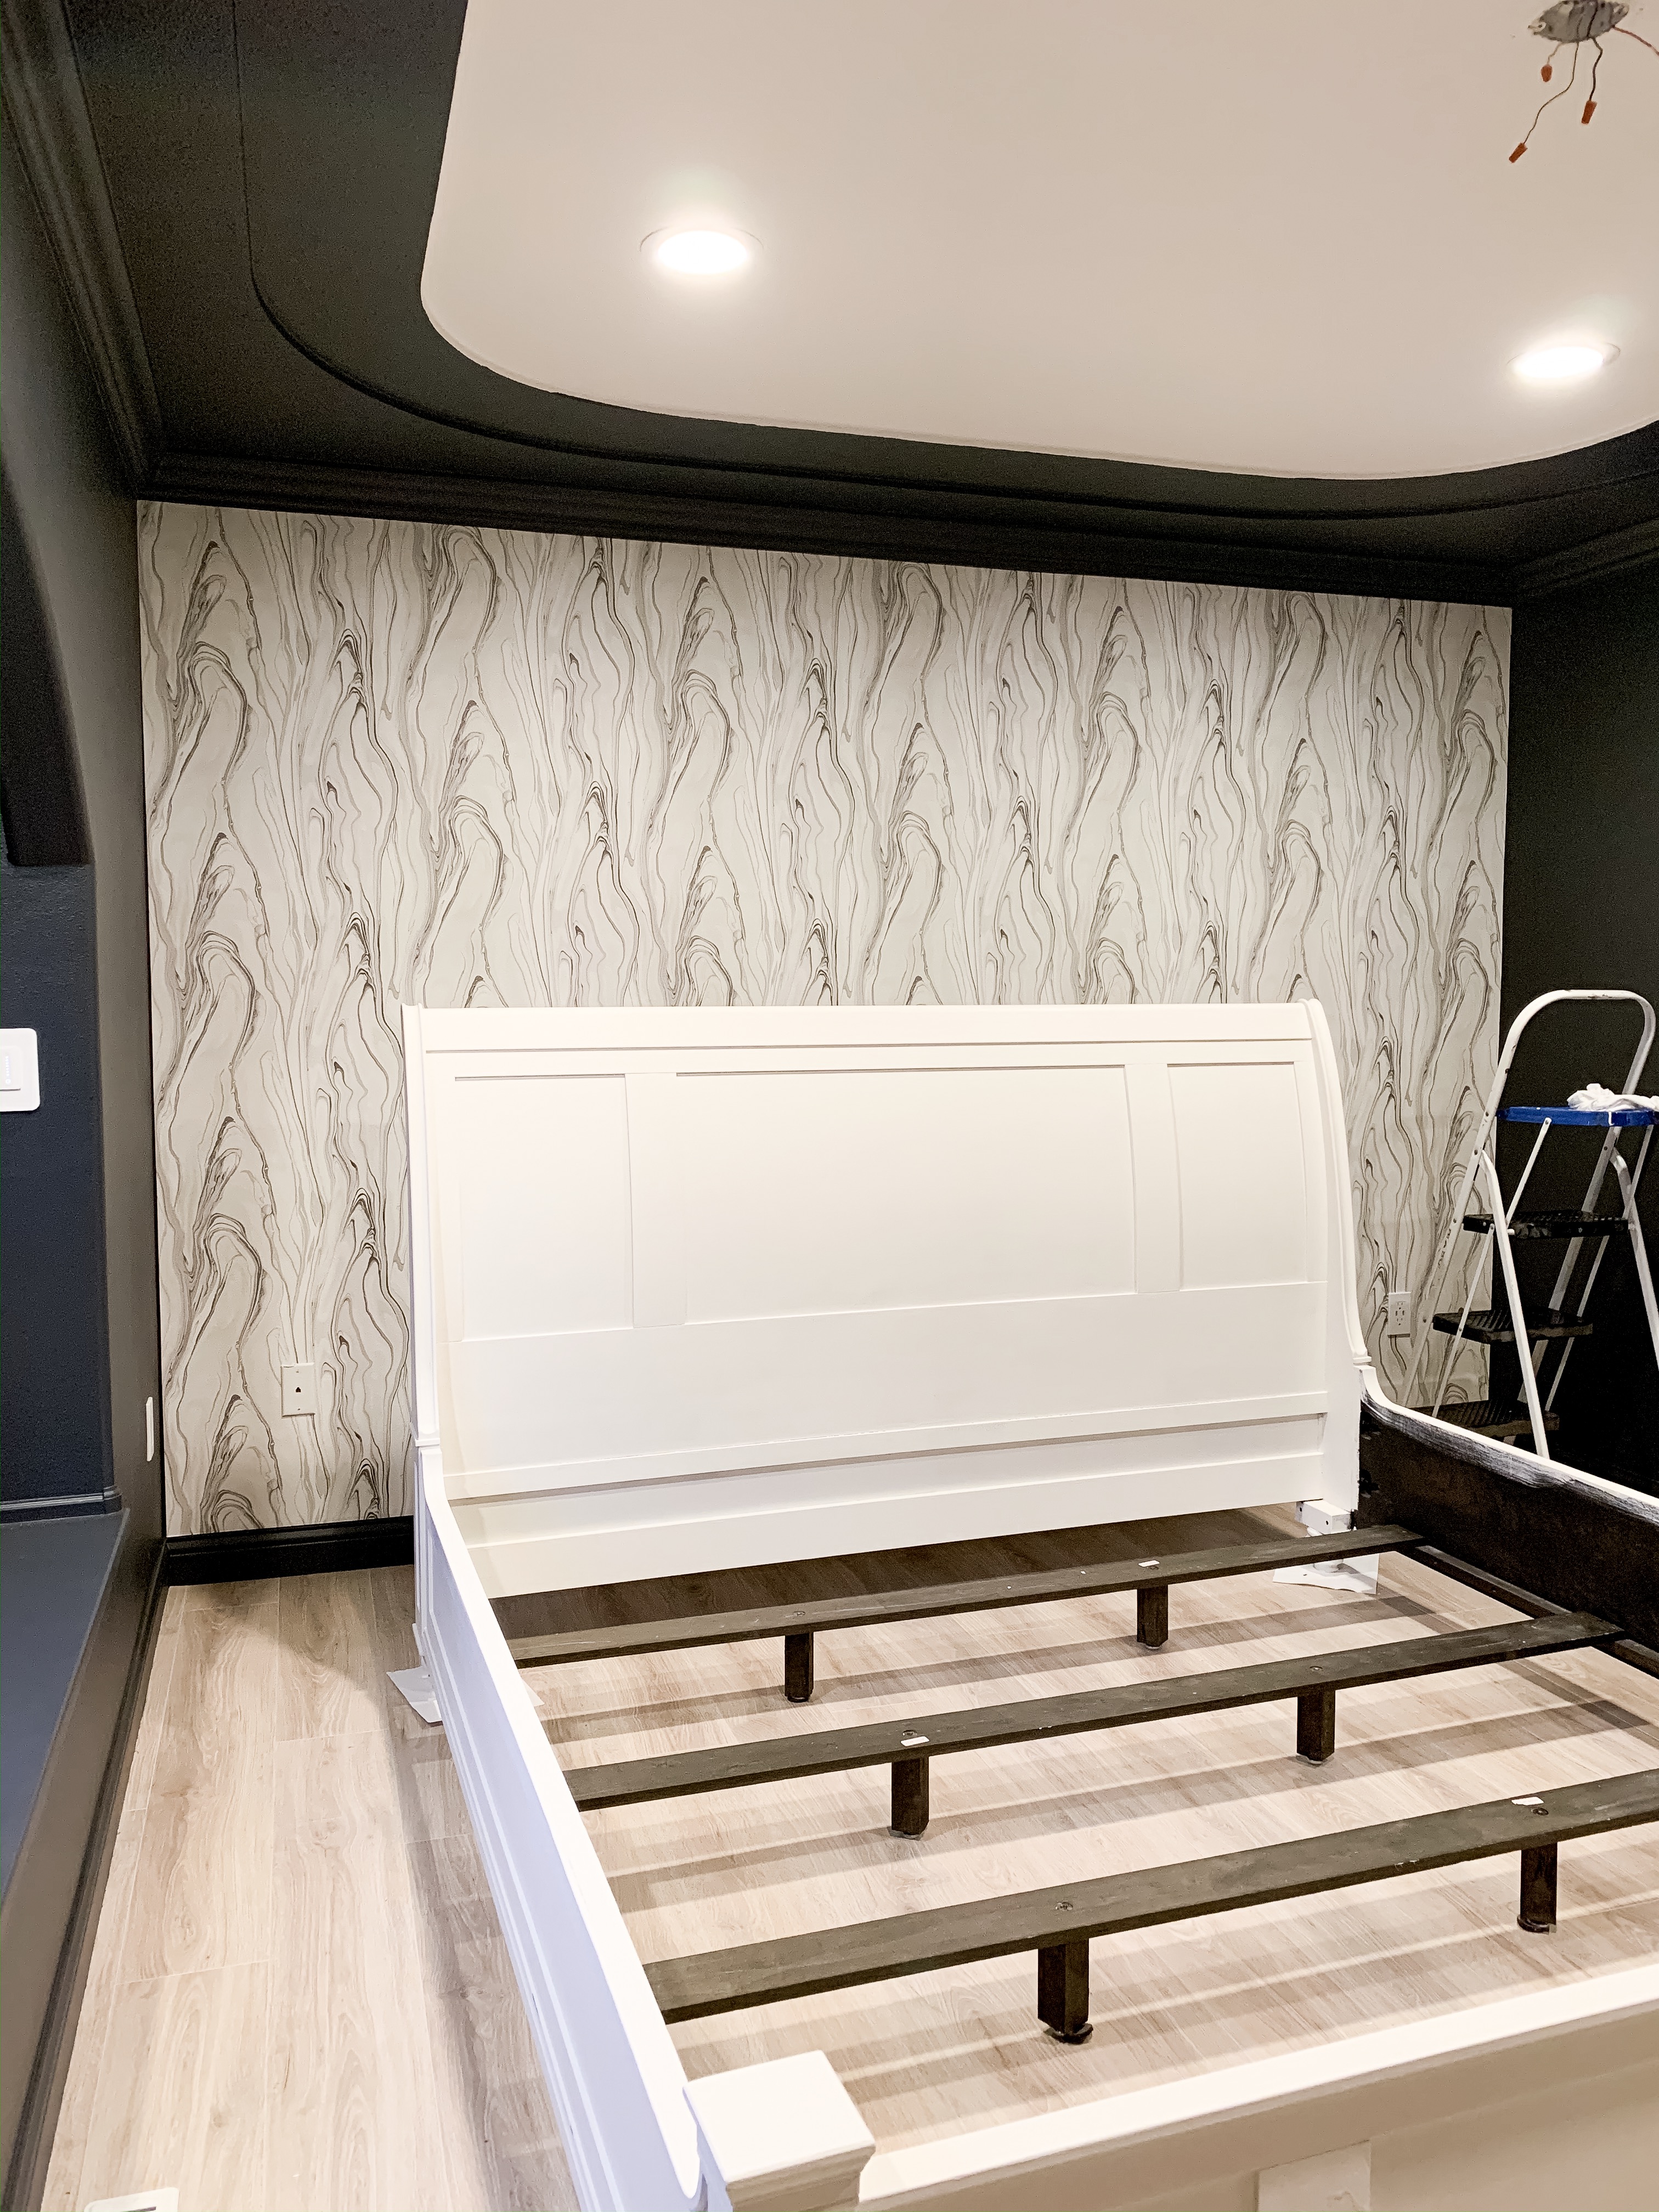
The floors have been cleaned of construction debris, paint, and wallpaper paste! The rug has been laid, the bed frame has been placed, and the mattressed moved back into the room. I have gotten my dining and living room back upstairs, win-win!
The big news for the week is we have moved back into the bedroom! After weeks in the guest bedroom, it is nice to be back in our king size bed. The queen guest bed was getting a little too snug for my sleeping patterns once you go to a king-size bed as a couple you never want to go back to a queen, LOL!
This page may contain affiliate links, which means if you make a purchase, I may receive a small commission at NO extra cost to you. I only recommend brands and items that I use and trust. To learn more read my disclosure policy here.

Updating Existing Furniture – Bed Frame & Dresser
Several years ago, we had purchased a bed frame and dresser from Costco. The furniture is still in good shape, but the dark stained wood is a little much for the dark walls. I am giving the furniture a facelift by painting it with Jolie chalk paint in Gesso White. On the bed frame, I experimented with sealing the chalk paint with poly in a matte finish. I wasn’t 100% happy with the results, so on the dresser, I am sealing the paint with clear wax. I know nothing like experimenting in the middle of the chaos.

I wanted to switch up the dresser hardware to a gold finish. The dresser hardware pulls were not a standard hardware size after searching and searching for hardware that would work. I decided to fill the holes and drill for new hardware pulls. I tried Dap’s Plastic Wood to fill the old nail holes. It worked like a charm!
On a side note, allow some prep time for this product. I slightly overfilled the holes and allowed it to dry overnight. Sanded it smooth the next day and added a second application. Do not skip a second application if you have larger sized holes; it is critical for getting an invisible finish. Make sure it is sanded smooth to the touch before painting. This step took an extra two days before I was able to paint, plan accordingly.

DIY Faux Shagreen Nightstands
I wanted these CB2 nightstands. They were a perfect size, color, and a great storage option. Why I didn’t purchase them was the $449 price tag per nightstand. That was not in the budget. So I had to figure out how to create the look for less.
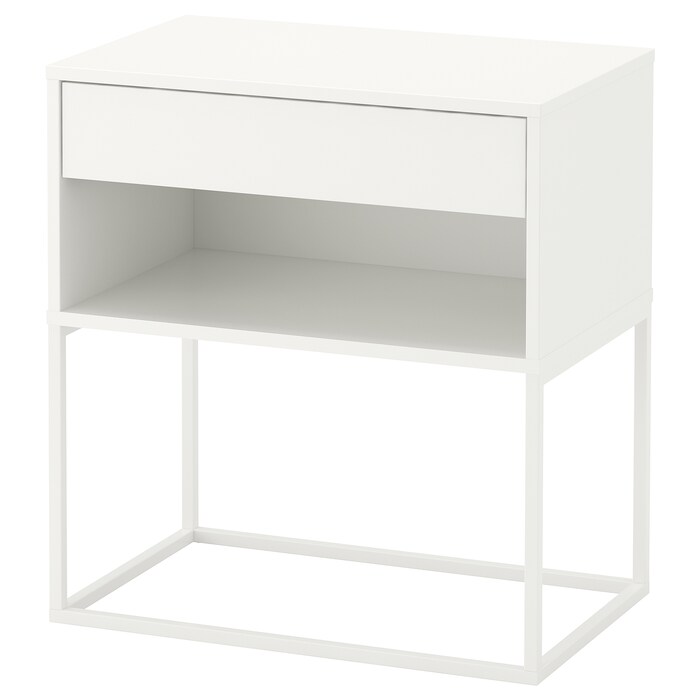
I found the perfect nightstand from IKEA to apply a little magic. And at $69.99 each, it was at a price point that I could afford.

A little spray paint and faux shagreen vinyl fabric, and here are the final results! Once I have a moment, I will be writing a tutorial on how I did it.

Ceiling Fan
Let there be light! The new ceiling fan has been installed this past week.

Curtains
I have never put curtains in the bedroom due to the window nook. Why it never occurred to me that I still could hang curtains on the outside of it is beyond me.
The texture of these curtains is heavenly! What a difference a couple of curtains panels make in this room! Love, love, love! I will be giving you a full resource post after the reveal.
Coming Up Next Week
The big reveal! I have a lot of styling to do. A few more DIY projects, let’s hope I can get it all done in time!
Follow along with the other participants in the One Room Challenge by visiting the One Room Challenge blog here!



[…] One Room Challenge Week 5 | Furniture […]