It is Week 4, the halfway point, in the Spring 2020 One Room Challenge, can you believe it?!? This week I feel I am finally making progress in the transformation in our guest bedroom. It has been a big week with the focus on installing and finishing the new tongue and groove ceiling!
In case you missed anything, you can catch up here. Week 1 / Week 2 / Week 3.

Color and Sheen Decisions
I had to figure out what color and sheen I was going to finish the tongue and groove boards before prep and installation. Do I paint it the same color as the wall base color? Do I paint it the same color as the trim? Do I paint it the same sheen as the trim? Or do I paint it in a flat sheen like a traditional ceiling?
I went with a flat sheen in Sherwin Williams Extra White, the same color as the trim, only in a different sheen. The flat sheen is more forgiving; it will hide imperfections in the wood, which I was worried about going with an MDF product. And I wanted a contrasting sheen between the wall and ceiling to add interest to the room.
Prepping the Boards for Installation

To get the boards ready for installation, the primed boards received one coat of the finished paint color before installation. It helps to make a painting area with multiple boards on sawhorses.

Be careful to paint the top edge of the tongue only; if you build up the tongue with excessive paint, you won’t be able to install it into the groove.

Tongue and Groove Ceiling Trim Molding
Besides figuring out the color and sheen of the ceiling, I also needed to make a finishing plan ahead of time for the ceiling. A lot of times, you will see the area where the ceiling and wall meet finished with some type of crown molding. With the room being in the basement, I didn’t want to decrease the ceiling height appearance in the room visually.
I asked if it was possible to have NO finish molding around the room. The installer said yes, it is possible if I was ok filling the gaps with silicone and how it ends up fitting the room. There was a potential that we would have to add a finishing trim if I was not happy with the final appearance.

To be honest, I love the look with no molding. It gives the room a clean and modern feel, exactly what I was after. It did appropriately double the installation time; what you save in trim boards you spend in labor—something to factor in on your decision.
Tongue and Groove Ceiling Board Pattern

To start, you need to figure out your installation pattern. The butt joints need to end in the middle of the floor truss for attachment purposes.

Filling the Wall Gaps

After the tongue and groove boards are installed, it is time to fill the nail holes and fill the gaps along the wall with paintable silicone caulk. See my post on how to achieve gap-free molding here. Such a simple step that produces fantastic results!
Final Paint Coat

Once the silicone was dry, I rolled the entire ceiling with a final paint coat.
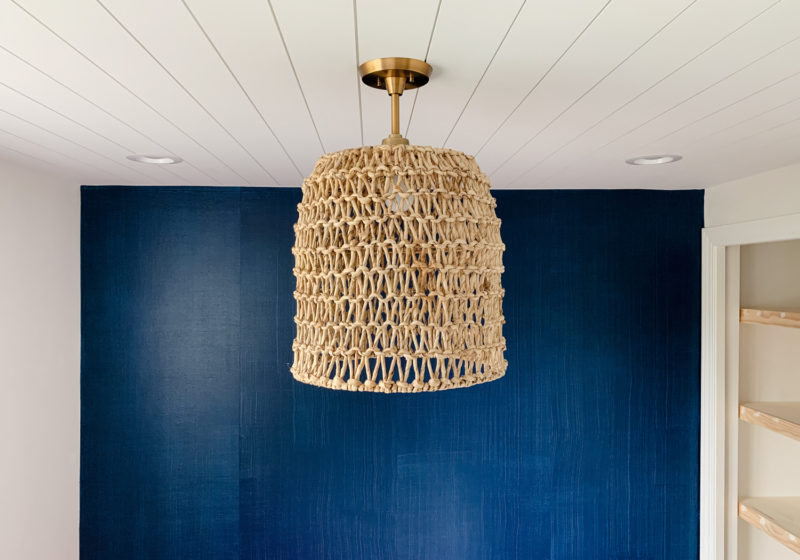
Finished Tongue & Groove Ceiling

The ceiling is done! We love it so much that we are planning on replacing the drop-down ceiling in the other basement bedroom later this summer with the tongue and groove planks.
Follow along with the other participants in the Spring 2020 One Room Challenge by visiting the One Room Challenge Blog here.



It’s been so fun following along on this space!
Thanks, Jenna!