It is the final stretch before the big reveal of our guest bedroom refresh in the Spring 2020 One Room Challenge. Big projects are finally getting out of the way, and it is finally getting to my favorite part, putting it all back together! This past week I tackled the linen closet.
If you have missed anything in the guest bedroom transformation, get caught up here; Week 1 / Week 2 / Week 3 / Week 4 / Week 5-6.

Linen Closet – Before

Here is a view of the state of the linen closet before I started. Sagging, mixed matched shelves, stuffed to the gills. It was time to thin out my linen hoard and get it organized.
Linen Closet – Demo

I removed all the shelves and supports, patched the holes, and gave the entire closet two coats of Sherwin Williams Snowbound. I decided to remove the closet door too. The tracks for the door are staying if we ever want to put the door back on in the future. Looks better already, wouldn’t you agree.
Linen Closet – Ceiling
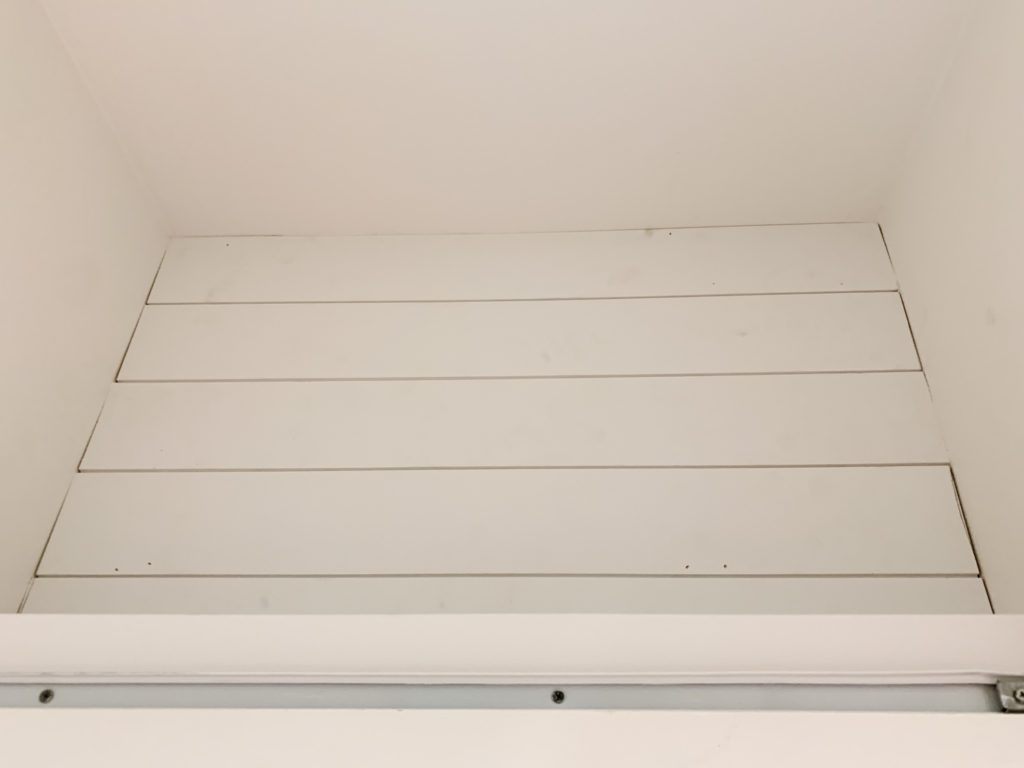
We even had ceiling grid tiles in the ceiling of the closet that needed to come down. We installed the same tongue and groove as the room ceiling. It was harder to get a tight fit being it is such a small space. I had some significant gaps to fill as a result. This photo is before I filled the nail holes and caulked the gaps.
New Shelving

Next, we installed the new fixed shelves. I wanted a beefier appearance to the shelves and more spacing between them than what I had before. I ended up eliminating a shelf and only going with four shelves.
For the construction of the shelves, we used 1×2 select pine boards for the supports along the three sides. ¾” thick handi-panels that are 24” deep created the top of the shelves. Craig and I purchased the boards with only one smooth side; in hindsight, we should have gotten the birch plywood boards with both sides smooth. The front of the shelf is a 1×4 select pine board that is 3.5” high nailed to the face of the plywood; this gives the appearance of a thick shelf when it is only ¾” thick.

After the shelves were installed, I filled the nail holes and used paintable silicone caulk to fill all the seams. Read my post on how to caulk here.
Linen Closet – Paint

Painting the shelves was the worst part of the entire project. If I had time before the contractor arrived, I would have primed and had one coat of the final paint color on all the boards BEFORE they were installed. Since I didn’t have the time, I was up inside the closet, trying to paint the top and bottom of all the shelves.
I applied three coats of primer and two coats of Sherwin Williams Snowbound in a matte finish to all the shelves. I kept it simple, making the shelves and walls all the same paint color, less edging, and I already had the paint, win-win!
DIY Faux Wallpaper

Now, I could have left the closet alone, but I have seen so many fun wallpapered closets that I just had to join in on the fun. My original plan was to put wallpaper on the back walls. I ordered samples and liked a couple of the options, but I ran out of time to get the wallpaper.
I still had some Sherwin Williams Naval paint left from the faux denim wall, so I thought, why not DIY paint the wallpaper. Here is my take on the DIY faux brushstroke wallpaper.
Once I figured out which brush and pattern I liked the best from my tests on paper, it was a simple DIY project. It took less than an hour to paint the back of the entire closet.
I will write a tutorial on how I created my DIY faux wallpaper for you once the One Room Challenge is complete.
Next Week – Final Reveal
I am still waiting on the nightstands and art prints to arrive; they should be arriving at the beginning of next week.
Things left to do before the final reveal are the following.
- Paint the dresser and add new hardware.
- Hang the curtain rod and curtains.
- Hang the wall frames.
- Style the linen closet.
- Make the bed.
- Style the nightstand and dresser.
- Take the final photos!
I have been posting on Sundays versus Thursdays because it has worked better in my schedule, I am hoping to have the final reveal up for you next Sunday, but I may need a couple more days just to write the post and link all my sources for you. Be patient; it will be worth the wait!
As always, don’t forget to follow along with the other participants in the Spring 2020 One Room Challenge by visiting the One Room Challenge Blog here.






Leave a Reply