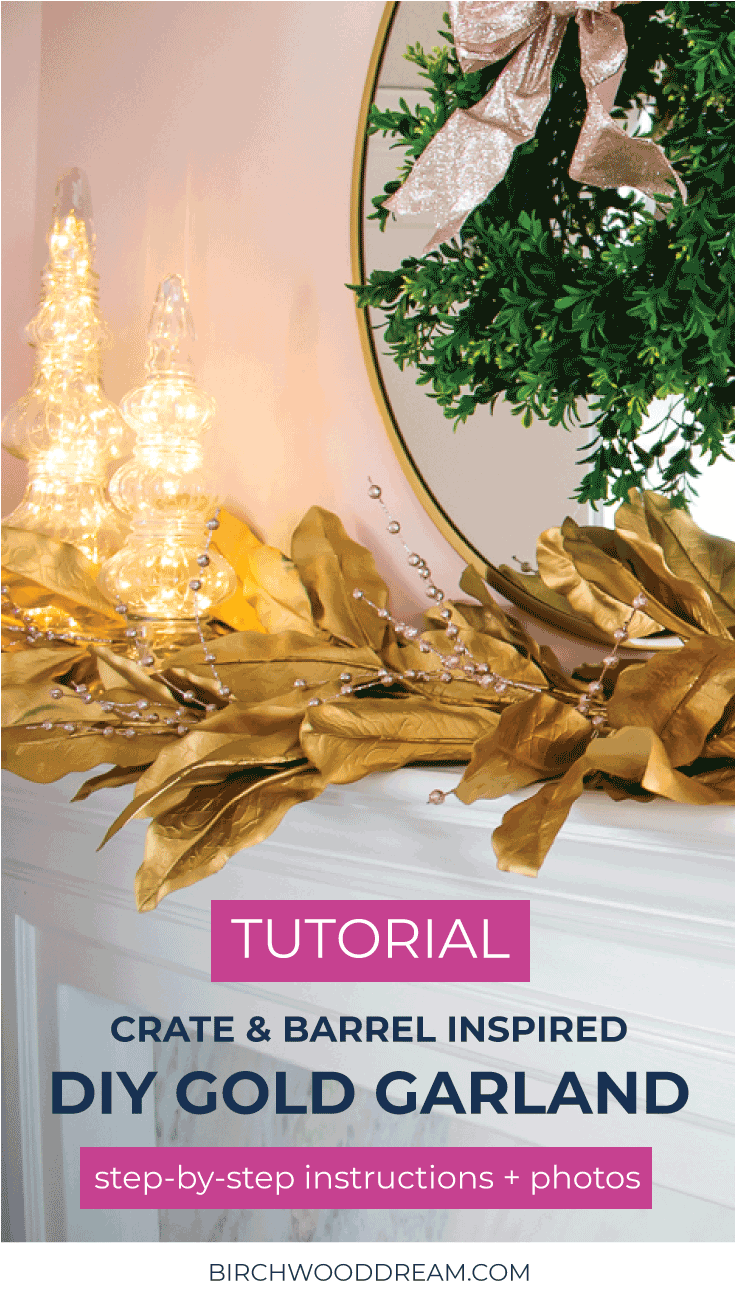
I am back with another get the look for less tutorial. Did you see the beautiful gold magnolia leaf garland from Crate and Barrel? When I saw it in the stores, I wanted it, until I looked at the overall length and price. I would need two for my mantel at $79 each. I knew I couldn’t spend that on a seasonal item. So I went to work trying to figure out how I could DIY a gold magnolia garland for less, here is my solution.
SUPPLIES
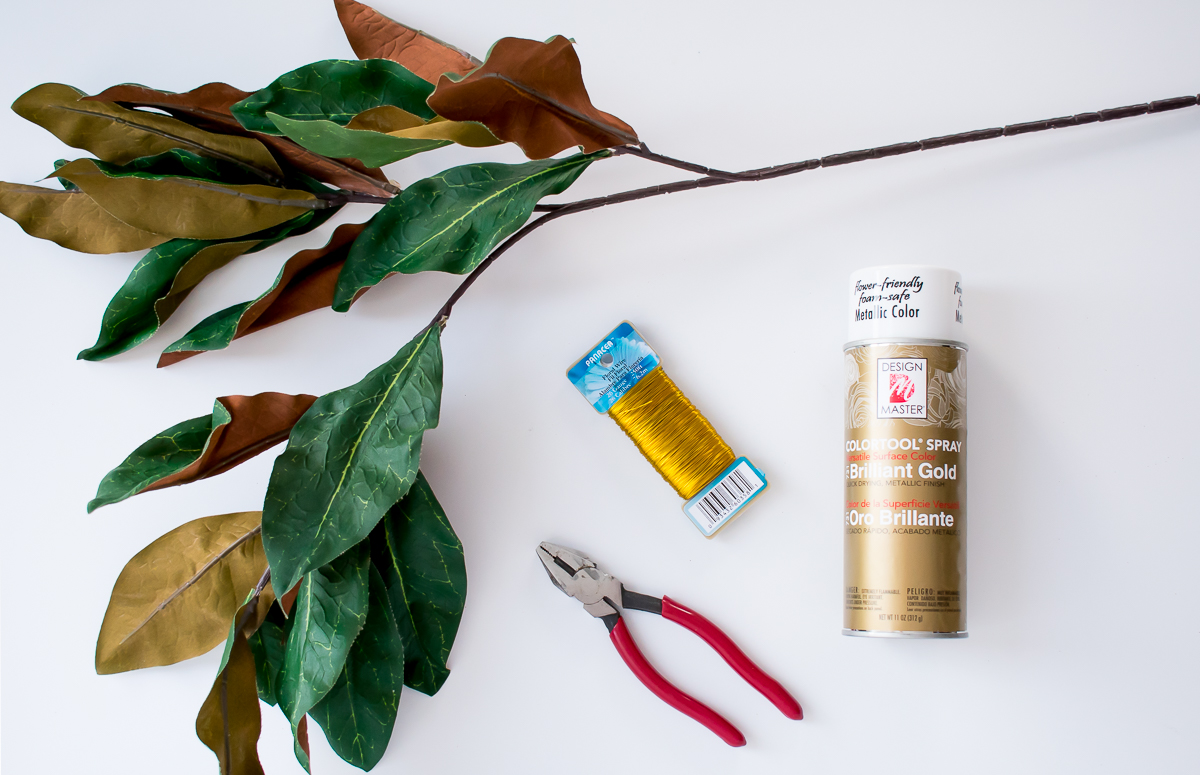
Gather together the following supplies.
- 8 Magnolia Leaf Sprays – I purchased the old version available from Hobby Lobby, item #576835 retails for $4.99
- Design Master Brillant Gold Spray Paint
- Gold Floral Wire
- Wire Cutter
- Styrofoam
 PREP MAGNOLIA STEMS
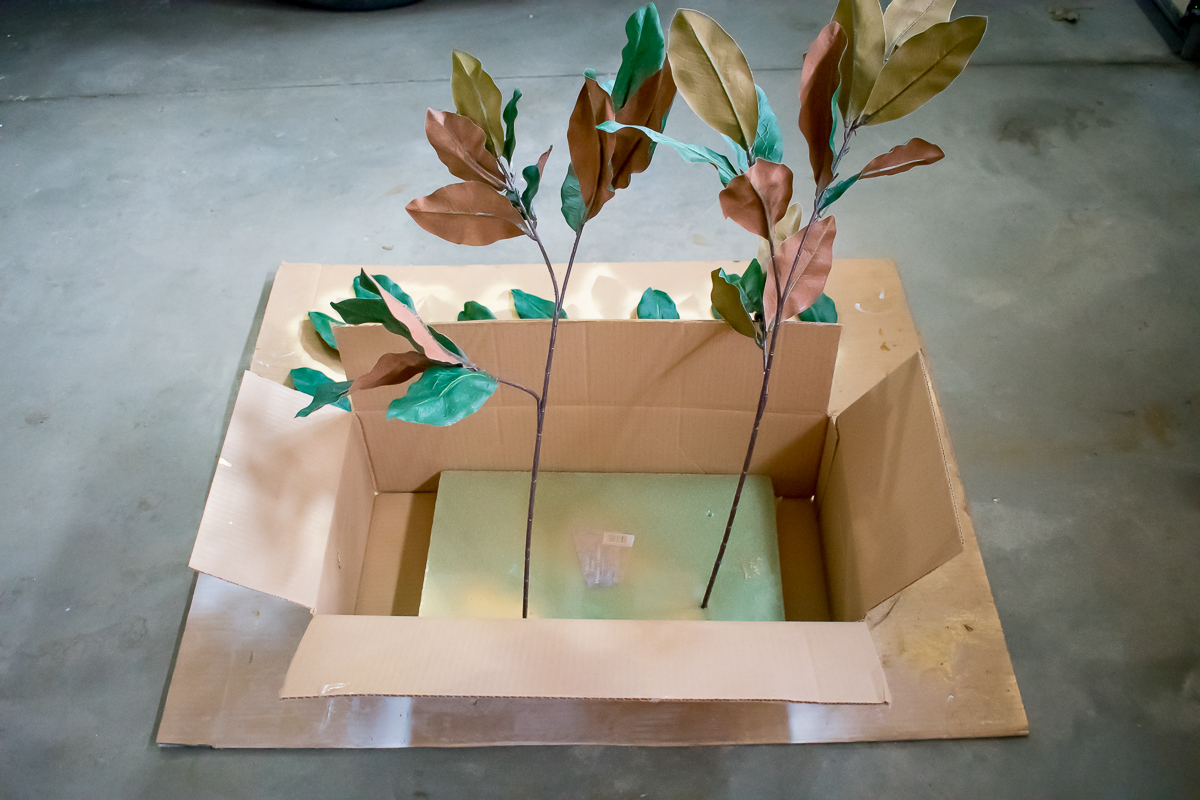
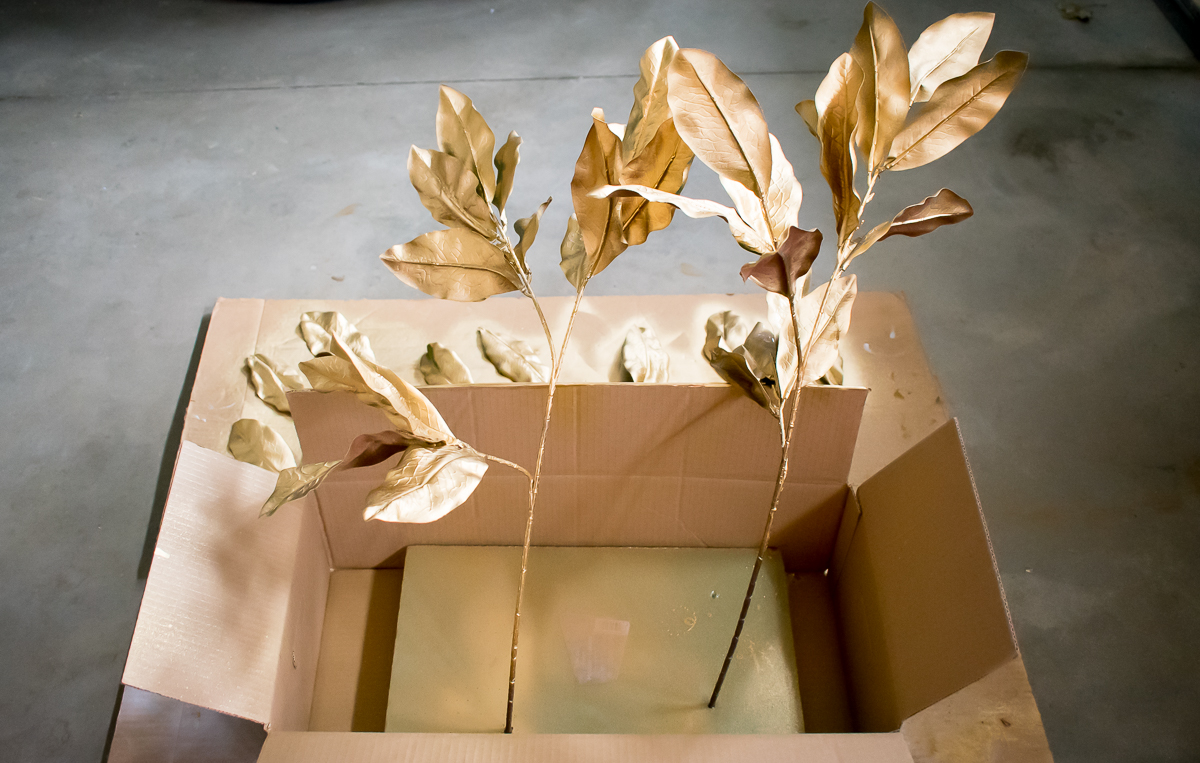
Place the styrofoam board into a box onto a protected area for painting. Stick the magnolia stems into the styrofoam to keep upright.
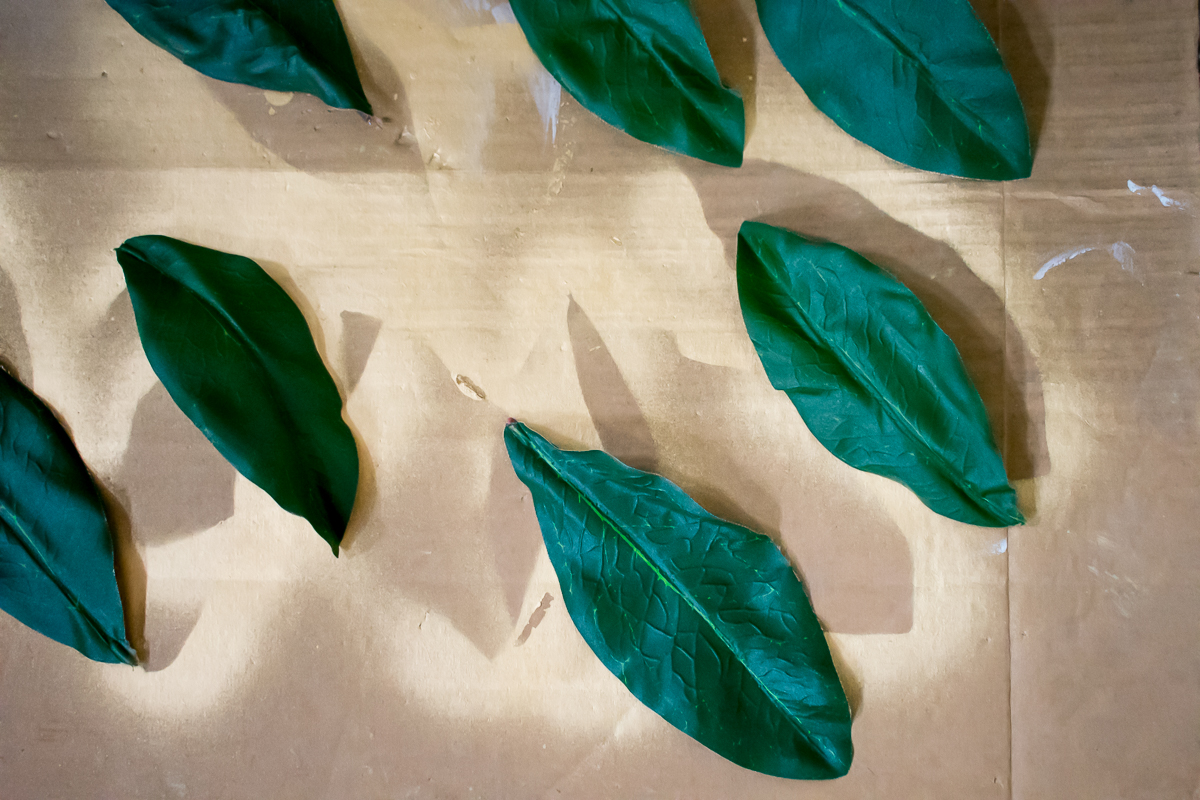
 Optional step, remove some of the magnolia leaves and place on cardboard. I found this helpful in making sure all the leaves were coated with spray paint.
 SPRAY PAINT STEMS AND LOOSE LEAVES
Spray stems and magnolia leaves with Design Master Brillant Gold spray paint. Let dry. Once dry, flip the leaves over and spray the other side. Double check and make sure the stems are painted gold, if not spray again. Let dry.
 ASSEMBLE THE GARLAND
Once all the stems are painted and dry. Reattach the loose leaves to the stems. On a large flat surface, like the floor, stagger two stems on top of each other. Adjust the overlap depending on leaf coverage you desire.
 SECURE STEMS TOGETHER WITH FLORAL WIRE
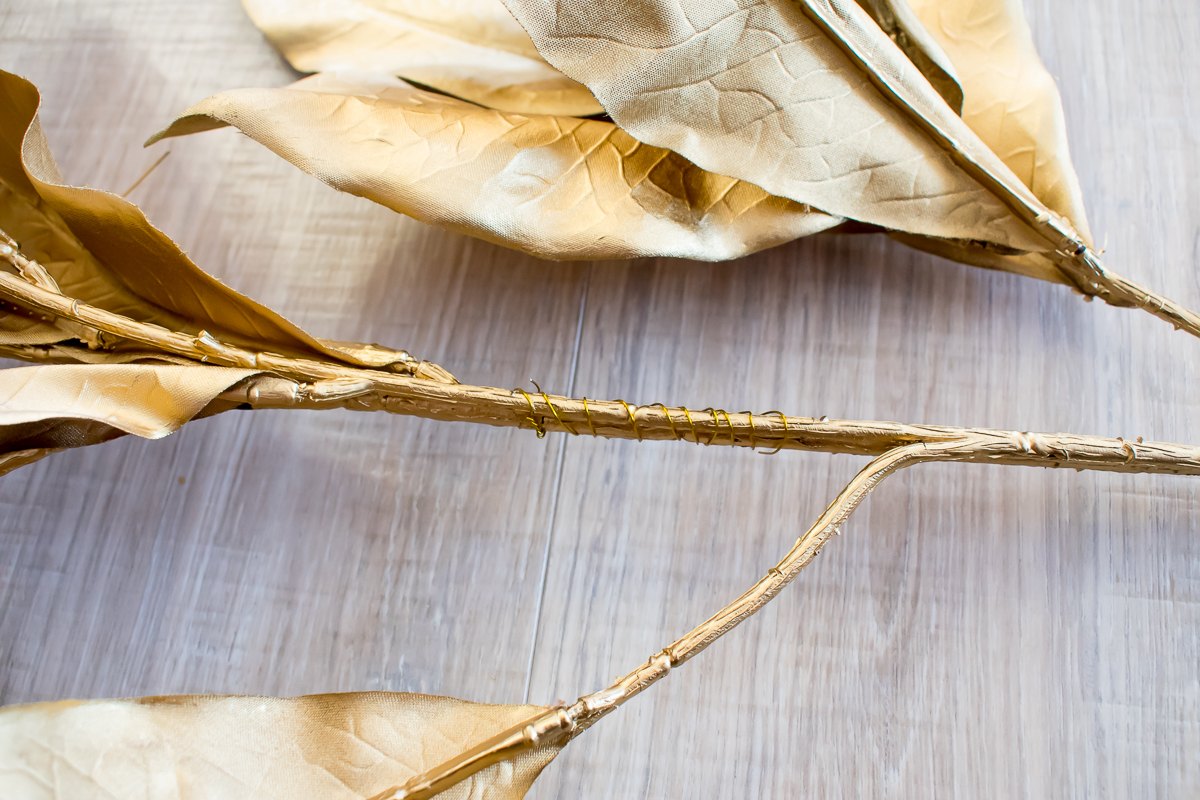
Cut two lengths of gold floral wire. Combine the two stems by wrapping the floral wire around the stems. Secure towards the top and at the bottom of the overlapping stems.
 CONTINUE ADDING STEMS
Continue adding overlapping magnolia stems to your garland, securing them with floral wire.
 CHANGE DIRECTION AT THE HALFWAY POINT
Stop when you reach the halfway point of your desired length, for me, it was after four stems were combined. At this point, you want to change directions in how you overlap your stems to create a garland with no stems at the end.
 FINISH GARLAND
Add the same number of magnolia stems going in the opposite direction. Your new garland is complete! I choose to add another coat of spray paint the garland to paint my stem ends and get anything I may have missed.
You can also add picks if you want marroon berries like the Crate and Barrel garland. I choose to leave my garland magnolia leaves only so I can add temporary picks from year to year as my color scheme changes.
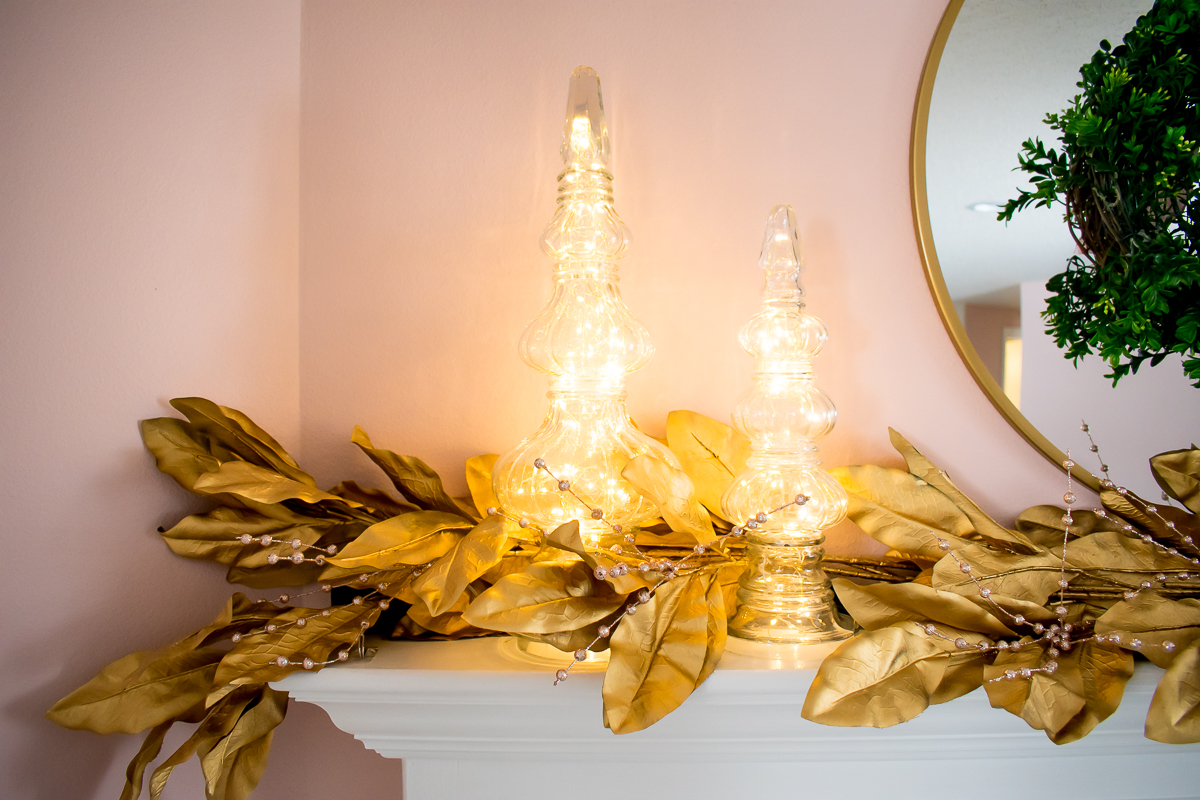
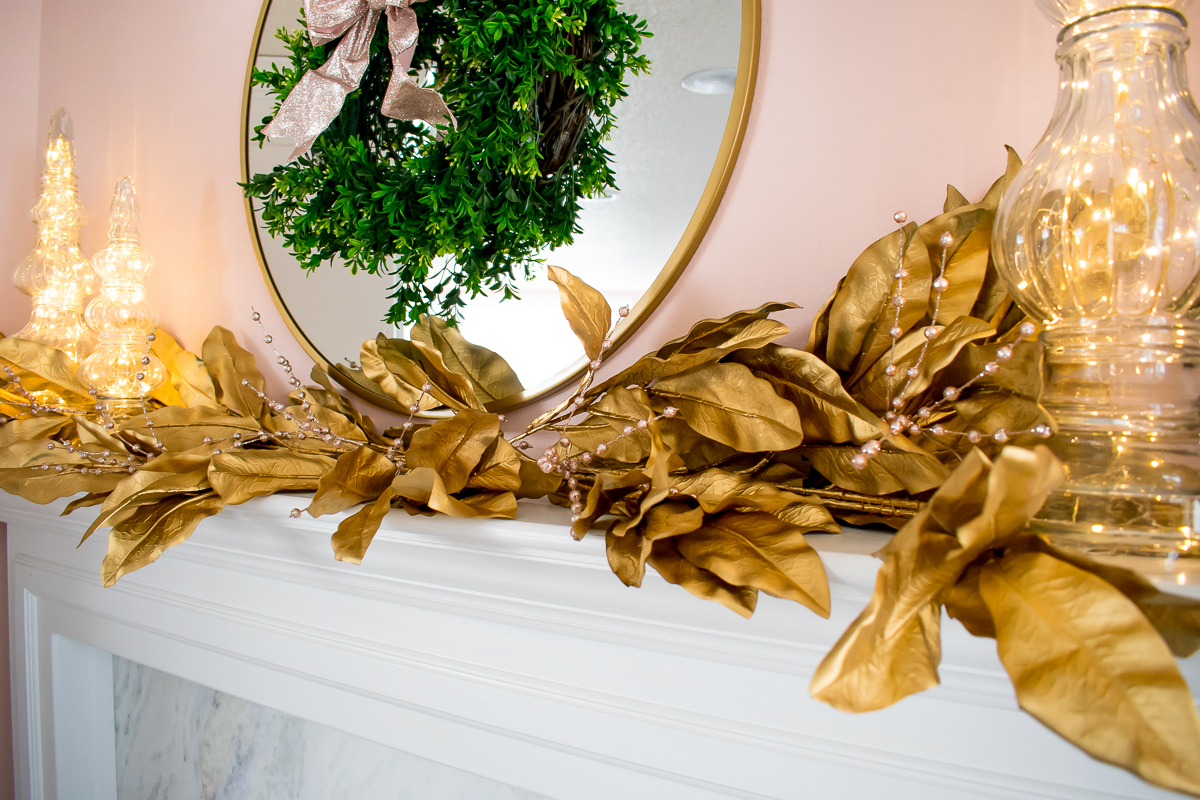
Here is my finished garland above my updated fireplace. See the fireplace update here. An 8′ length garland for $39 versus 5′ for $79.95. What do you think, is this a DIY project that you can tackle?





Leave a Reply