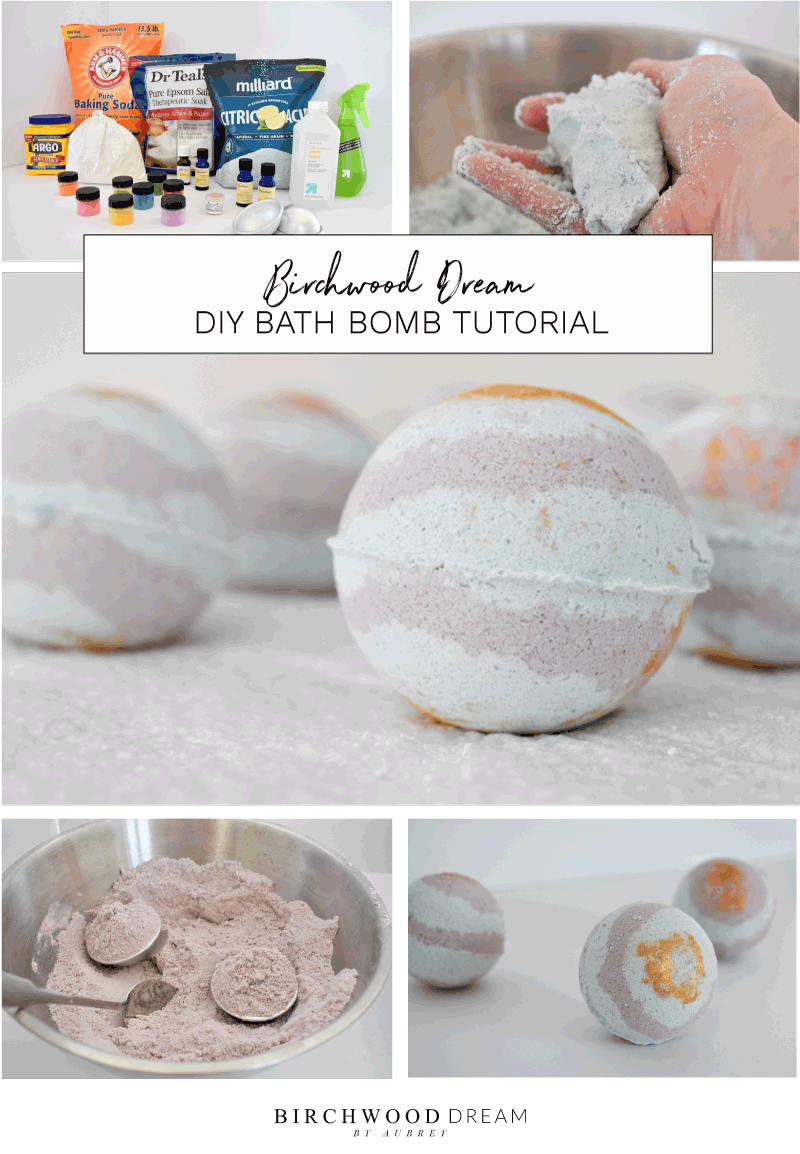
I have been making bath bombs for two years now. It is a fun DIY project that makes a great gift for yourself or others! Once you get the basics down, you can start playing around with different scent combinations, colors, and fun add-ons. Follow along to learn how to create your own!
This page may contain affiliate links, which means if you purchase by clicking on any of the links, I may get paid a small commission at NO extra cost to you. I only recommend brands and items that I use and trust. To learn more read my disclosure policy here.
STEP 1 | GATHER THE SUPPLIES
You will need the following items.
SUPPLY LIST:
RECIPE | MAKES APPROXIMATELY 10 BATH BOMBS
DRY INGREDIENTS:
- Kaolin Clay – 1.5 oz
- Epsom Salt – 8 oz
- Corn Starch – 8 oz
- Citric Acid – 8 oz
- Baking Soda – 16 oz
WET INGREDIENTS:
- Melted Coconut Oil – 4 Tsp
- Water – 3 Tsp
- Essential Oils – Total of 4 Tsp
RECIPE | MAKES APPROXIMATELY 20 BATH BOMBS
DRY INGREDIENTS:
- Kaolin Clay – 3 oz
- Epsom Salt – 16 oz
- Corn Starch – 16 oz
- Citric Acid – 16 oz
- Baking Soda – 32 oz
WET INGREDIENTS:
- Melted Coconut Oil – 7 Tsp
- Water – 5 Tsp
- Essential Oils – Total of 8 Tsp
STEP 2 | MEASURE OUT DRY INGREDIENTS
Add a large stainless steel bowl to the food scale and zero out the scale.
[spacer height=”16px”]PRO TIP: Use stainless steel or glass NOT plastic bowls and utensils while making your bath bombs. Stainless and glass will not absorb the essential oils and will make clean up a breeze.
[spacer height=”16px”]Shift the dry ingredients into the bowl. Eliminating any clumps of the ingredients is important.
STEP 3 | STIR DRY INGREDIENTS TOGETHER
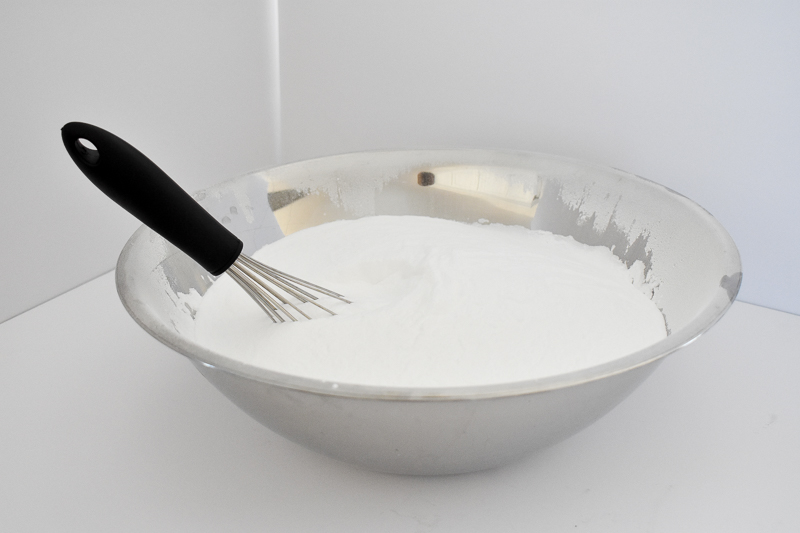
Once the dry ingredients are added to the bowl, stir together well. Be careful the ingredients are very powdery. Set the bowl aside.
 STEP 4 | COMBINE WET INGREDIENTS IN SEPARATE BOWL
Measure out and melt the coconut oil into a liquid state in the microwave and pour into a new stainless steel mixing bowl. Add water and essential oils and stir together. Set bowl aside.
STEP 5 | SELECTING YOUR ESSENTIAL OIL SCENT
When choosing which essential oil combinations to use for your bath bombs, the sky is the limit. There are a lot of essential oil recipes on Pinterest. I am still playing around trying to figure out my favorites. Here are a couple of combinations. As I discover more, I will continue to add to this list.
[spacer height=”16px”]I have found my local natural store to be the best place to purchase essential oils at a reasonable price. I have included Amazon links for your convenience, but the prices are typically more than in the store.
ROSEMARY & GRAPEFRUIT
- Rosemary Essential Oil – 45%
- Grapefruit Essential Oil – 55%
My leading favorite combination. It is a clean, refreshing scent.
JOYFUL SPIRIT
You can even purchase custom blends from the essential oil companies. I like this one by Wyndmere. It is another clean and refreshing scent.
EUCALYPTUS & SPEARMINT RECIPE FOR 20 BOMBS
- Spearmint Essential Oil – 5 Tsp
- Eucalyptus Essential Oil – 1.5 Tsp
- Rosemary Essential Oil – 1.5 Tsp
- Lemon & Eucalyptus Essential Oil – 1 Tsp
- Bergamot Essential Oil – 1 Tsp
VANILLA & SANDALWOOD RECIPE FOR 20 BOMBS
- Vanilla Essential Oil – 4 Tsp (15ml bottle)
- Sandalwood Essential Oil – 3.5 Tsp (10ml bottle)
- Texas Cedarwood Essential Oil – 1 Tsp
- Sage Essential Oil – 1 Tsp
- Eucalyptus Essential Oil – .5 Tsp
It is an earthy scent combination. You can just combine vanilla & sandalwood alone; I would put more sandalwood than vanilla since the vanilla tends to overpower other scents.
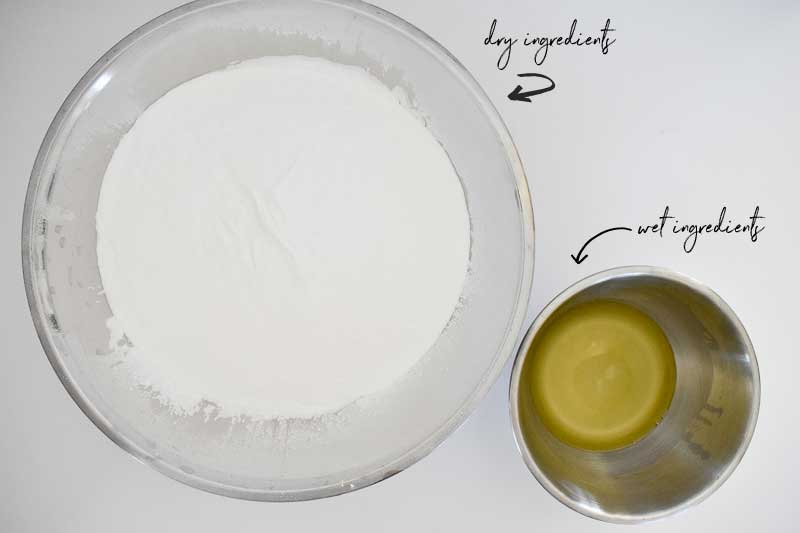
You should now have two bowls, one with dry ingredients and wet ingredients.
 STEP 6 | ADD COLOR
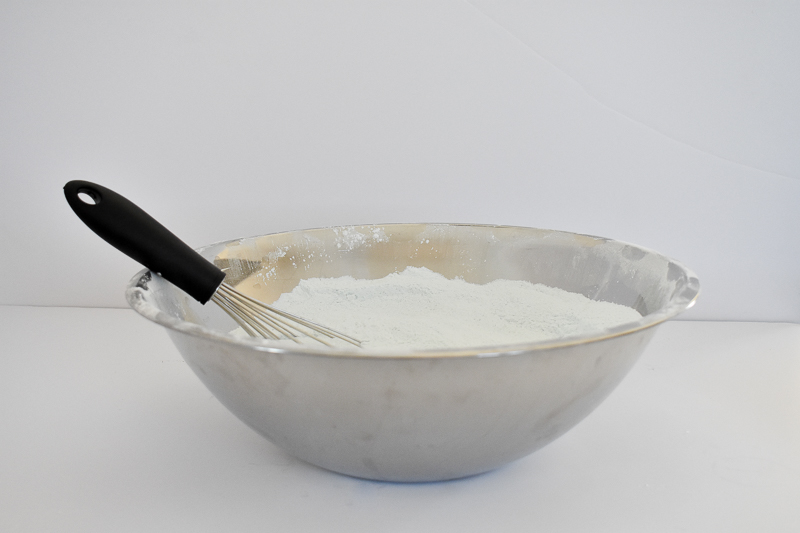
If you want to have different colors now is the time. Add mica pigment powder to dry ingredients. You can use food coloring as well to achieve colored bath bombs. I didn’t like working with another liquid, and it took a lot of product to get a rich color. The pigment powder is easy to work with, and you get a lot of color payout.
 STEP 7 | PREP DRYING LOCATION
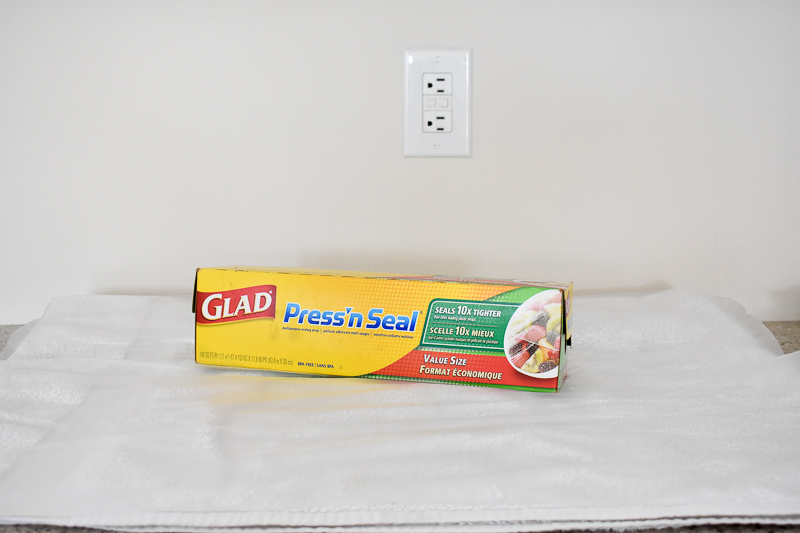
You will need an area where the bath bombs can harden for 24-48 hours undisturbed. I found it best to place them on a towel. I cover the towel with Press’N Seal Plastic Wrap to make for easy cleanup.
 OPTIONAL STEP | PREP MOLDS WITH GOLD DUST
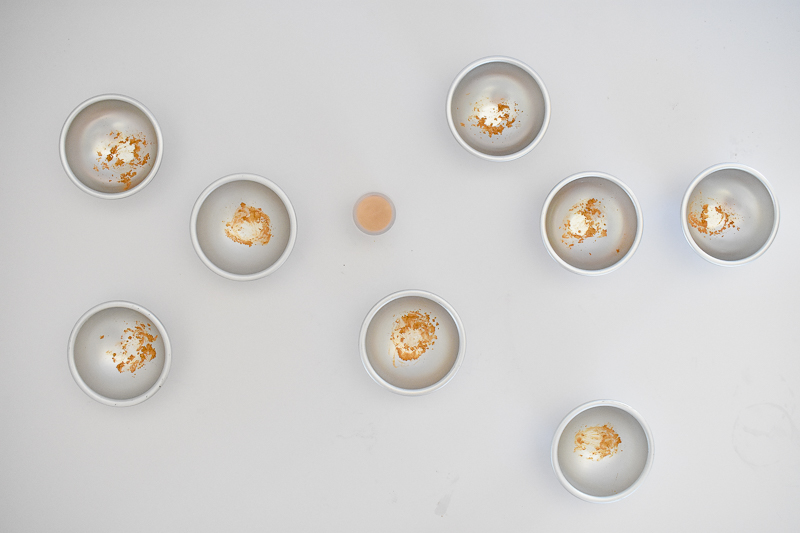
You don’t need to do this step; it is just a fun add-on to give the bath bombs a little shimmer. Add a small amount of the gold dust to the bottom of the stainless steel molds. You can paint the gold onto the bombs after drying as well.
 STEP 8 | COMBINE THE DRY AND WET INGREDIENTS
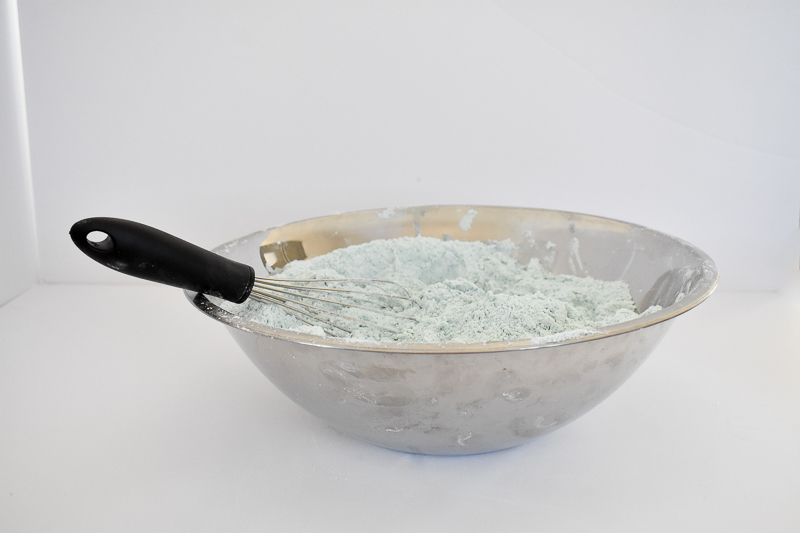
You must incorporate the wet ingredients into the dry ingredients SLOWLY. A few drops at a time slow. If you mix them too quickly, you cause a reaction of the mixture. You DON’T want that; you want to save it for the bath. Yes, it takes a little bit of time before they are combined, but it is worth it!
[spacer height=”16px”]FYI: You don’t have to incorporate all of the wet ingredients if you are getting the correct consistency.
 GETTING THE CORRECT CONSISTENCY
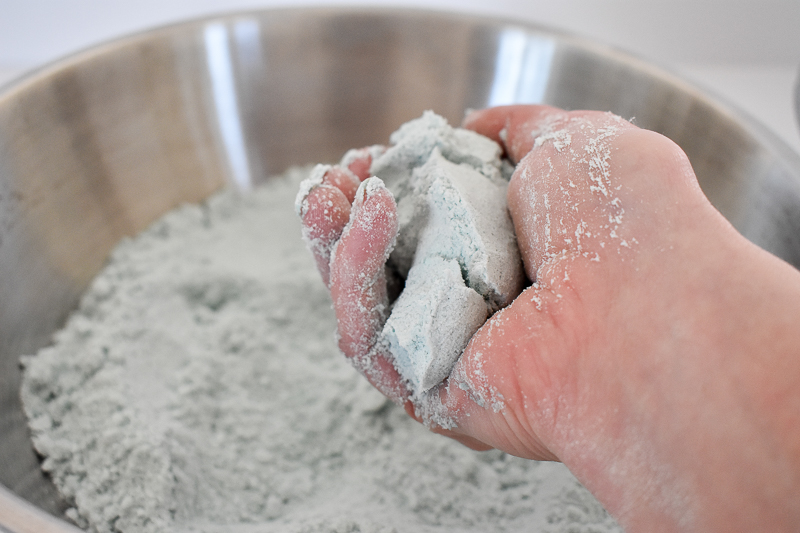
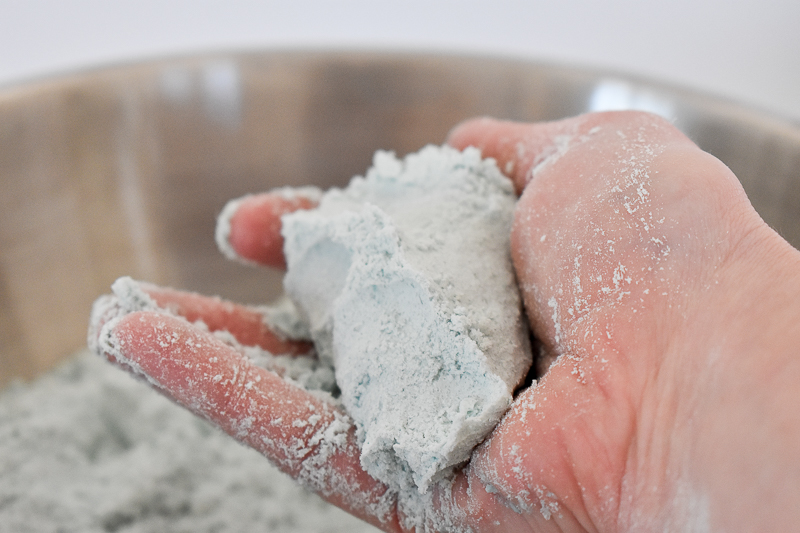
The trickiest part of bath bombs, in my own opinion, is getting the correct level of wetness. If it is too wet, it tends to crack while drying. If it is too dry, it won’t stick together. Even the level of humidity in your home will play a factor.
[spacer height=”16px”]It is supposed to have the consistency of wet sand. I find it is best if it is a drier wet sand. It feels dry, but when you squeeze it together, it sticks.
 OPTIONAL STEP | ADD ANOTHER COLOR
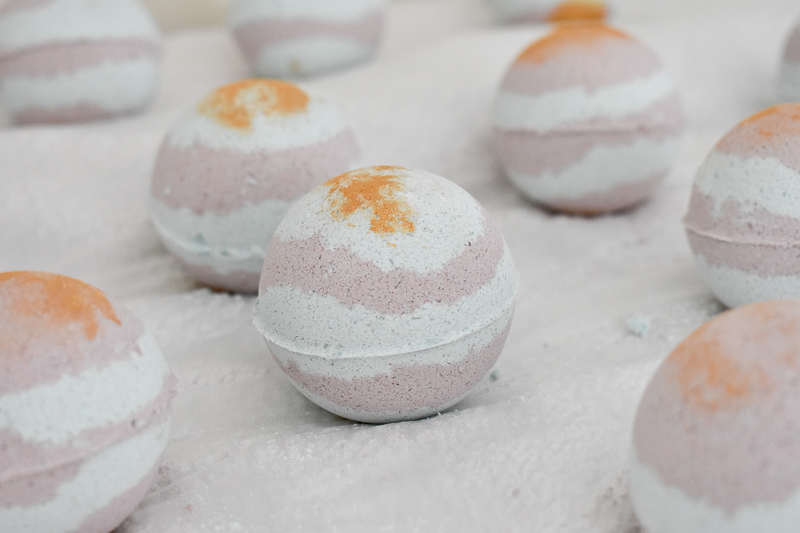
I have been enjoying getting a little more creative with the bath bombs like making them two-toned. I even created rainbow bath bombs for gifts for the kids.
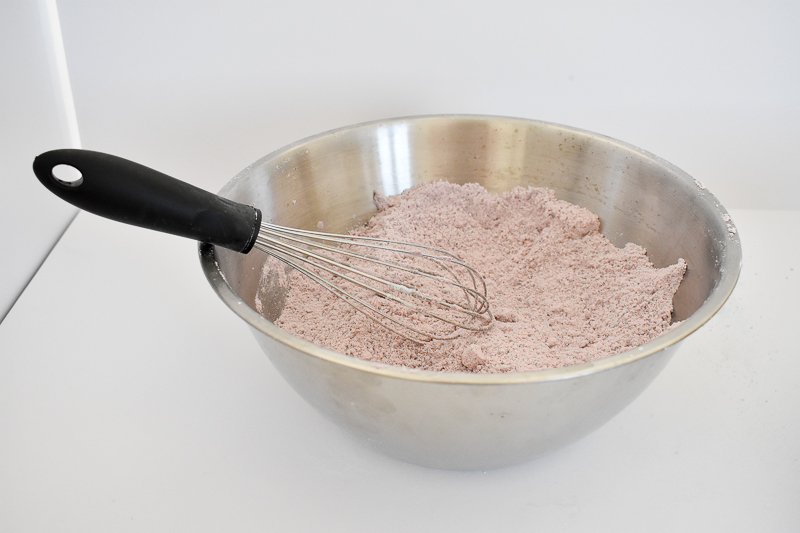
[spacer height=”16px”]I separated the mixture in half and added red coloring to one of the bowls and stirred to combine.
 STEP 9 | MOLD BATH BOMBS
Now for the best part, time to create our bath bombs! If only using one color, fill each half of the mold, lightly press mixture into the molds and overfill each half as shown below.
[spacer height=”16px”]Press each half together squeezing the excess out of the mold. When using stainless steel molds, you can take the bombs out right away. Remove one half and carefully flip it onto your palm. Then gently place the bath bomb onto your towel to dry.
[spacer height=”16px”]They may come apart when you set them down. No worries, scoop up the bomb and stir it back into the mixture and mold again.
[spacer height=”16px”]As you are working the mixture may dry out. You can add a combination of half coconut oil and half water to the mixture. Or a couple of sprays of witch hazel. Don’t go crazy with the witch hazel; I found it caused my bath bombs to crack. Three sprays of the witch hazel and try again.
[spacer height=”16px”]If at the end of the batch you don’t have quite enough to make another bath bomb, place the mixture into a Ziploc bag and save for your bath. Still makes the bath smell great even when not in a ball form.
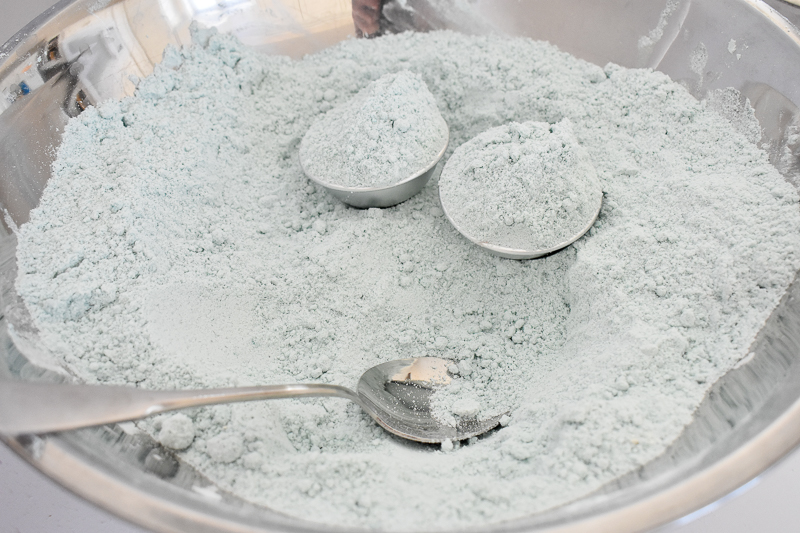 OPTIONAL TWO-TONED BATH BOMBS
If you want to have some fun and create multiple color bath bombs here is how to do it.
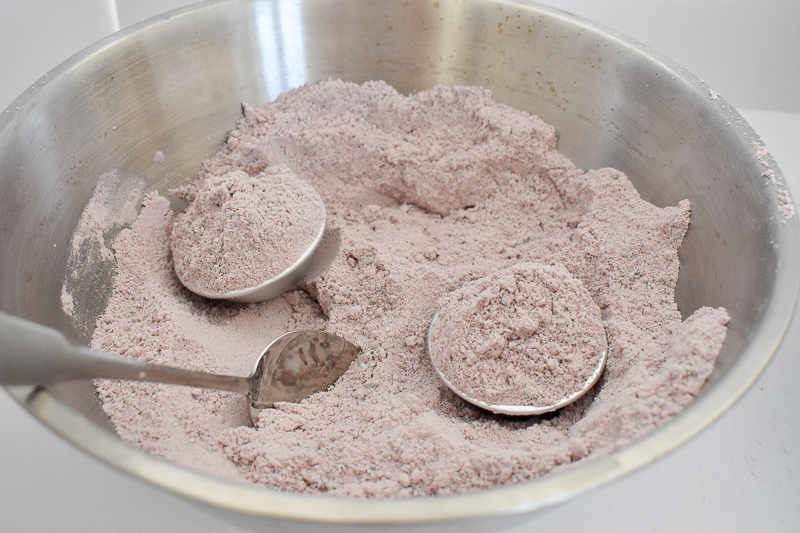
[spacer height=”16px”]Add a small amount of the first color in the bottom of each mold half. Then add a layer of the second color to each mold half.
[spacer height=”16px”]PRO TIP: End with the same color at the top of each mold where the mold halves will combine.
 STEP 10 | ALLOW BATH BOMBS TO HARDEN
Now comes the need for patience. It will take anywhere from overnight up to 48 hours for the bath bombs to harden. Depending on the wetness of the mixture when you made them and the humidity level in your home.
[spacer height=”16px”]You will know when they are done when they are hard and firm to the touch. Enjoy and use within a couple of weeks if left unwrapped.
[spacer height=”16px”]If you happen to get a few bombs that crack while drying no worries. Wrap them up, and those are the bombs that you get to use! They still work and smell great even if they have a little crack :).
 OPTIONAL STEP | WRAP BATH BOMBS
To maintain the freshness of the bath bombs later and a better way to gift them, shrink wrap them in plastic. This year I added an impulse sealer and shrink wrap bags to my supplies. Well worth the investment! Now I don’t have to make the bath bombs last minute before I want to gift them. And it gives a professional look to the gift. I am all about making DIY gifts not look like DIY.
SUPPLY LIST
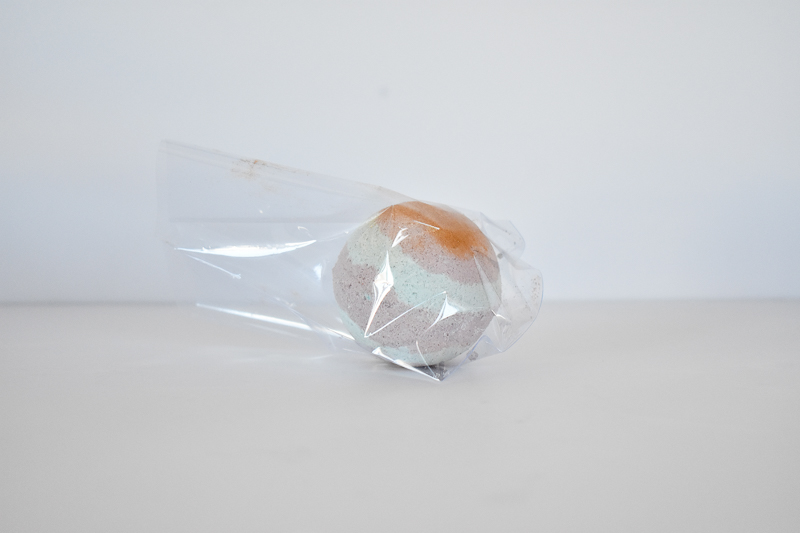
When the bath bombs have hardened, place them in a shrink wrap bag.
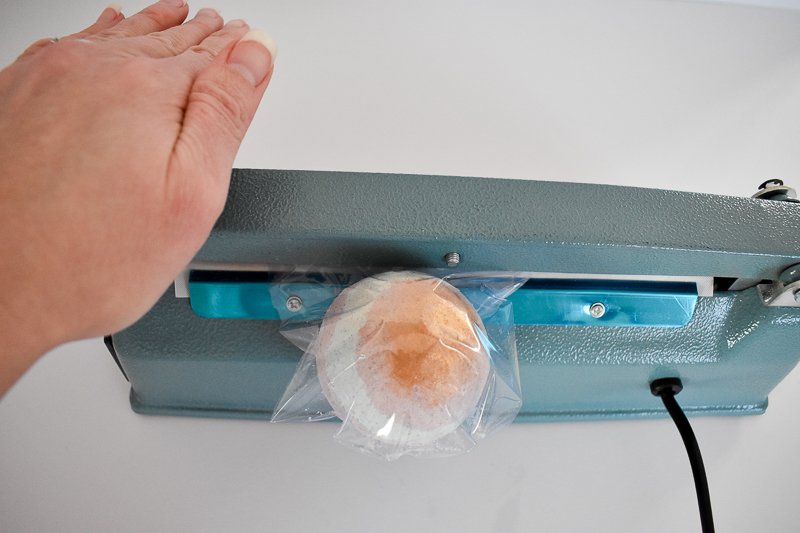
Seal the open end of the bag with the impulse sealer. Get as close to the bath bomb as you can.
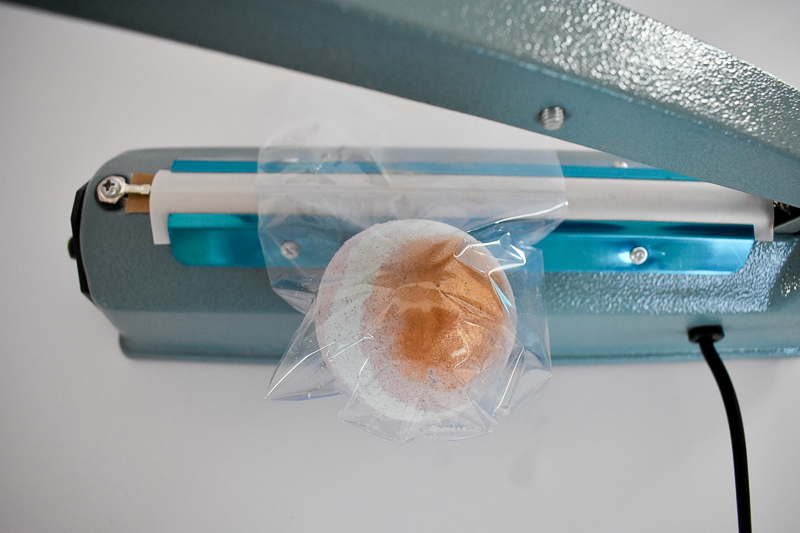
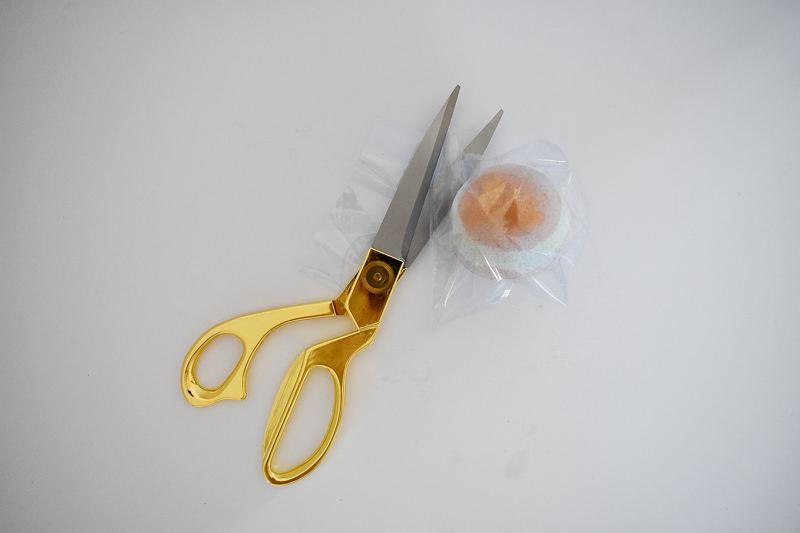
Trim the extra material from the bag right above the seal you just made with the impulse sealer.
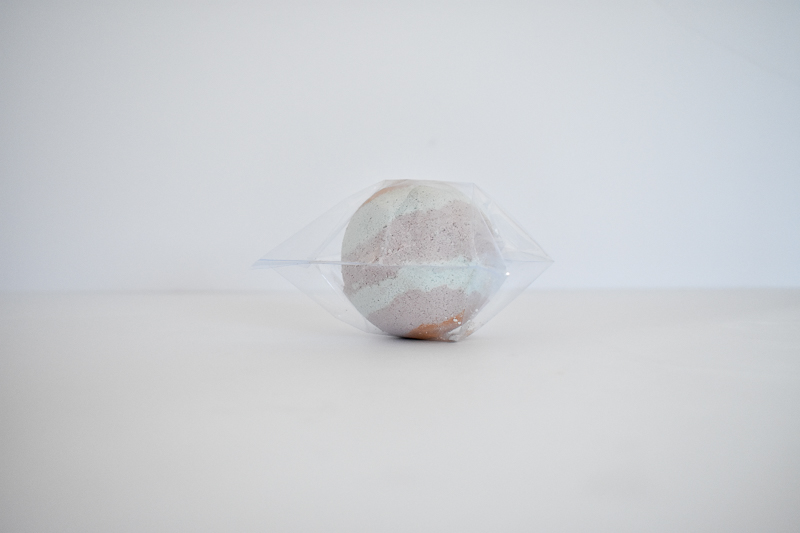 ADD HEAT
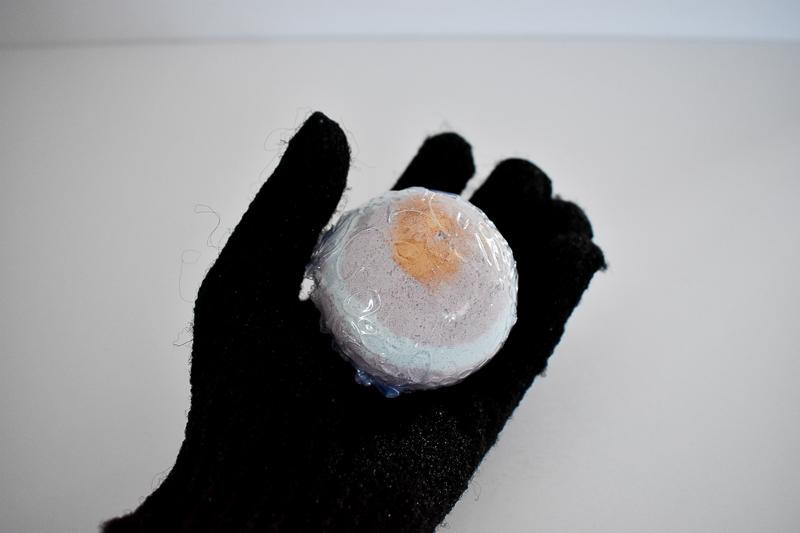
Using your blow dryer shrink the plastic onto the bath bomb.
PRO TIP: Use your curling iron glove to protect your hand from the heat of the blow dryer.
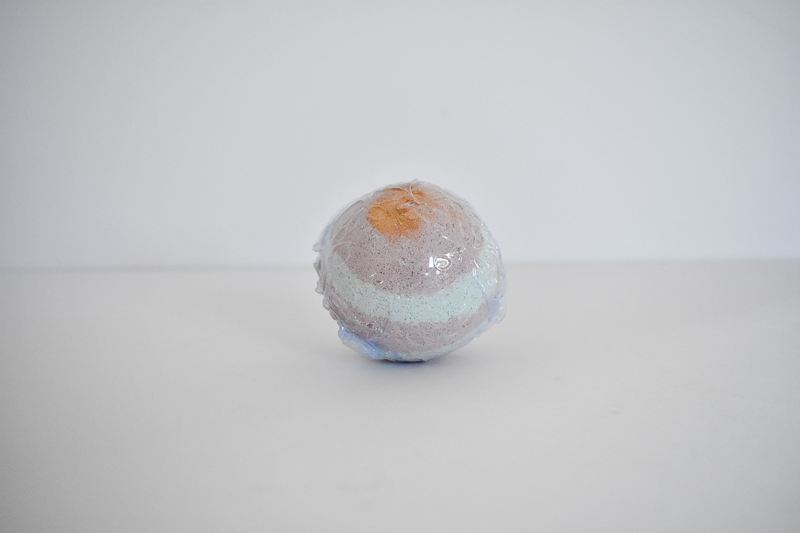 PROJECT COMPLETE!
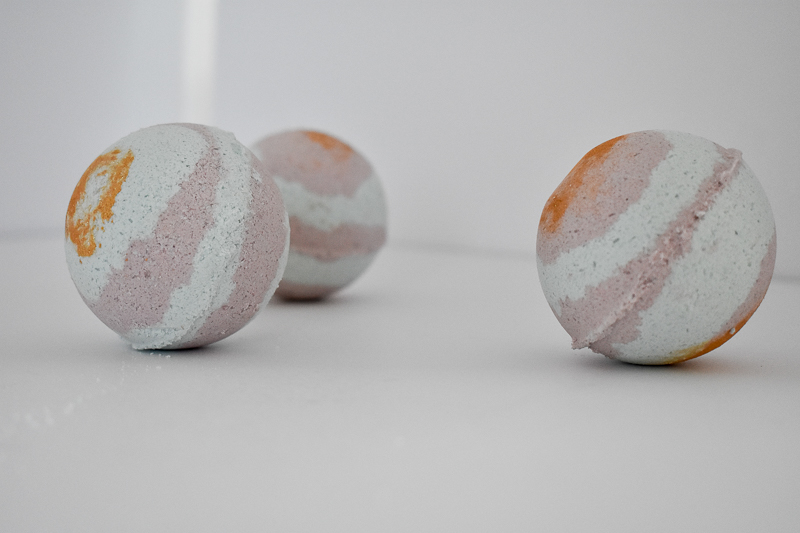
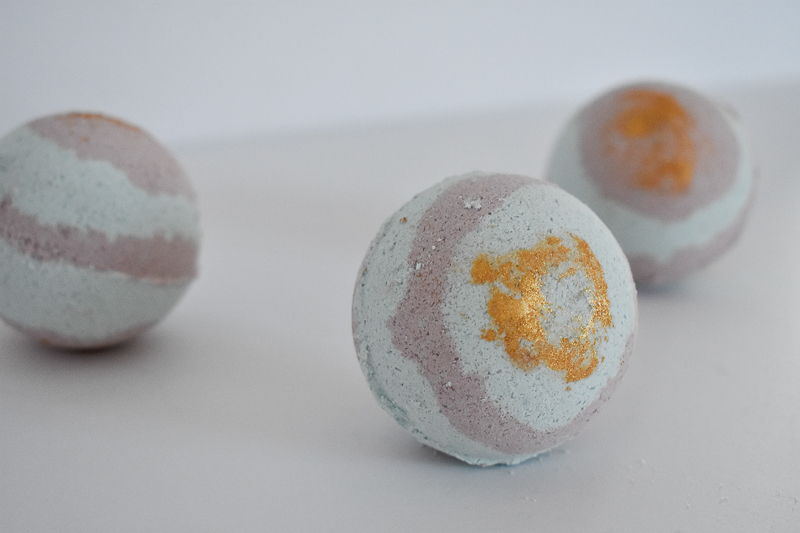
Give away the bath bombs as gifts or enjoy them yourself in a beautiful, relaxing bath! Are you going to make some bath bombs now?


Leave a Reply