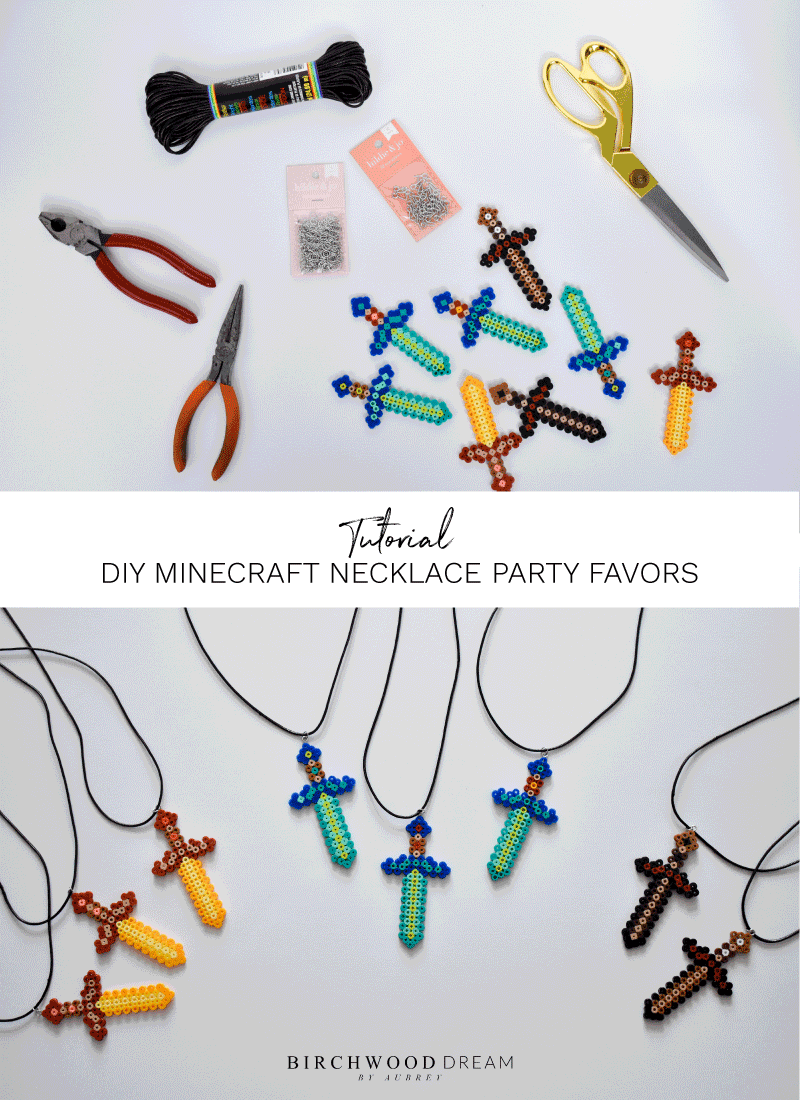
Since my child is obsessed with Minecraft, I thought for his birthday party goodie bags I would make it Minecraft themed.
Is it just me or are kid’s goodie bags way too much fun to create? I end up spending probably a little too much time and money on them, but I love it.
The first project that I started with was the bead sword necklaces. They are created using Perler beads. And it is a project you can do with your child. You can turn them into a necklace, pin, keychain, or even a picture frame. Taylan decided that he wanted them as necklaces. Here are the steps to create your own Minecraft sword necklace party favors.
RELATED POST: DIY Minecraft Shirt Party Favor Tutorial
STEP 1 | GATHER THE SUPPLIES
You will need the following items.
This page may contain affiliate links, which means if you purchase by clicking on any of my links, I may get paid a small commission at NO extra cost to you. I only recommend brands and items that I use and trust. To learn more read my disclosure policy
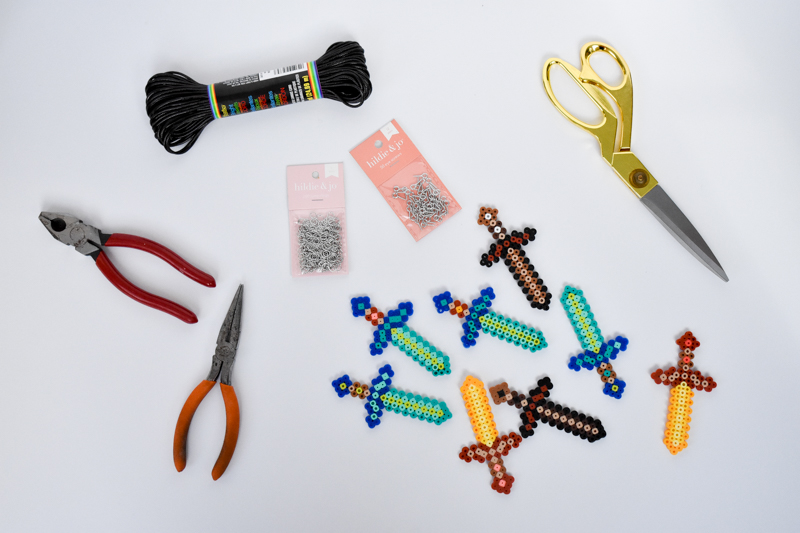 SUPPLY LIST:
- 8-Inch Long Nose Plier
- Long Nose Plier with Cutter
- Dinosaur Perler Bead Bucket
- 6mm Silver Jump Rings
- 12mm Silver Eye Screws
- Jewelry Cording
- Tweezers
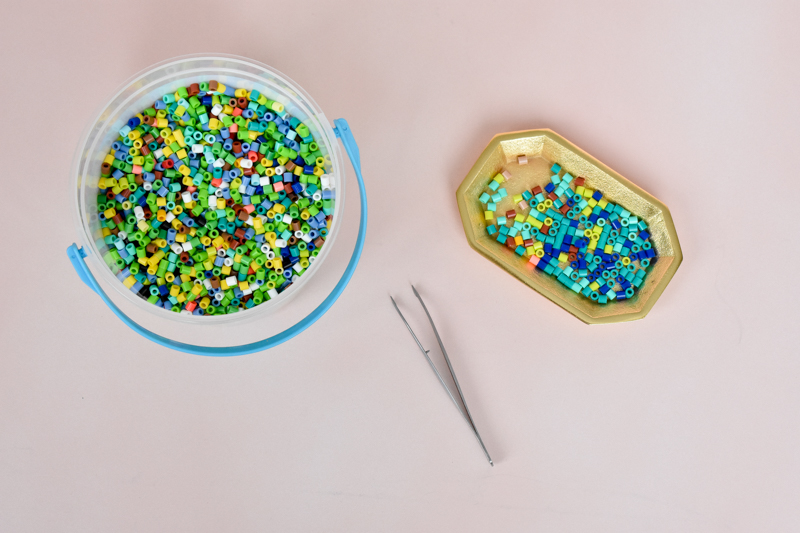
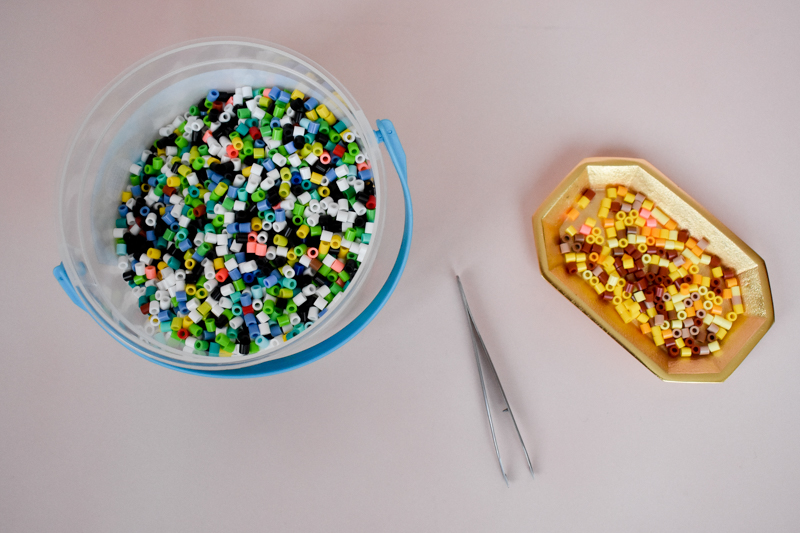
OPTIONAL STEP | SEPARATE COLORS NEEDED INTO A SMALL CONTAINER
This is an optional step, but I found it helpful to separate out the colors of beads that I needed before I started each sword and place them in a small dish.
 STEP 2 | FIND AN INSPIRATION PHOTO
I found an image on Pinterest that I used as my guide. You do not need to follow the colors exactly as your inspiration photo, use it more for how to create the shape of the sword.
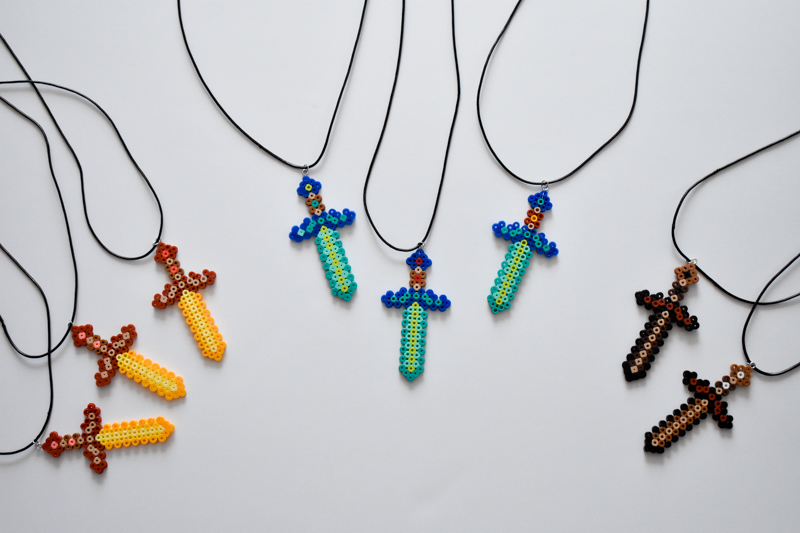
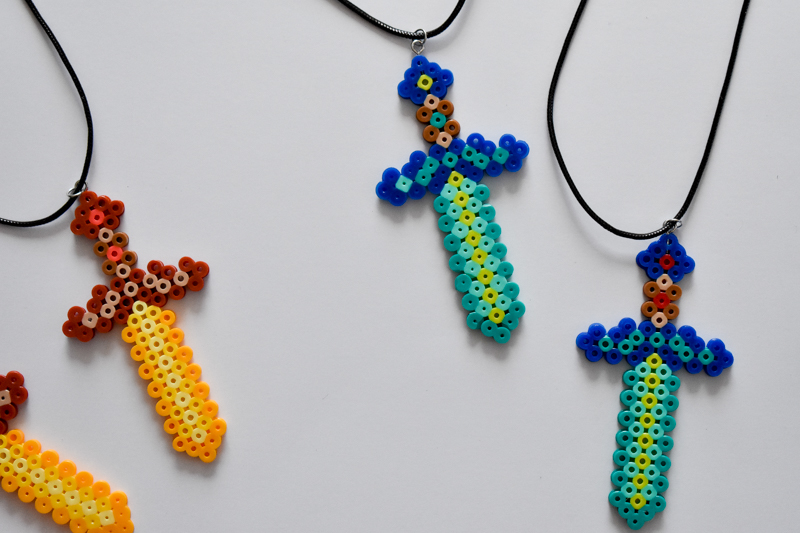
There are four types of swords in the game, wood, gold, iron, and diamond swords. Taylan made it clear that I wasn’t allowed to make up my own colored swords they had to be “real” Minecraft swords. You may want to ask your child about their preferences.
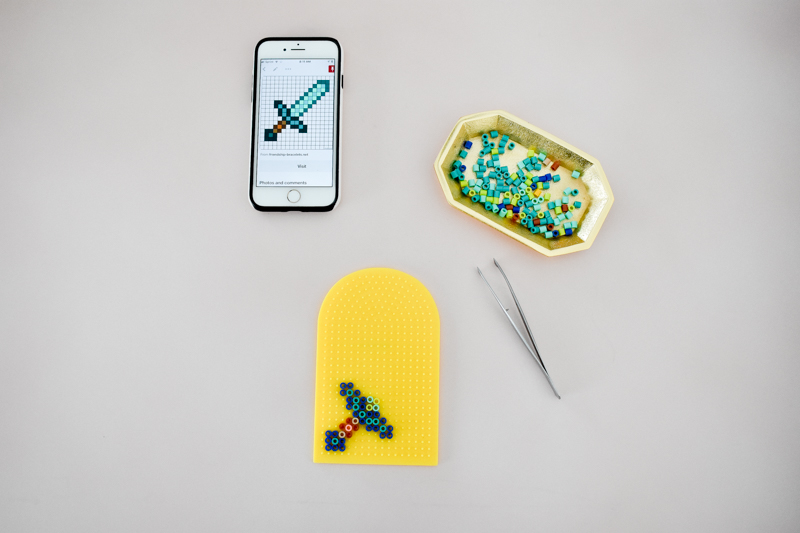 STEP 3 | LAYOUT YOUR DESIGN ONTO THE BOARD
You can use your hands or it is helpful to pick up and place the beads using a pair of tweezers.
PRO TIP: Be careful as you are placing the beads and moving the board around, the beads are very jumpy.
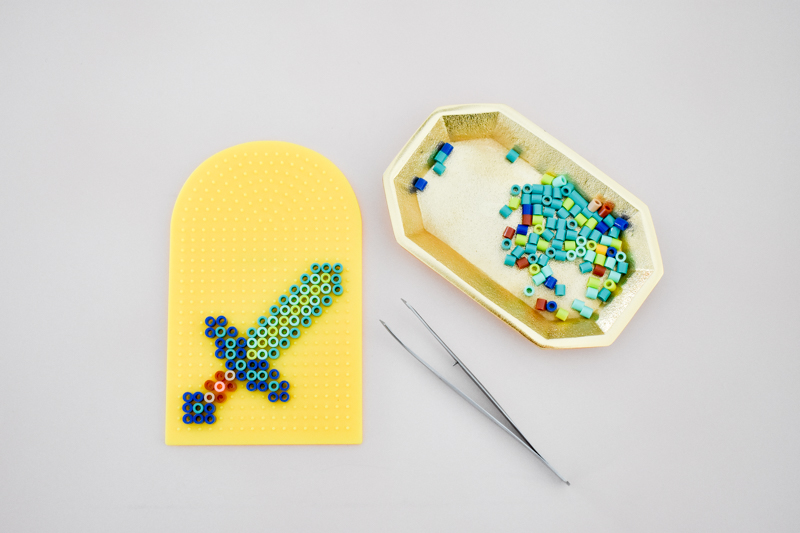 STEP 4 | CAREFULLY MOVE DESIGN BOARD TO IRONING BOARD
This is an adult only step. Carefully move the board with beads to your ironing board. Turn your iron onto the heat setting in the bead instructions.
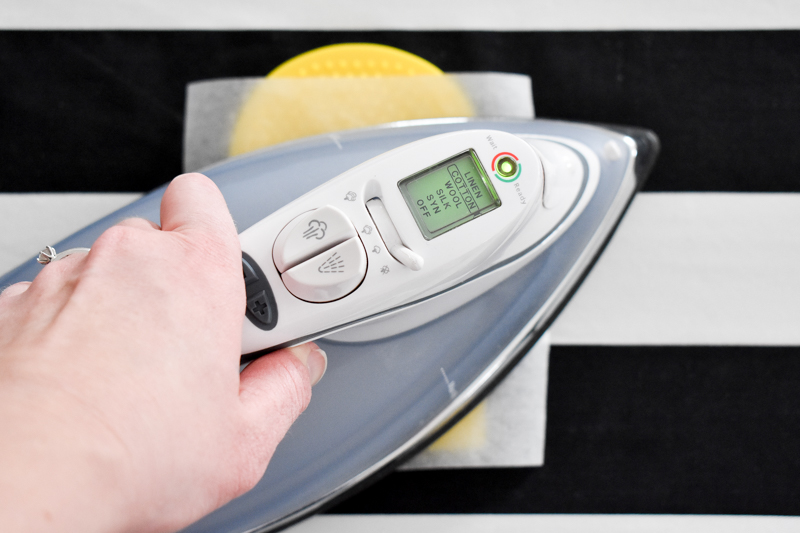
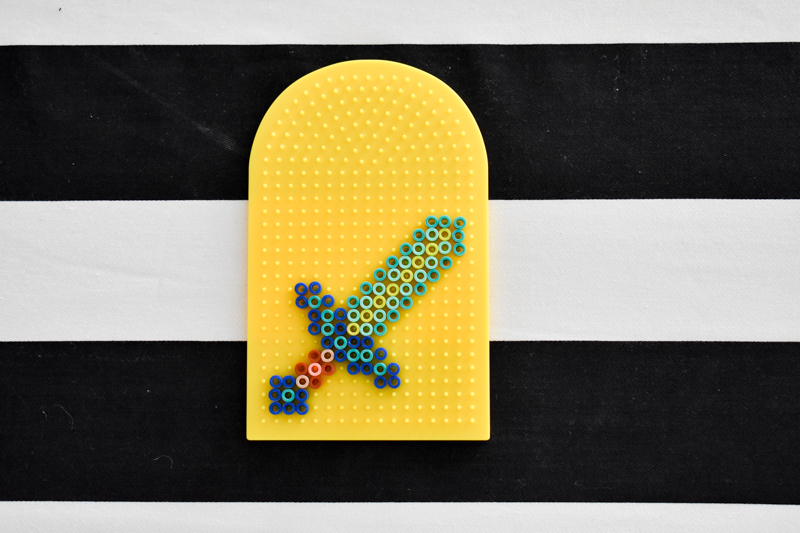 STEP 5 | COVER WITH PARCHMENT PAPER AND IRON
Lay a piece of parchment paper over the beads. Carefully with your iron move slowly in a light circular pattern to fuse beads together.
 STEP 6 | FLIP AND REPEAT ON OTHER SIDE
Remove your sword from the base and flip over onto parchment paper.
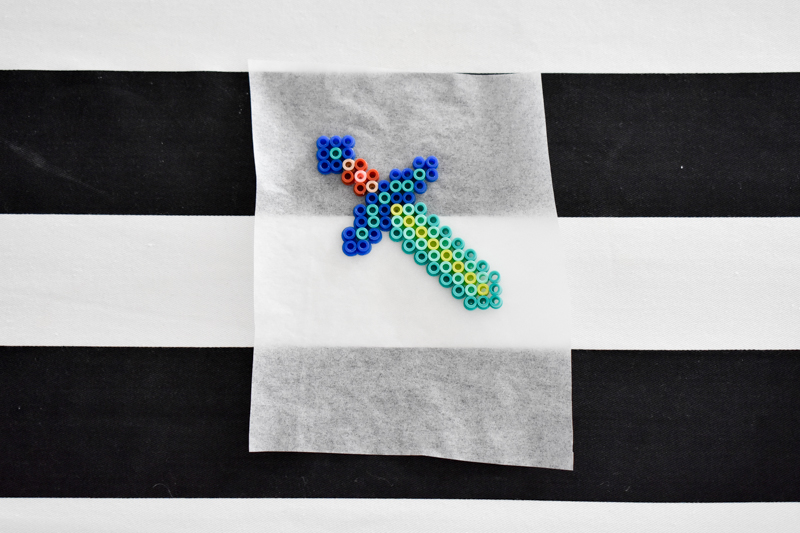 STEP 7 | PLACE PARCHMENT PAPER ON TOP
Lay another piece of parchment paper over beads.
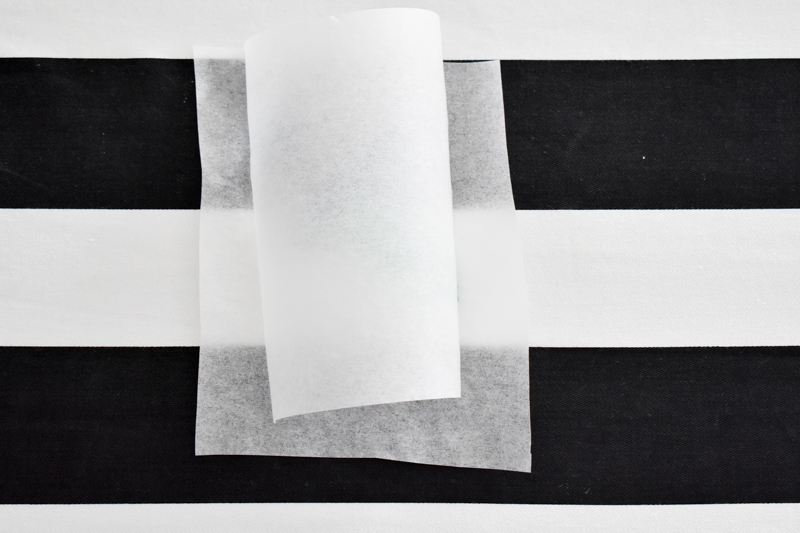 STEP 8 | FUSE OTHER SIDE WITH IRON
Carefully with your iron again move slowly in a light circular pattern to fuse beads together.
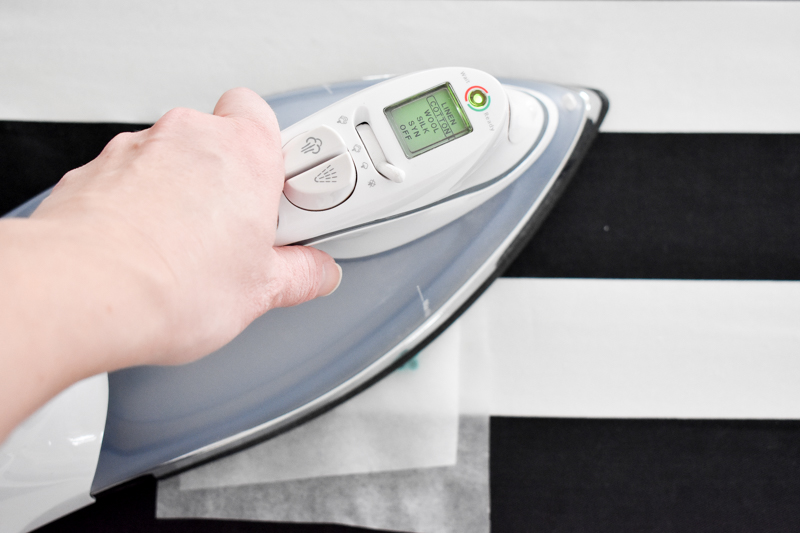
You will see the design through the paper when it is fused properly. Let cool and remove the parchment paper.
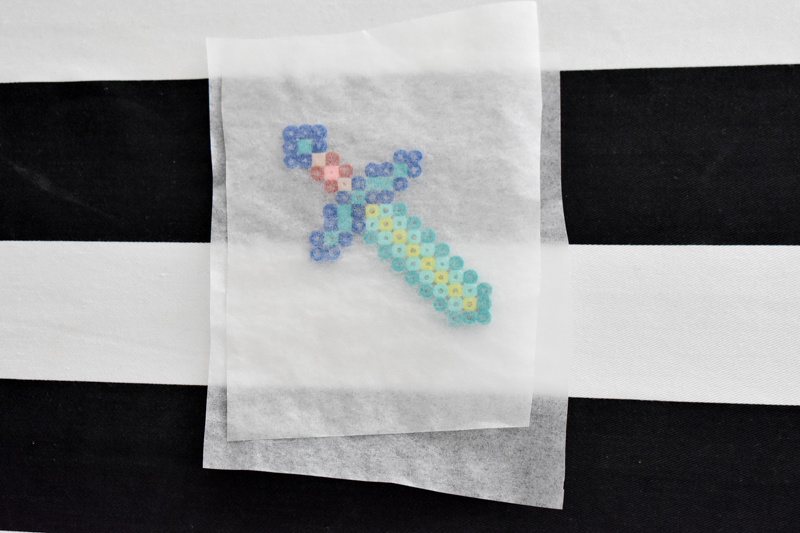 STEP 9 | PREP THE HANGER
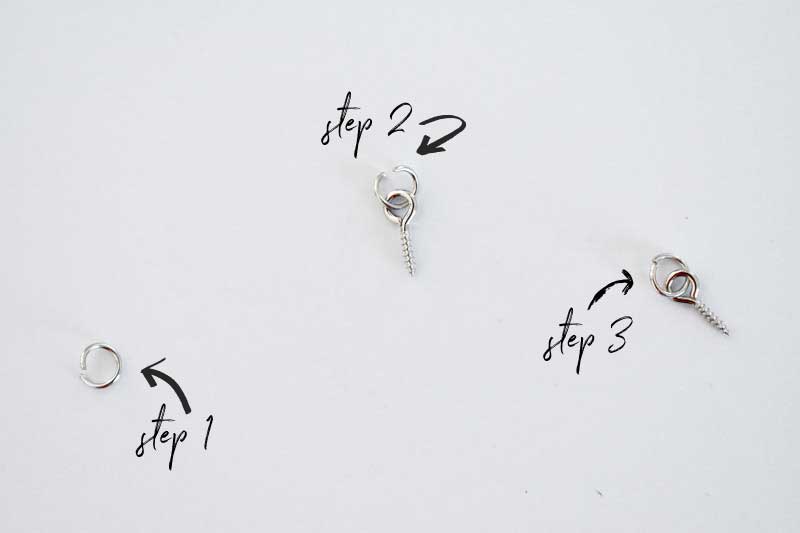
Open up the jump ring. Insert the ring into the eyelet screw. Close the jump ring.
 STEP 10 | INSERT EYELET INTO SWORD
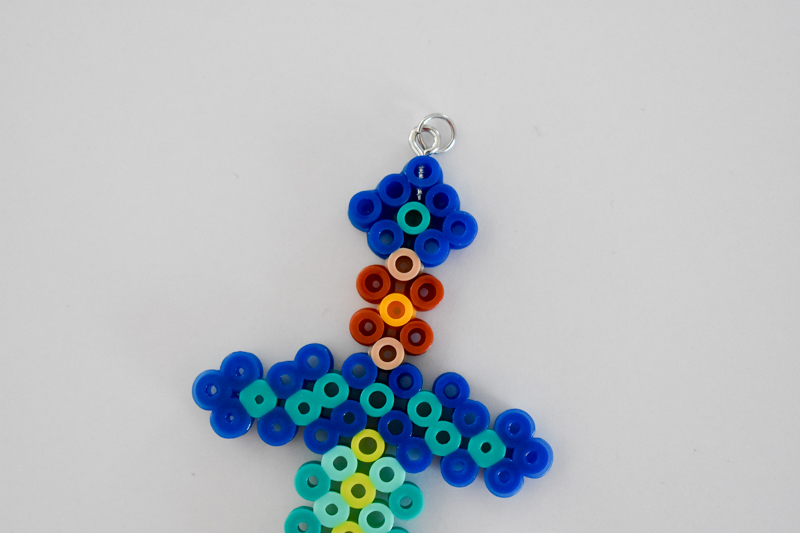
Twist the metal part into the top of the sword. I found it helpful to get a hole started using the tip of an X-Acto knife.
 STEP 11 | STRING NECKLACE
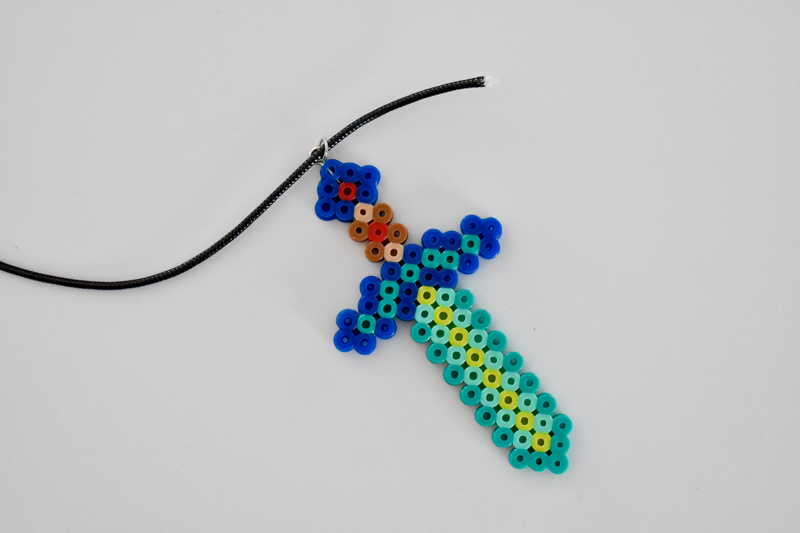
Determine the length you want the necklace and cut the string. I used 18″ in length for the string.
 STEP 12 | TIE THE ENDS OF THE STRING
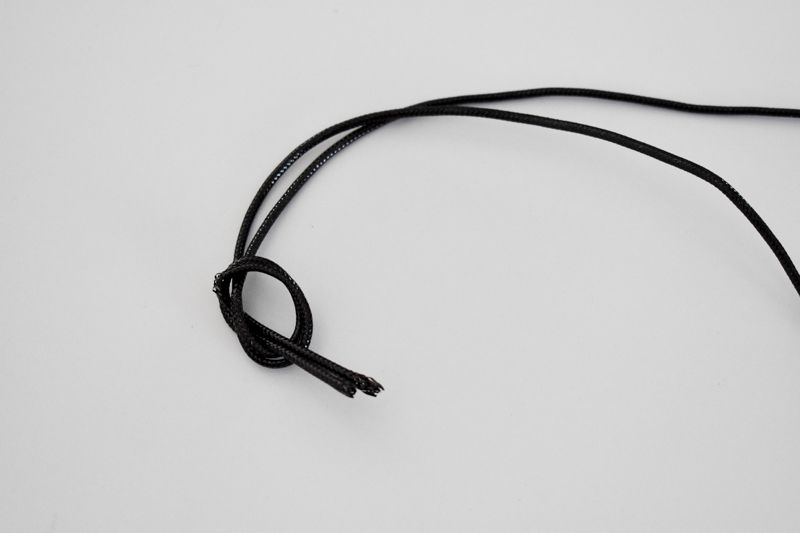
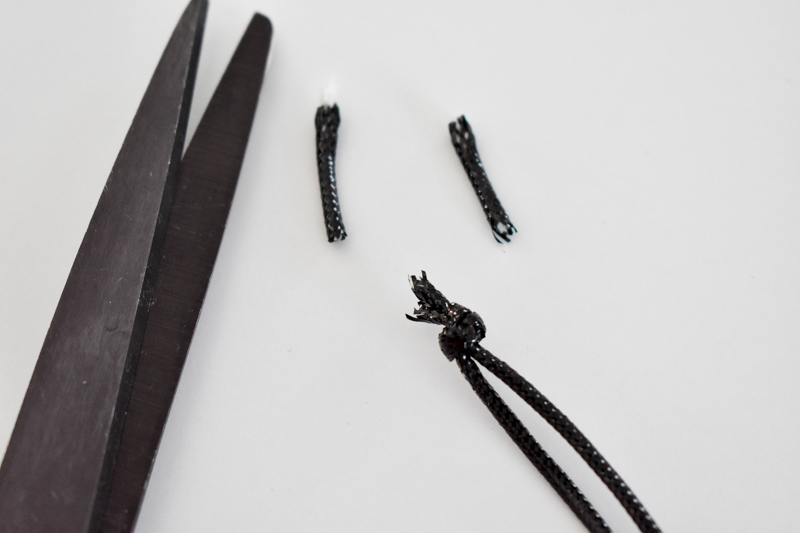
Create a knot at the ends of the strings to secure.
 STEP 13 | TRIM EXCESS THREADS
Cut off the excess threads.
 PROJECT COMPLETE
Put your new Minecraft swords into the gift bags and watch the kids have fun with their new Minecraft treasure.

Leave a Reply