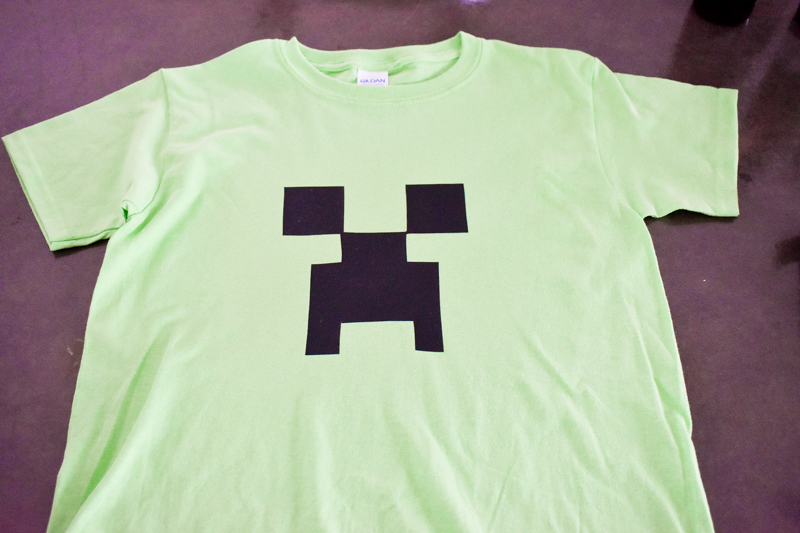
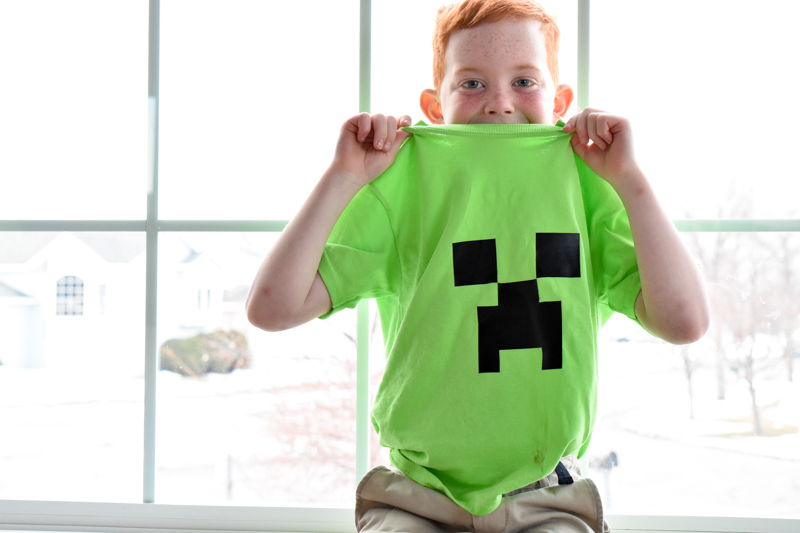
For his 8th birthday party, T wanted a Minecraft theme party. For one of the party favors, I created Creeper t-shirts. The bright shirts worked great for spotting the kids running around at the party. It was a quick project that I completed in one evening and was a massive hit at the party!
This page may contain affiliate links, which means if you purchase by clicking on any of my links, I may get paid a small commission at NO extra cost to you. I only recommend brands and items that I use and trust. To learn more read my disclosure policy here.
SUPPLY LIST:
Gather the following supplies.
- Green T-Shirts
I purchased the lime green t-shirts at Hobby Lobby for $2.79 each during a 30% off sale. They do carry an Irish green t-shirt that would be the better creeper color. But I tried to purchase the shirts shortly after St. Patrick’s Day and the Irish green was out of stock. Michaels also sells t-shirts, but they only carry lime green. Watch for a sale on those, I did see them as low as $2 each.
The vinyl will yield approximately 10-12 creeper faces depending on the how large you make them.
- Self-Healing Mat
- X-Acto Knife
- Scissors
- Iron
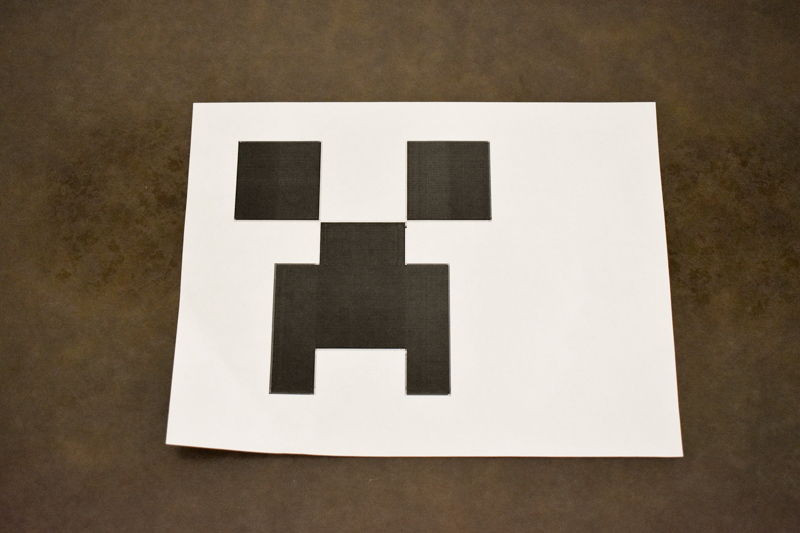
PRINT OUT A CREEPER FACE
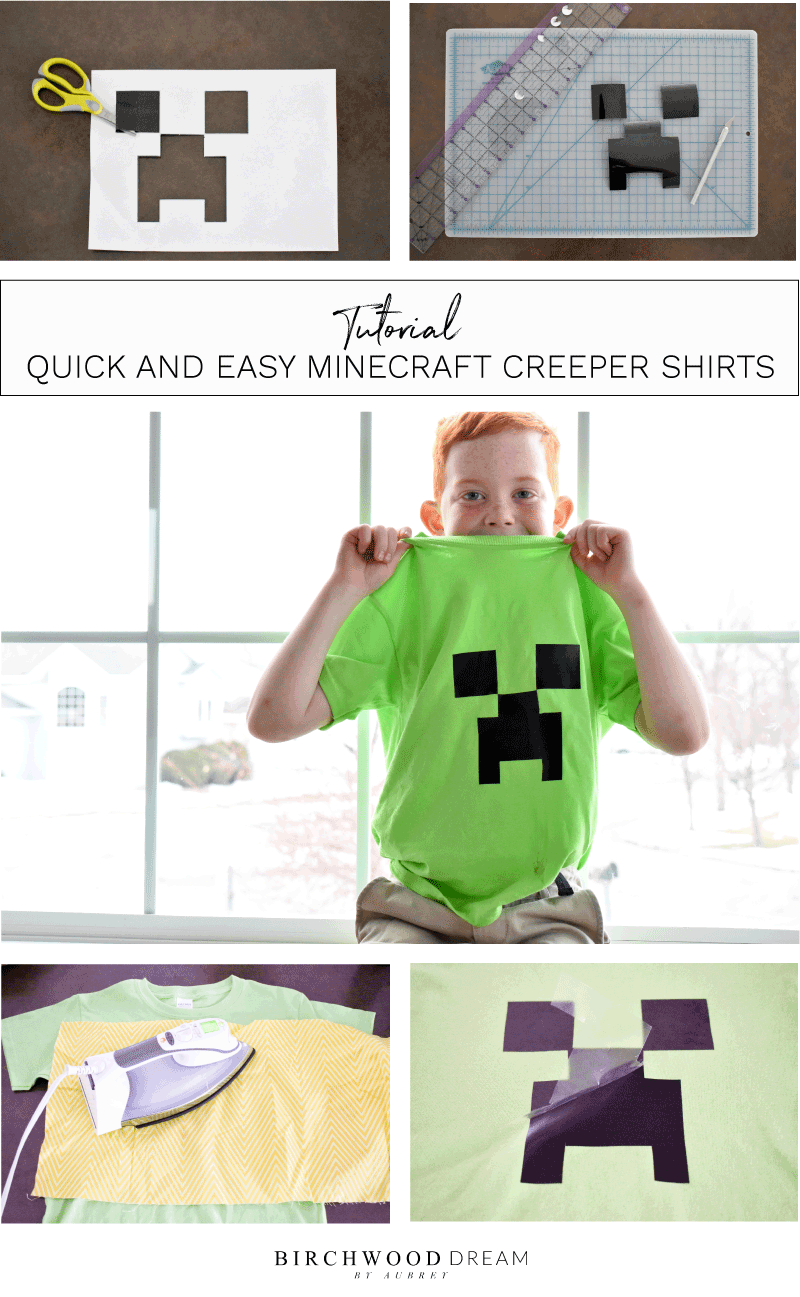
Print out a Creeper face image to use as a template.
 CUT OUT A CREEPER FACE
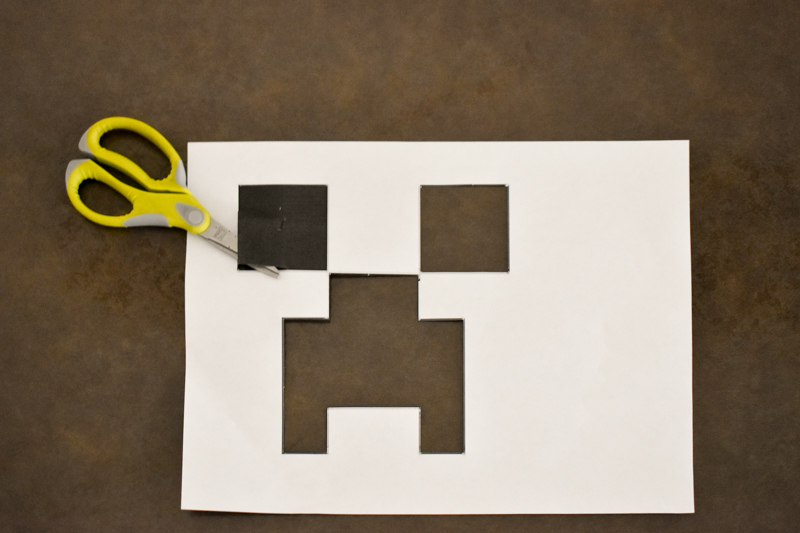
Cut out the Creeper face to create a stencil.
 CUT OUT METHOD #1 – STENCIL AND SCISSORS
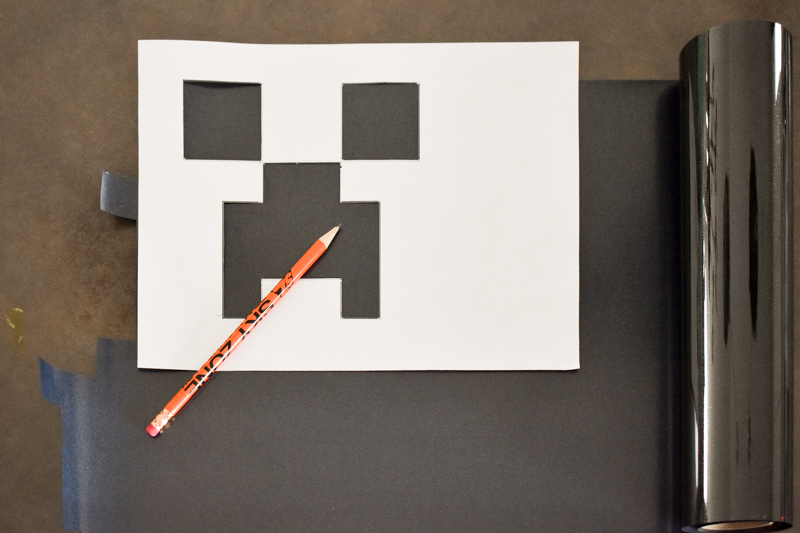
Use your cut out as a stencil and trace the Creeper image onto your vinyl. Cut out your Creeper face using scissors.
 CUT OUT METHOD #2 – X-ACTO KNIFE AND STRAIGHT EDGE
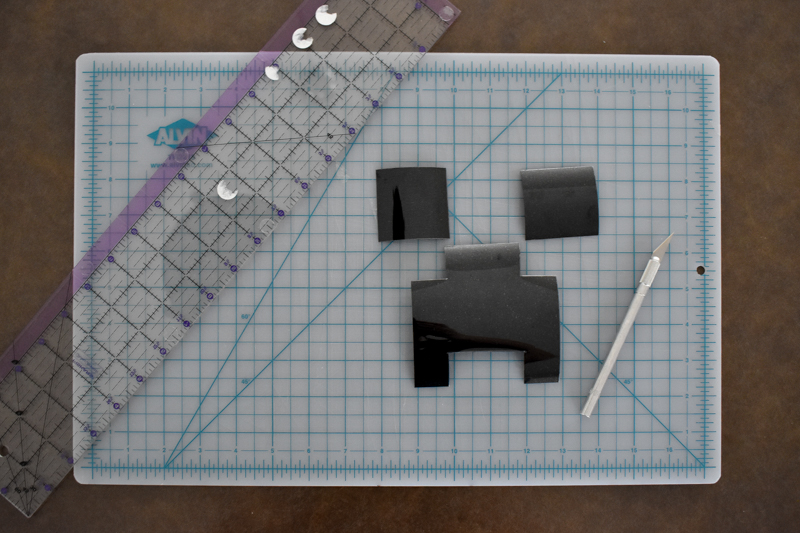
I found this method to work best for me. I used the template as the pattern and cut out the image using an X-Acto knife and ruler. I ended up with straighter edges using this method vs. with using scissors. And towards the end, used the grid to measure out the pattern.
If you had a vinyl cutting machine, this would be a good project for it.
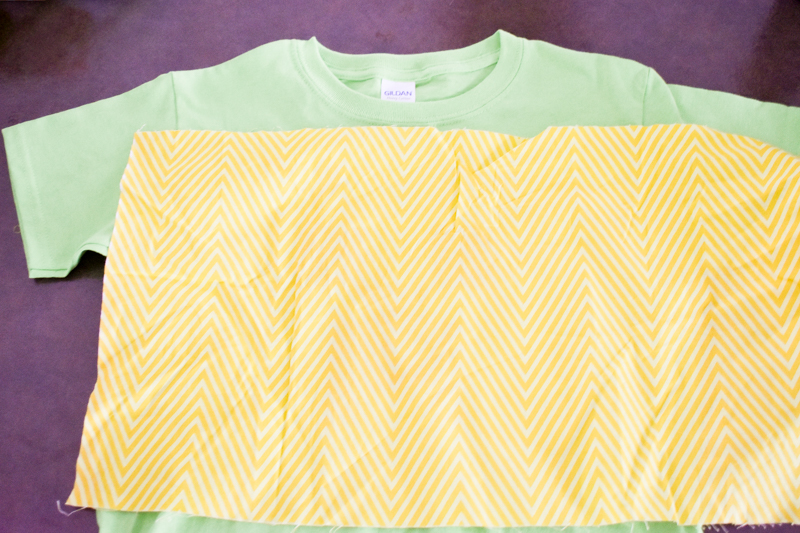
 COVER THE VINYL WITH PRESSING CLOTH
Protect the vinyl from the iron with a pressing cloth, spare piece of fabric, or parchment paper.
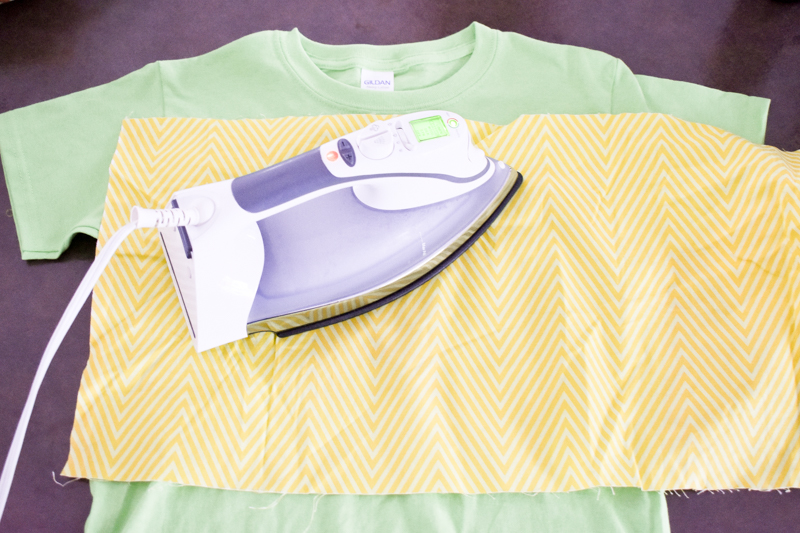
 PRESS VINYL ONTO SHIRT
Follow the vinyl ironing instructions and press the vinyl onto the shirt.
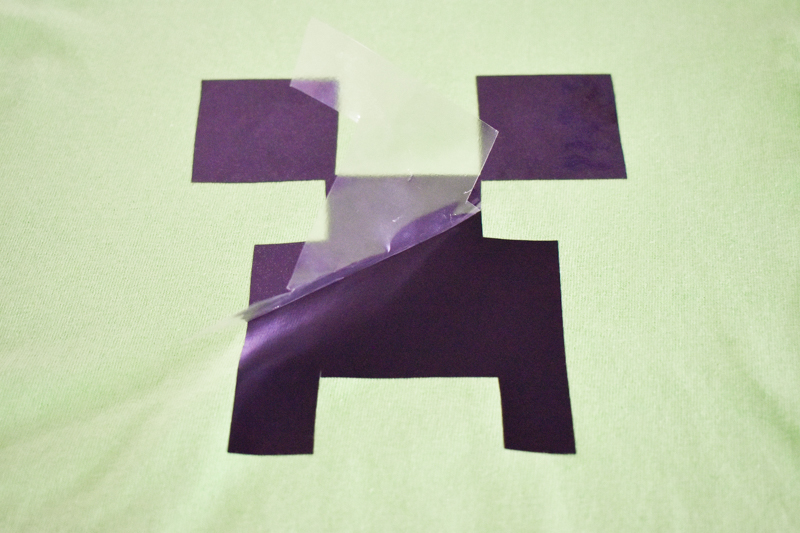
 REMOVE THE PLASTIC LAYER FROM THE VINYL
The iron on vinyl I used had a protective top plastic layer that I removed after the first press.
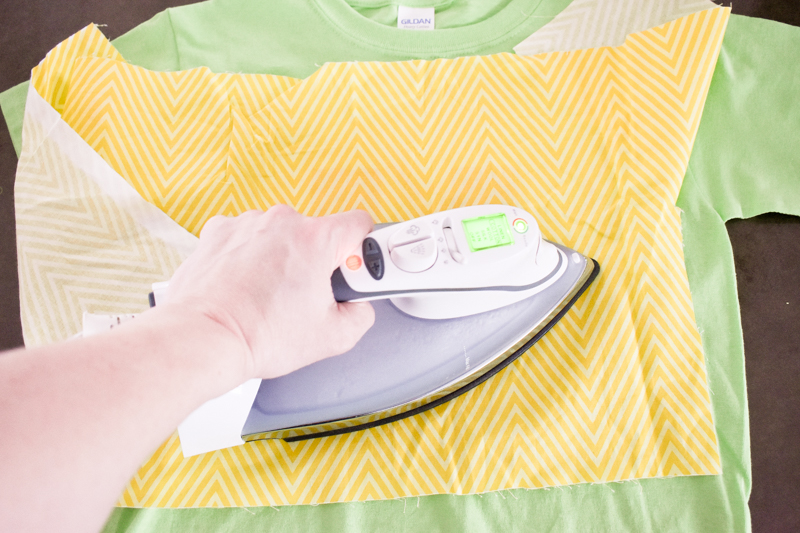
 FINISH IRONING ON THE VINYL IMAGE
Cover the vinyl again with your pressing cloth and give it a final press.
 PROJECT COMPLETE
Enjoy your finished Minecraft shirts!



Leave a Reply