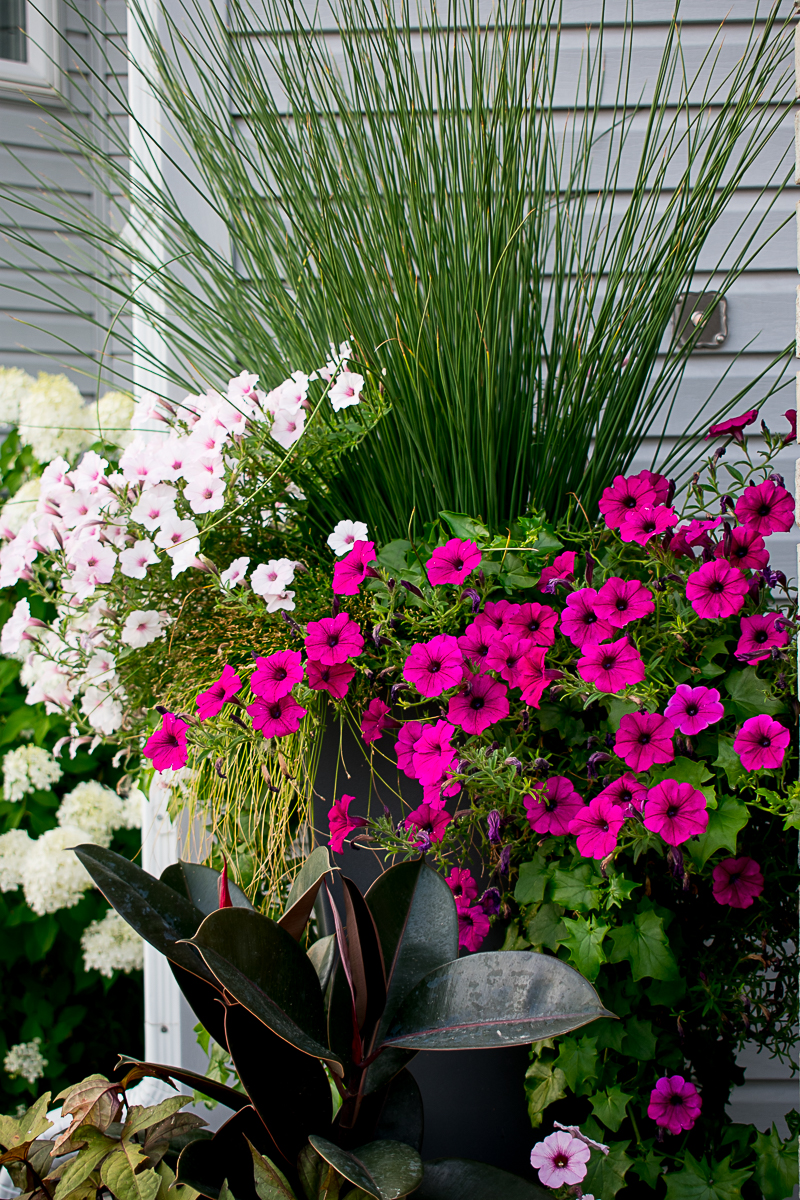
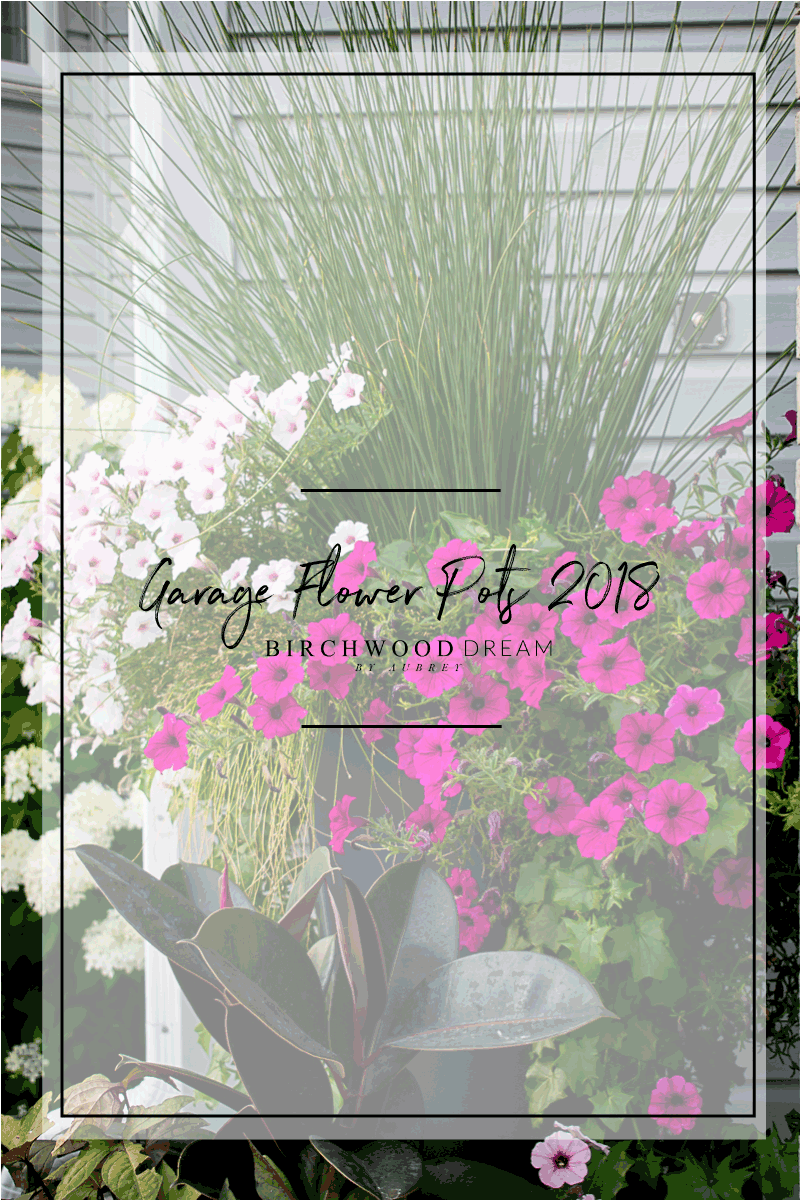
I LOVE container gardening! Getting the opportunity to design and create different arrangements from year to year. I don’t like to do the same thing twice. I start by going out and browsing the greenhouses to see what my options are and if there is something fresh and unique, that catches my eye. Then I will create a color scheme around it. This year up front I am going with a fuschia and white color scheme with touches of purple and orange. I started with the two pots I have on either side of my garage doors. Follow along on how to create fun flower pots.
 STEP 1 | CLEAN OUT THE POT
Empty out the old dirt from last year. You want to have lots of new dirt for the flowers to thrive.
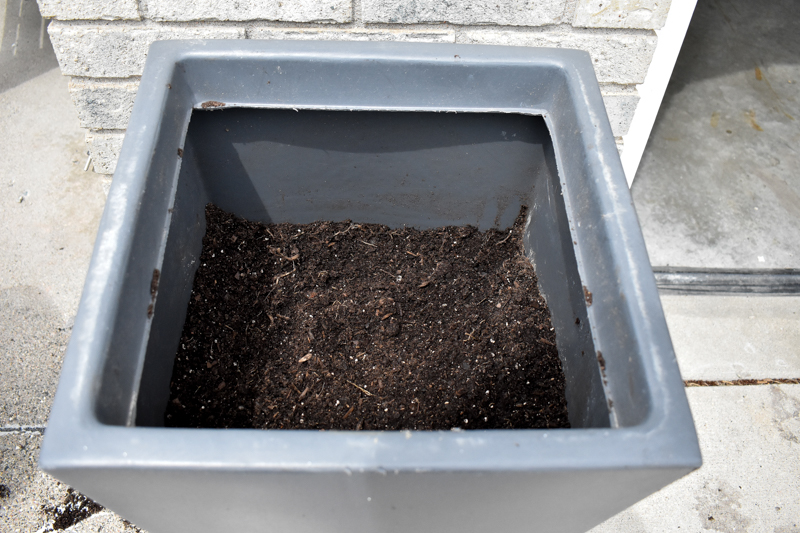 STEP 2 | ADD IN NEW DIRT
Add in the new potting soil. Make sure it is potting soil and NOT garden soil. I am using Miracle Grow Moisture Control that I picked up in bulk from my local Costco store.
Place your first plant into the container to check the height of your potting soil. You want to the final height to end at the plant dirt level.
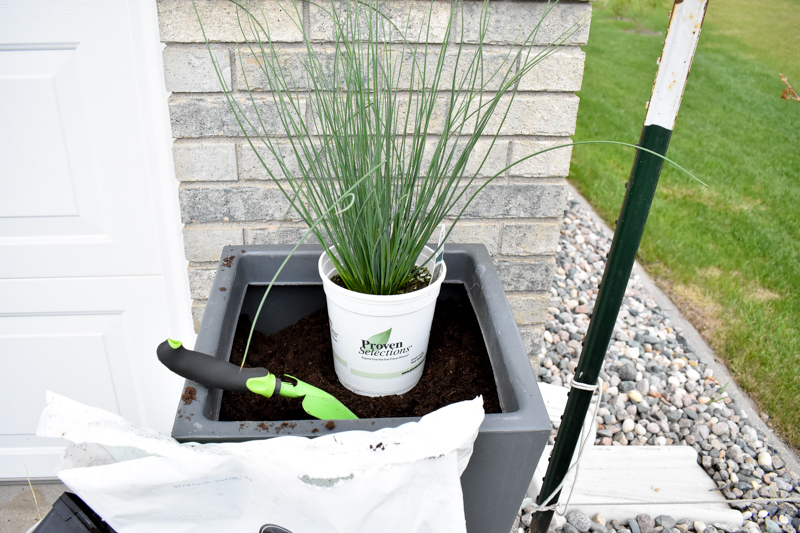 STEP 3 | ARRANGE YOUR POT
Arrange your pot with all the flowers while they are still in their plastic containers. Rearrange the pot or try different flowers until you are happy with the arrangement.
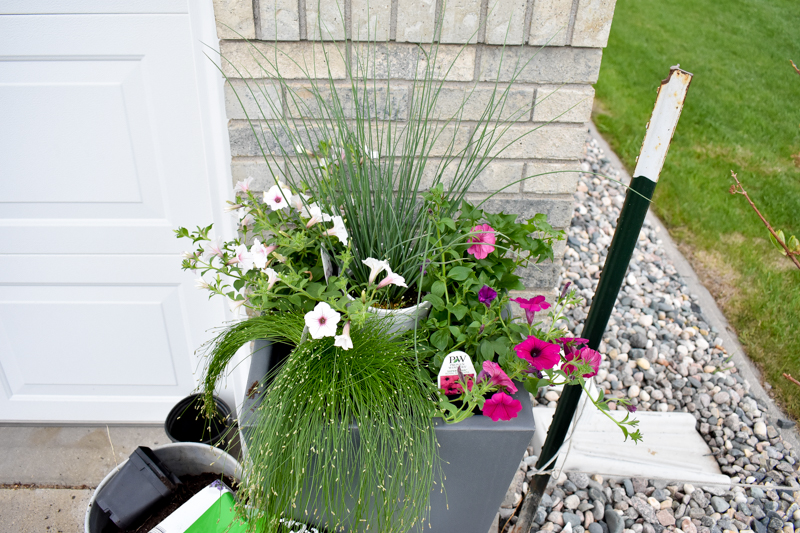 STEP 4 | PLACE YOUR FLOWERS INTO THE POT
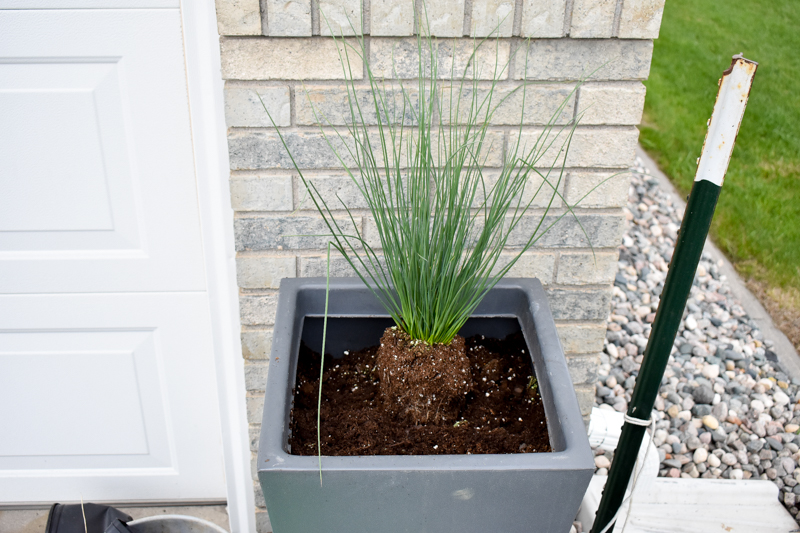
Start with your focal plant. Squeeze the sides of the plastic container to help loosen it. Gently pull the plant out. Break up the roots slightly to encourage the roots to grow out.
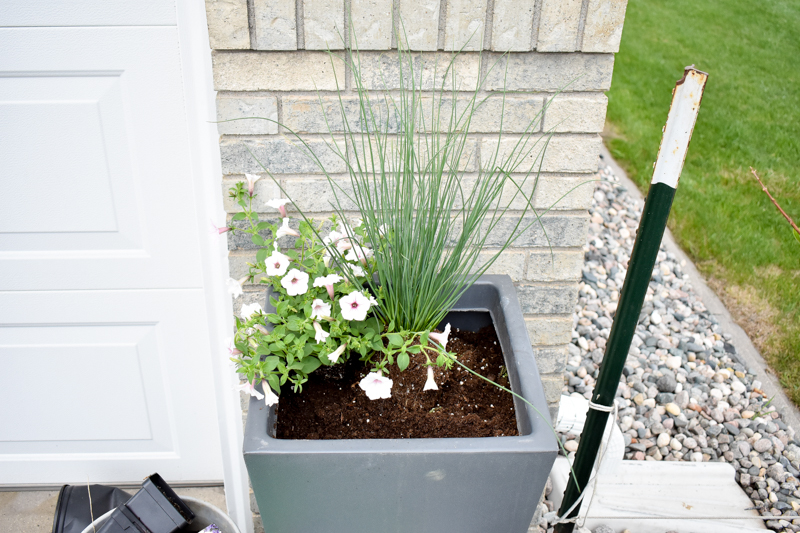
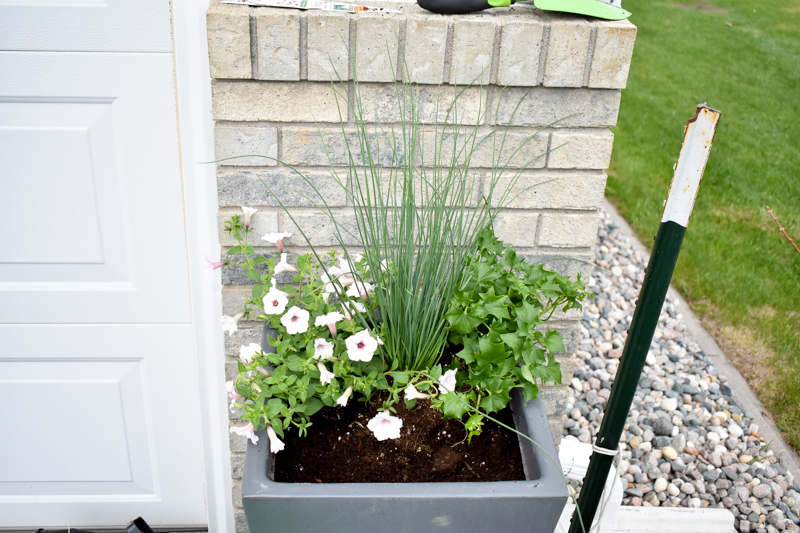
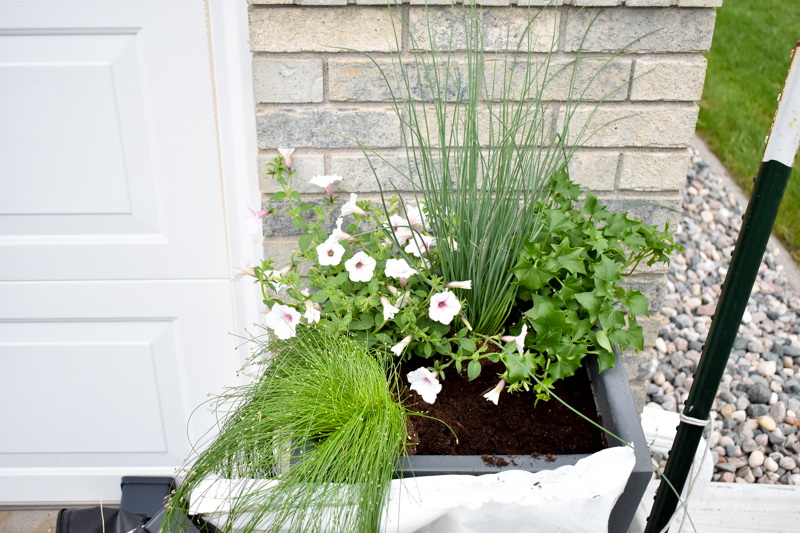
Continue planting, I started in the back and worked my way to the front.
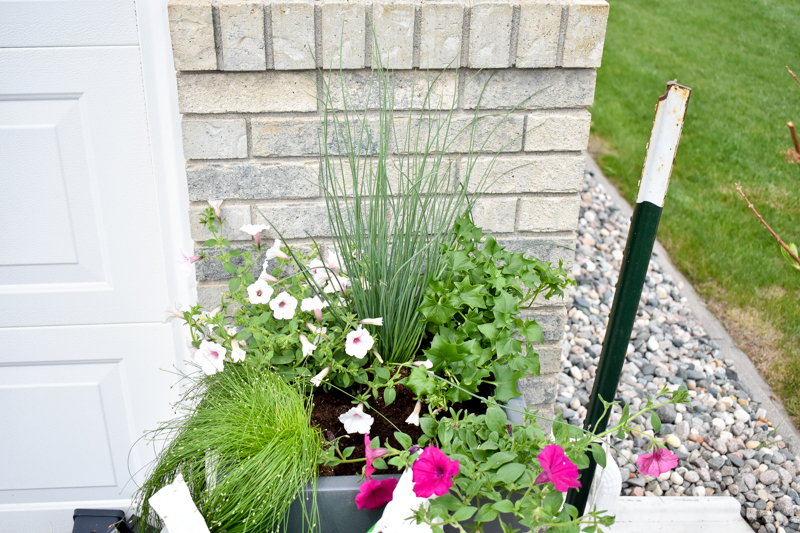 STEP 5 | REARRANGE AND FILL WITH POTTING SOIL
After I got everything in the pot, I decided to move the focal grass to the middle of the pot instead of the back of the pot. Fill in any voids with potting soil.
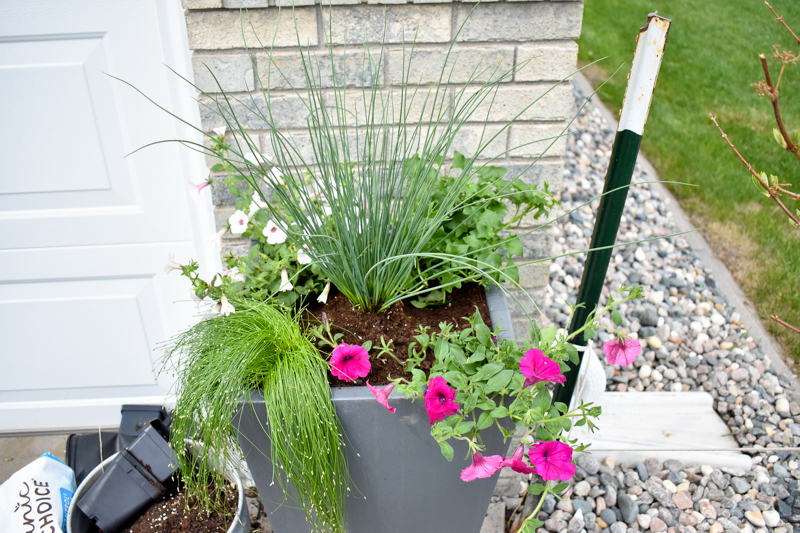 STEP 6 | FERTILIZE AND WATER
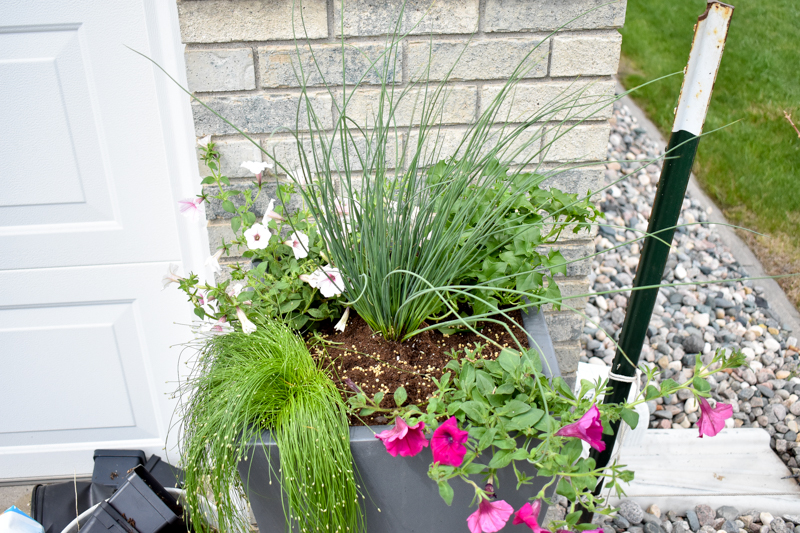
Add fertilizer to your pot. I used Osmocote Plus Outdoor & Indoor Smart-Release Plant Food. Then give your new pots a proper watering and enjoy!
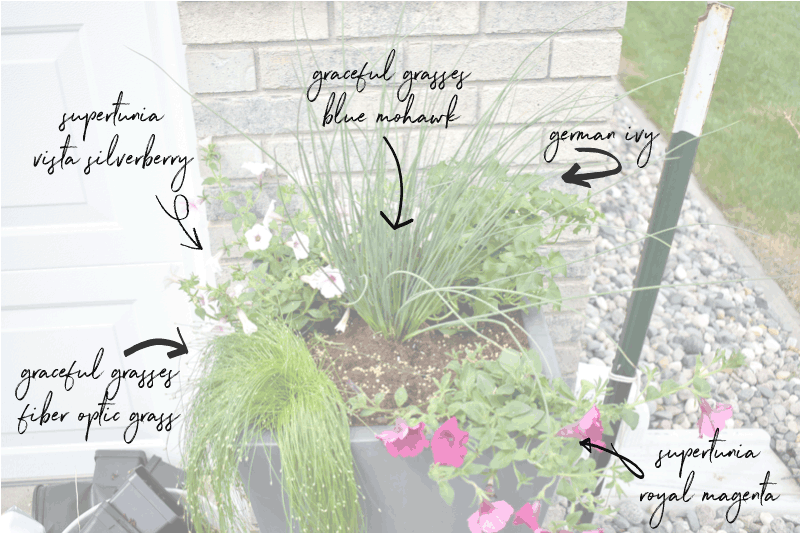
 WHAT PLANTS I USED
Here are the plants that I used to create these pots.



Leave a Reply