RELATED POST: Hearth & Hand Inspired Ornament Tutorial
This page may contain affiliate links, which means if you purchase, I may get paid a small commission at NO extra cost to you. I only recommend brands and items that I use and trust. To learn more read my disclosure policy here.
SUPPLY LIST
- Spray Adhesive
- Glass Disc Ornaments – used 3.15″ and 4″ diameters from Michael’s. Similar ones here
- Design Master 24KT Pure Gold Spray Paint
- Clear Glitter Sealer – Krylon Glitter Blast Clear Sealer
- Rose Gold Fine Glitter
- Czech Glass Seed Beads – Size 10 in Copper Mix – Dazzle-It 10/0 Czech Glass Seed Beads in Copper Mix
- 5/8″ Velvet Ribbon in Blush by Sugar Paper
- Masking or Painter’s Tape
- Feathers your choice of color
- Wooden Dowel or Chop Stick
- Styrofoam board
- Scissors
TAPE OFF THE ORNAMENT
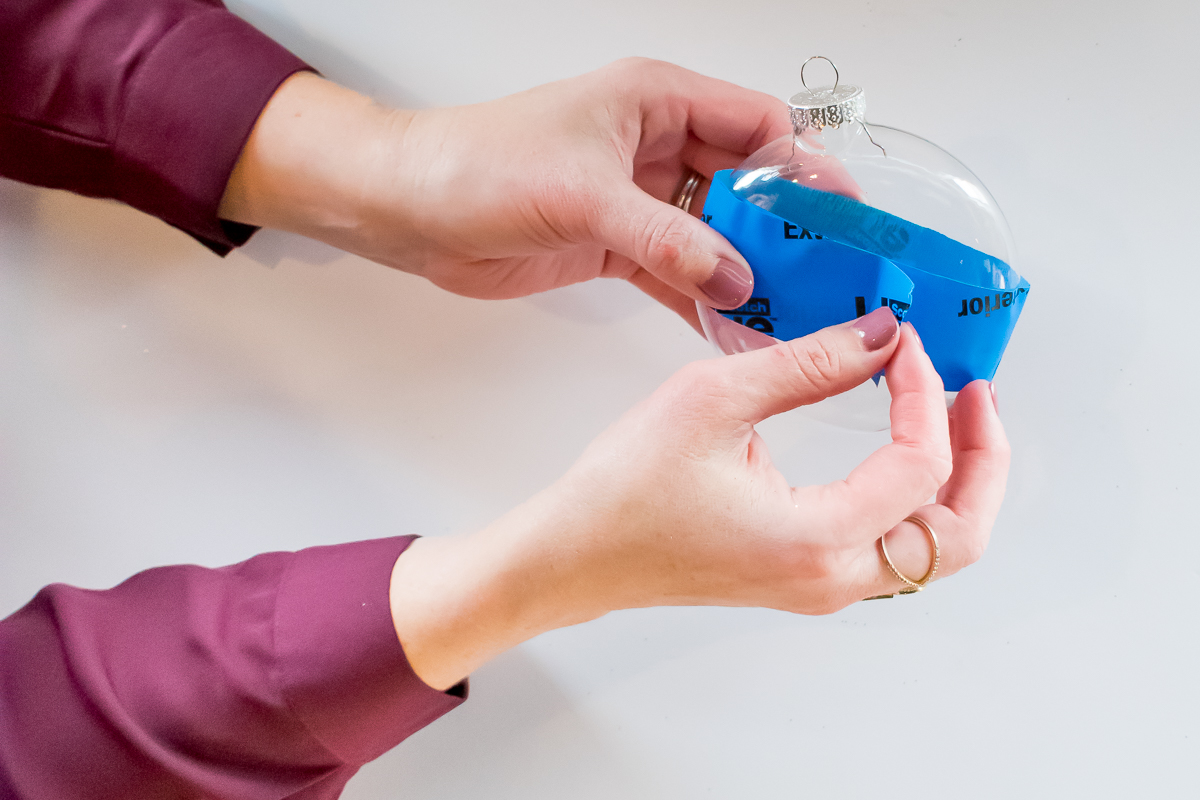
Apply the tape at an angle towards the middle to bottom half of the ornament, leaving behind the area you want to add glitter and seed beads. Make sure that the tape aligns where the two ends overlap, to get a clean line.
 PREP WORK AREAS
It helps to create two separate work areas, a spray station, and a glitter station.
- Spray Station – A word of caution, spray adhesive gets EVERYWHERE. Prep your surfaces thoroughly. A large box to spray into works great along with protecting the area around the box from overspray.
- Glitter + Bead Station – On a separate work area place a piece of paper onto the surface, this will collect the excess glitter. You will be able to pour the excess glitter back into the container. Pour your seed beads into a dish to make it easier to pick up, place it next to the paper. Open up your glitter container and get it ready to pour, set it next to your beads.
SPRAY ORNAMENT WITH SPRAY ADHESIVE
The spray adhesive dries quickly; you need to apply the seeds beads and glitter as soon as possible. Thoroughly spray the exposed part of the ornament with spray adhesive.
APPLY SEED BEADS
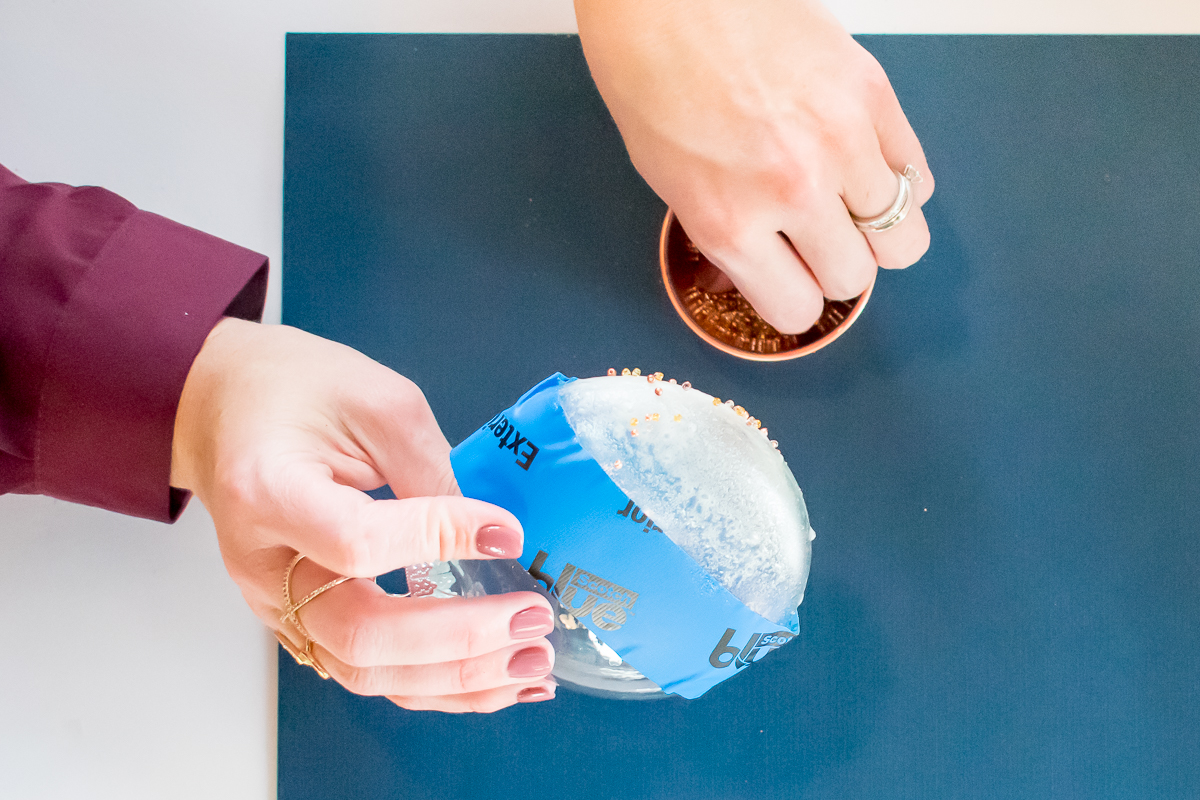
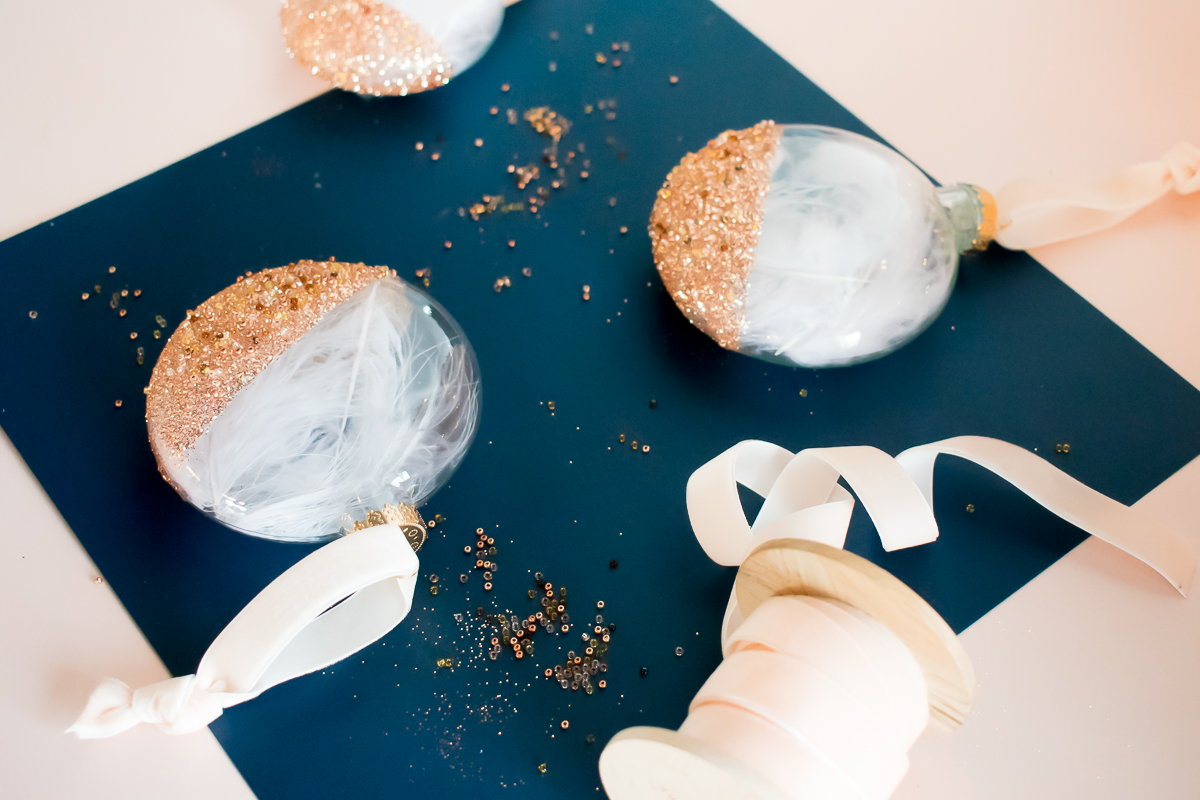
Move over to your glitter station and sprinkle the seed beads onto the adhesive. Once happy with the number of beads go to the glitter step.
 SPRINKLE WITH GLITTER
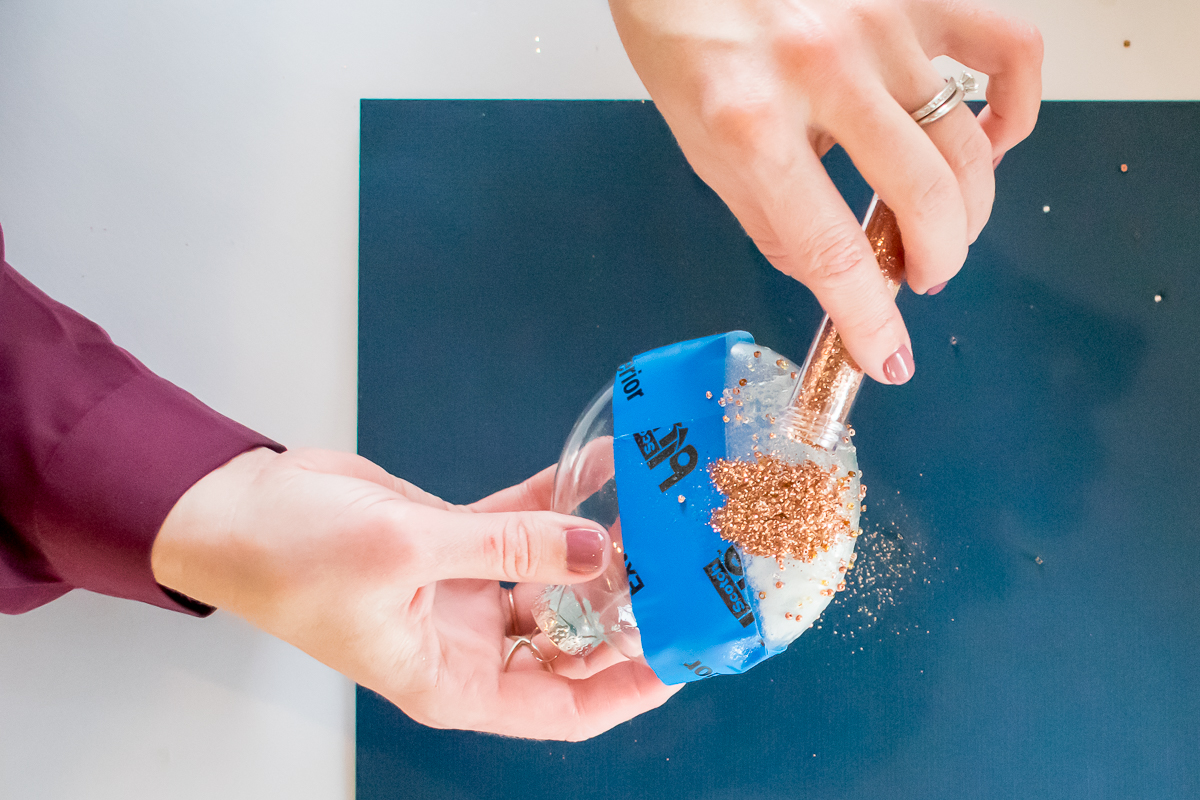
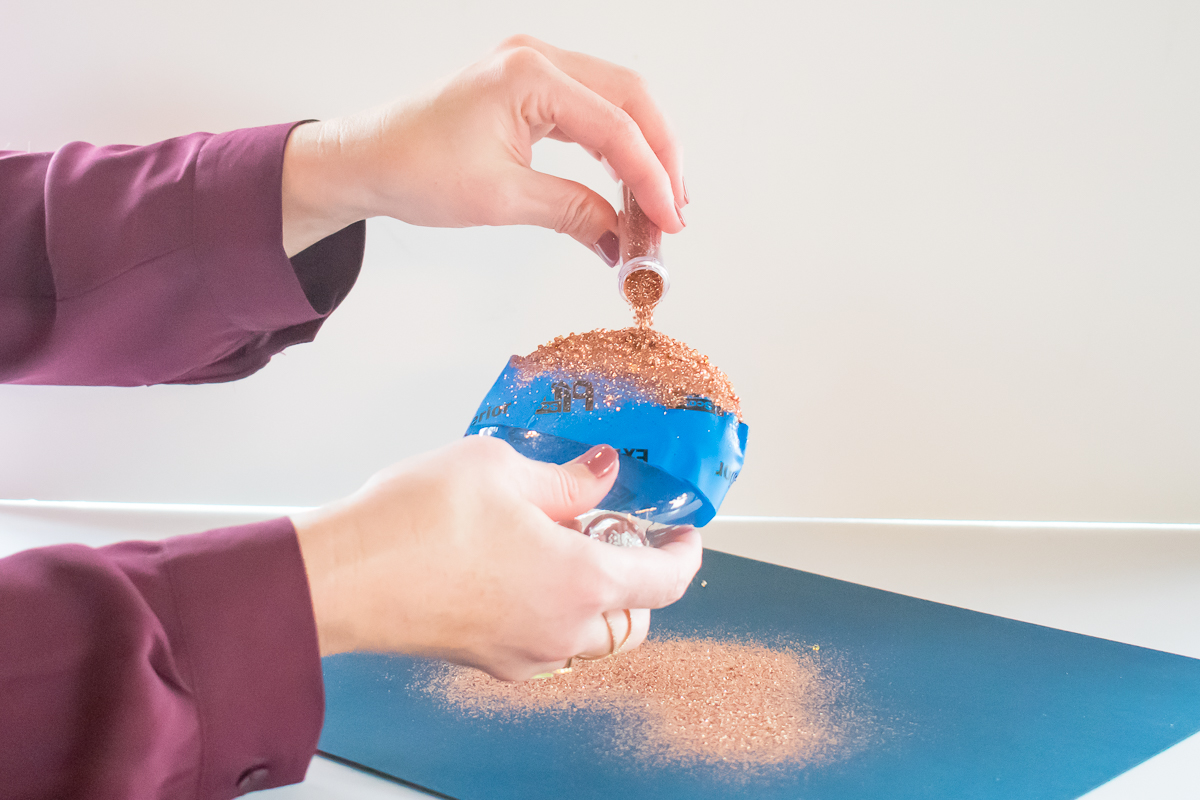
Sprinkle liberally with the glitter, letting the excess fall onto the piece of paper. Continue working on both sides and bottom of the ornament until it is completely covered.
 SPRAY WITH CLEAR SEALER
Move back to your spray station. Spray glittered area with a clear sealer to prevent the glitter from flaking and fading. Set aside to dry.
SPRAY ORNAMENT CAPS
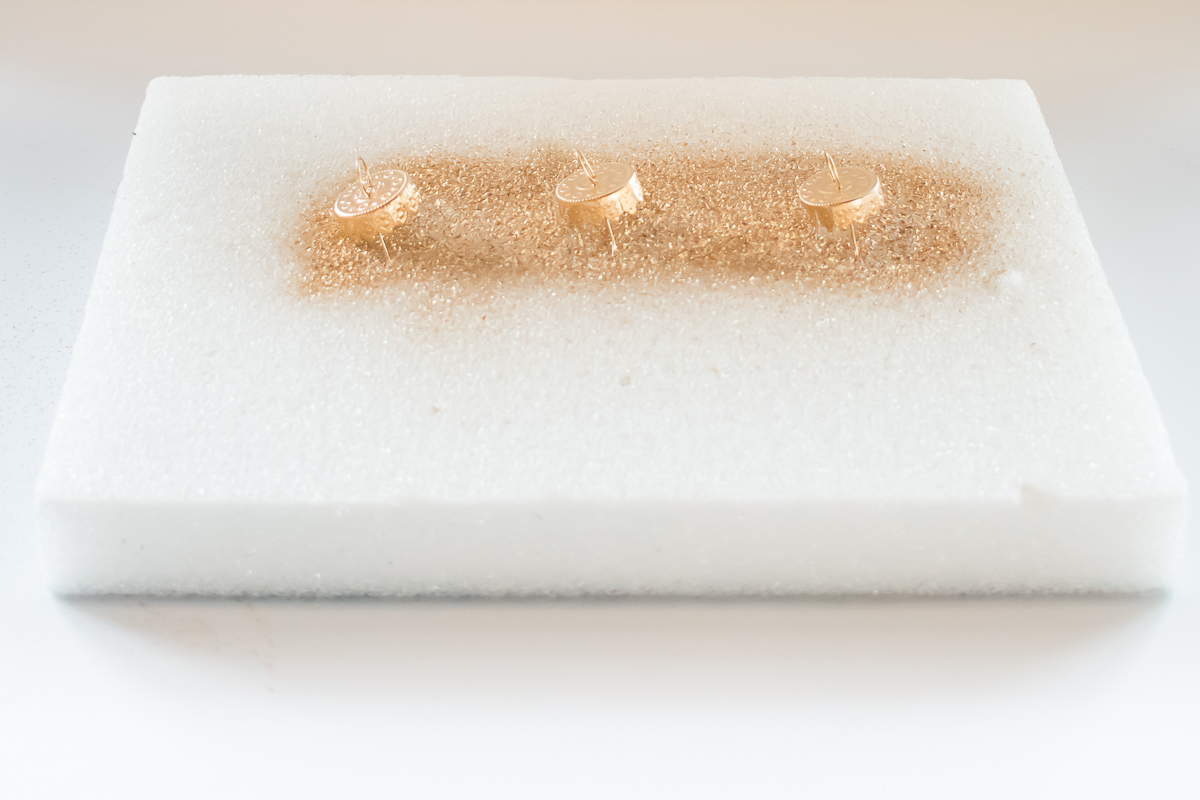
Remove the ornament caps and stick into a Styrofoam board. Spray caps with Design Master 24KT Pure Gold spray paint. Set aside to let dry.
 REMOVE TAPE
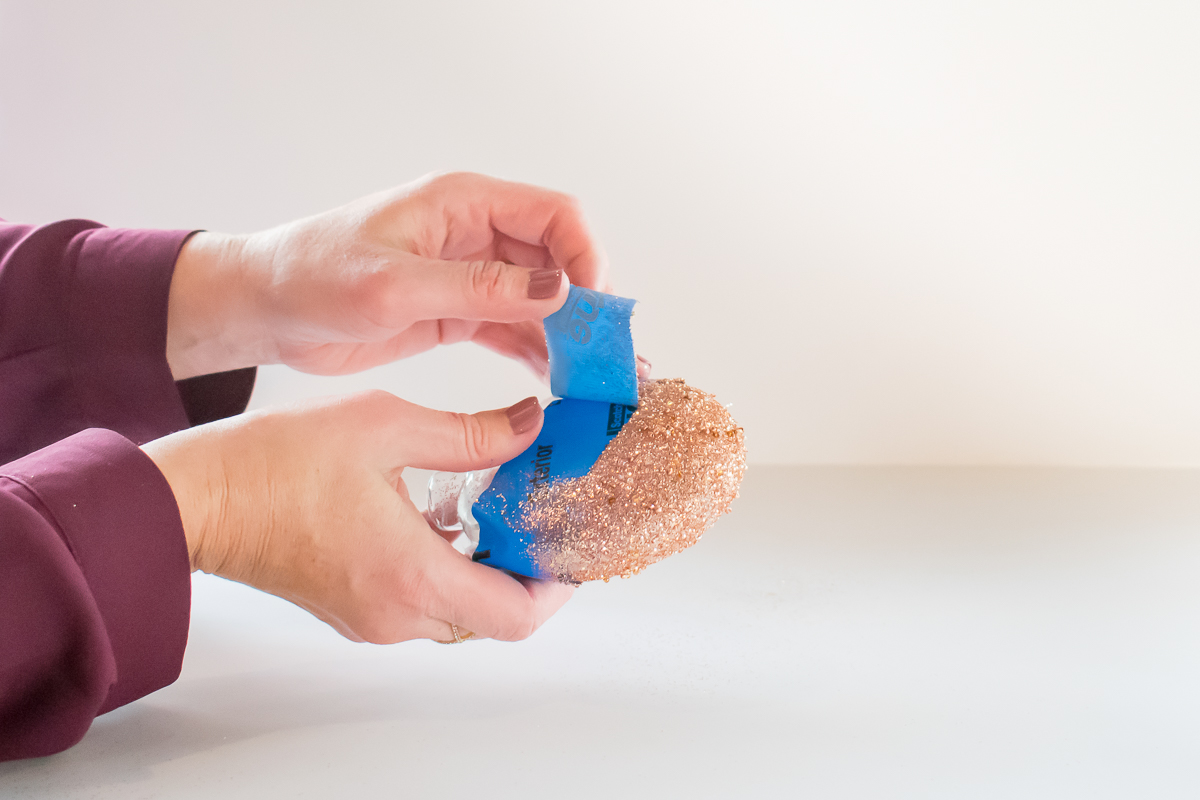
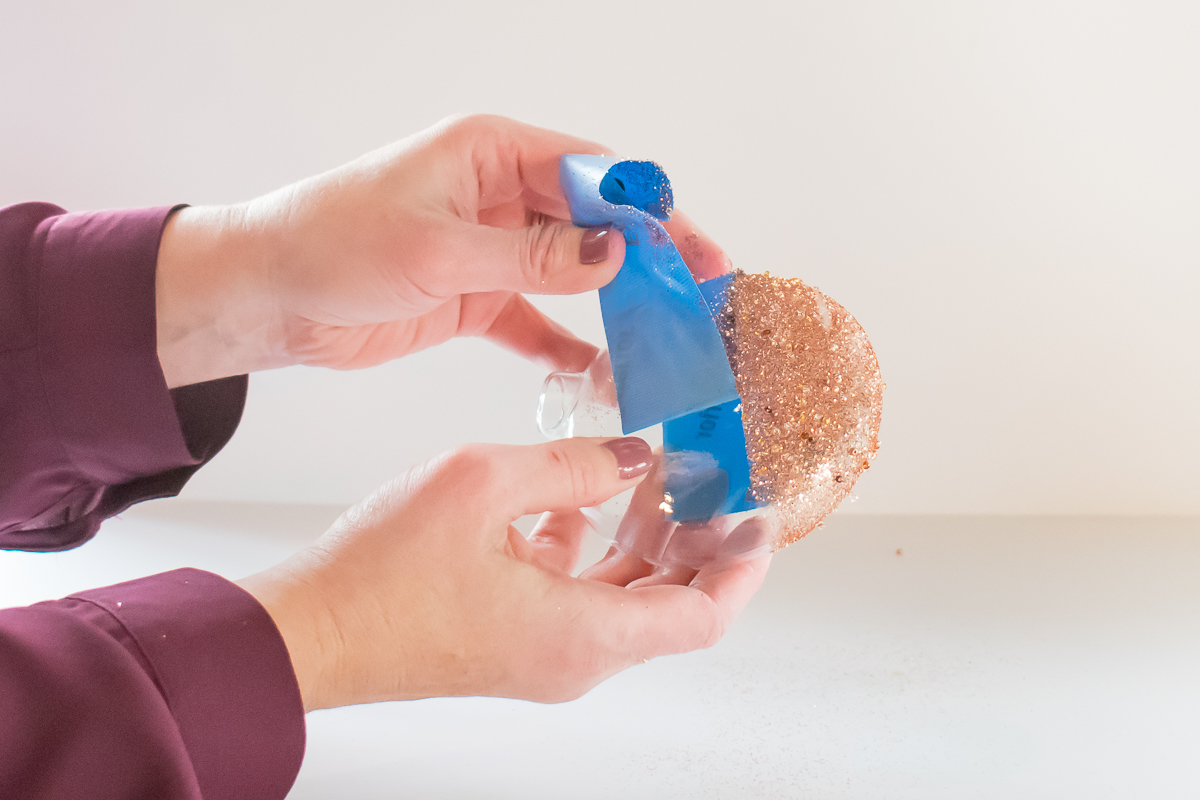
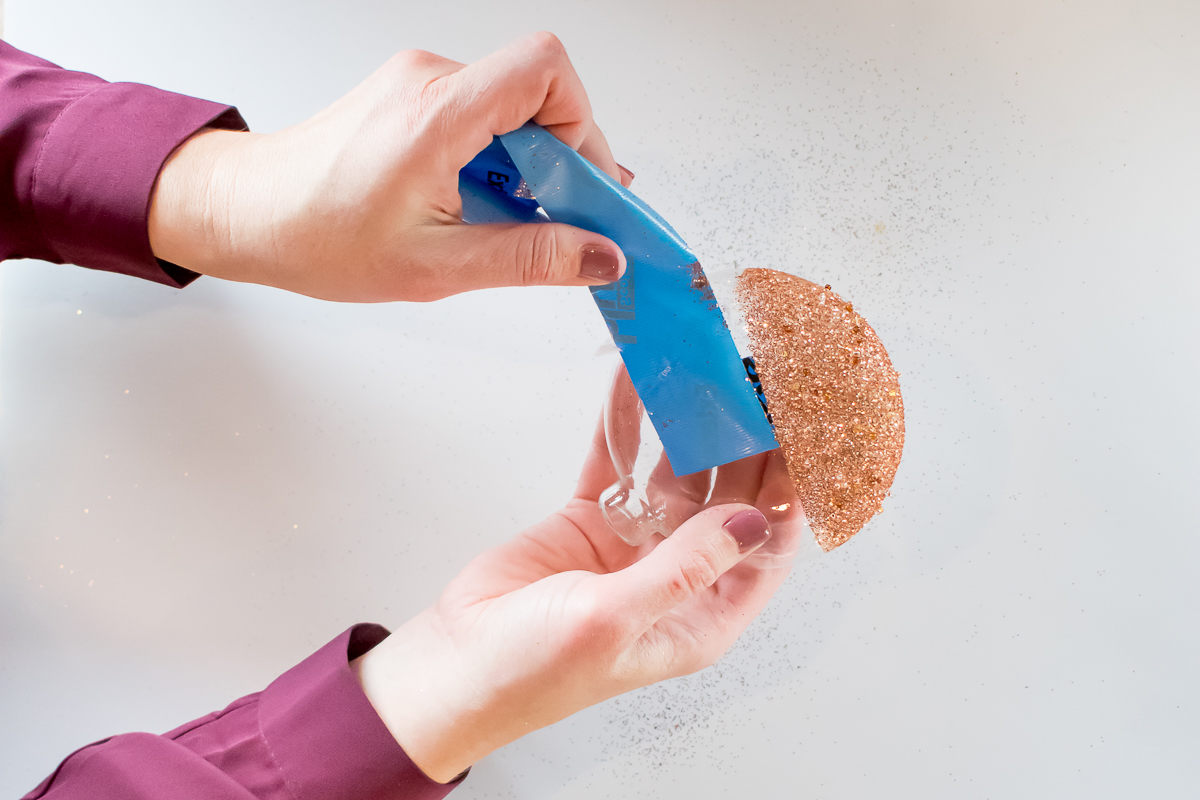
Once the clear sealer is dry carefully remove the tape.
 INSERT FEATHERS INTO THE ORNAMENT
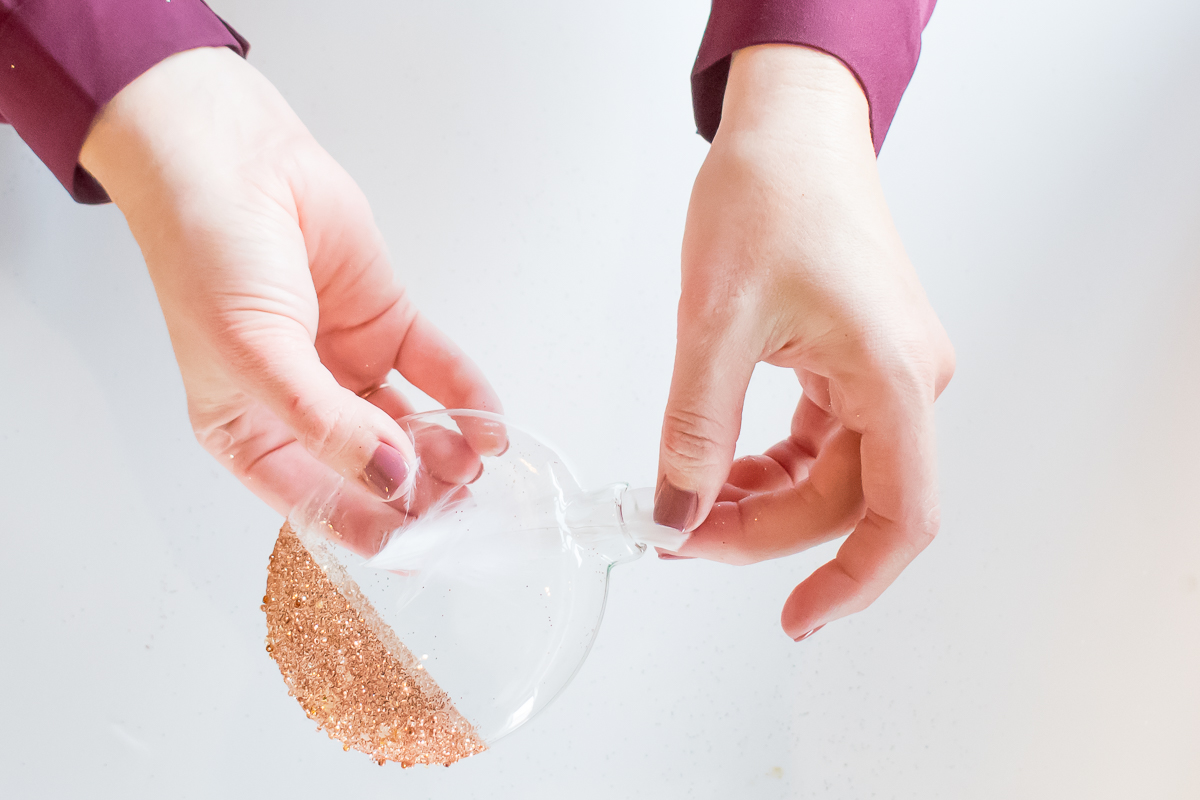
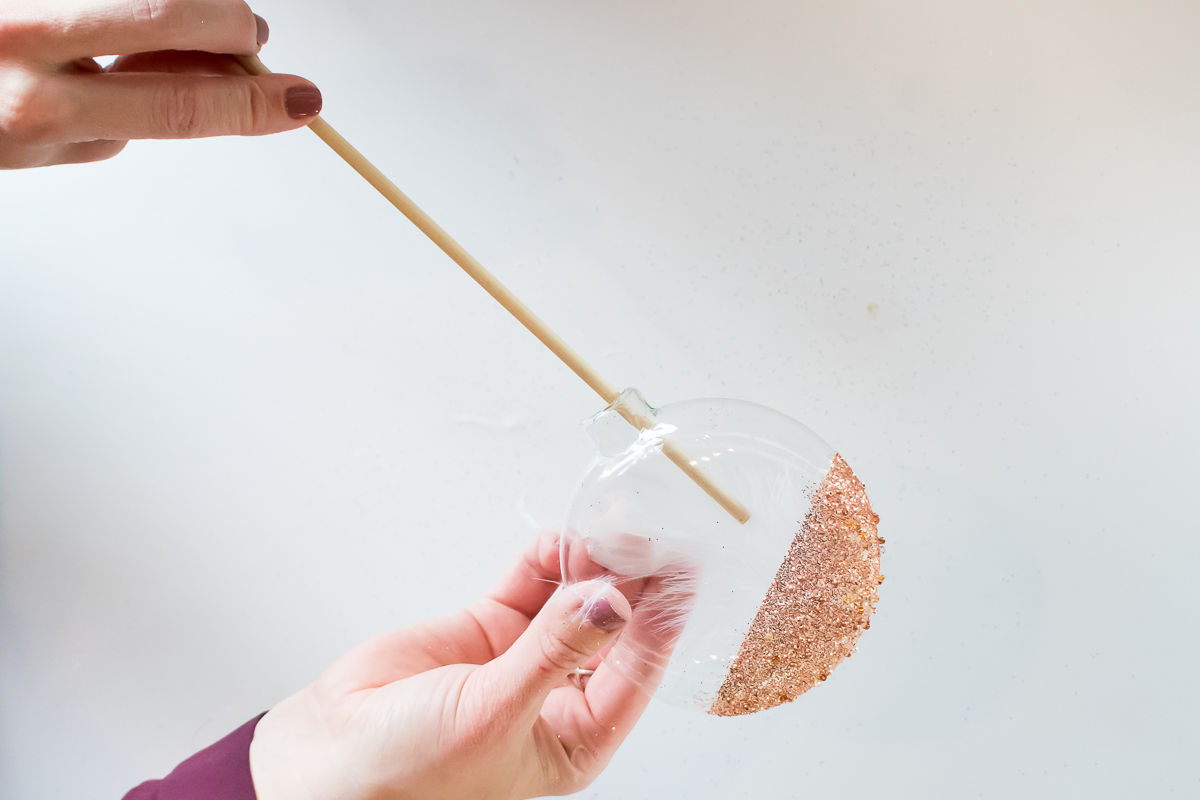
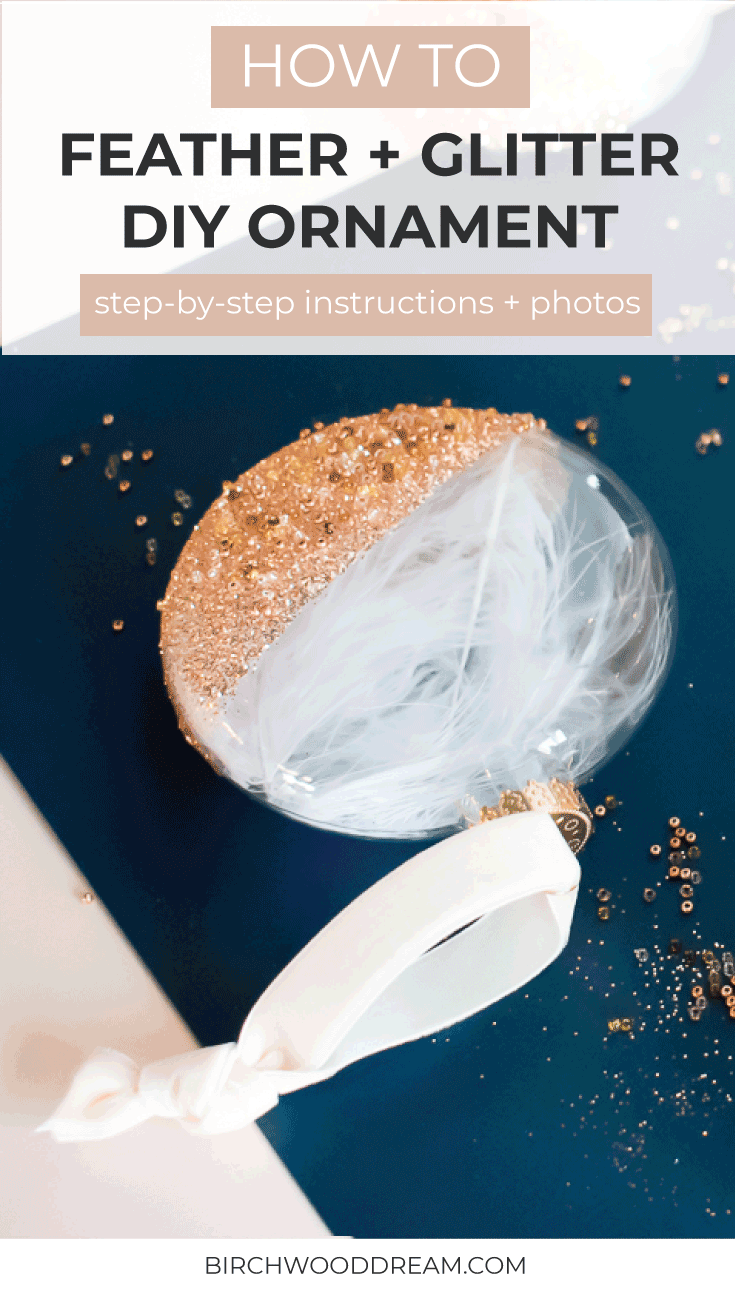
Insert feathers into the ornament, use the dowel or chopstick to move it around inside. I typically add 2-3 feathers per ornament, depending on the feather size.
 ADD ORNAMENT CAP
Insert your new gold ornament cap into the top of the ornament.
ADD ORNAMENT HANGER RIBBON
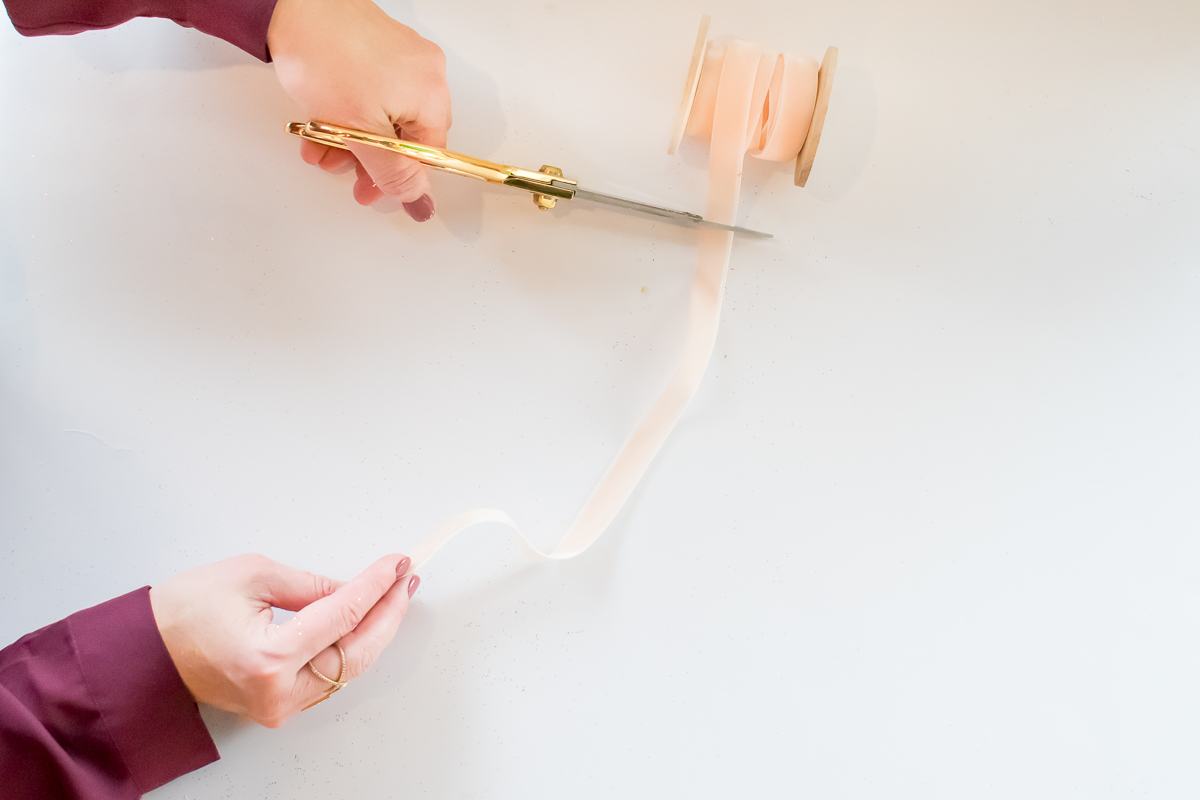
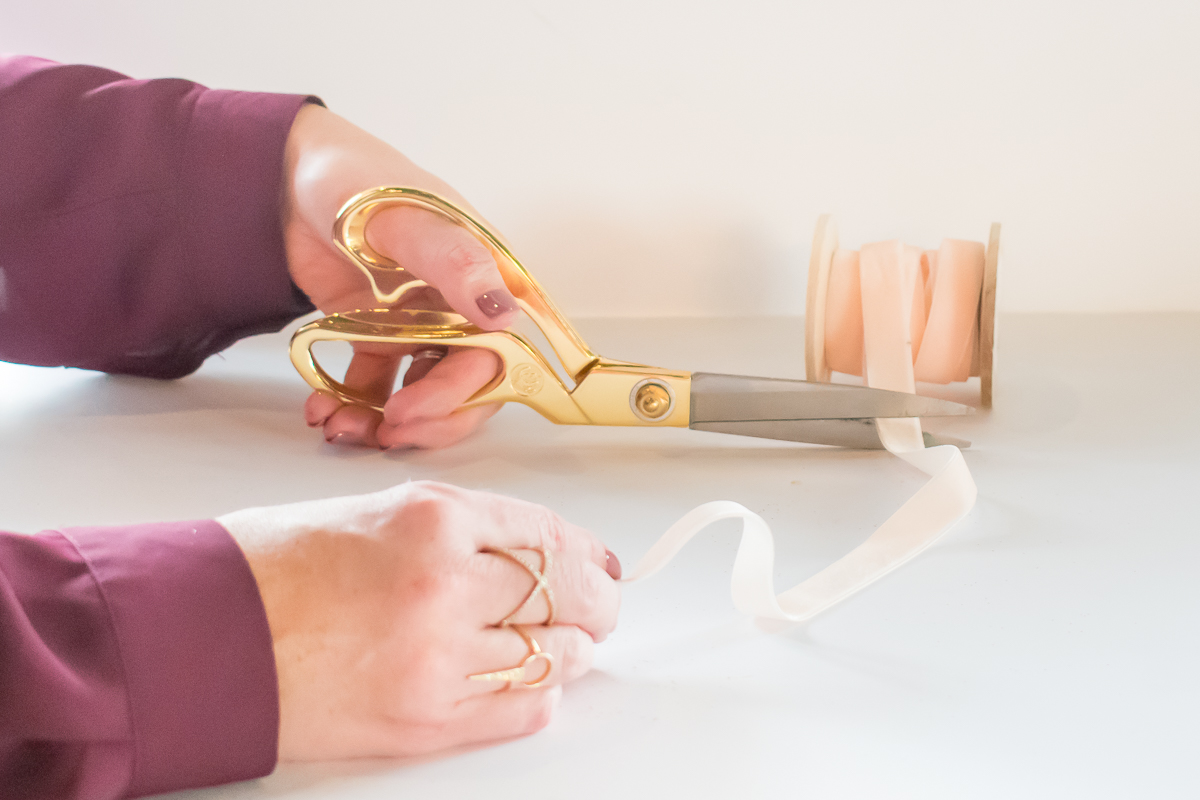
Cut a 12″ piece of velvet ribbon and insert it into the ornament cap, tie the ends into a knot.
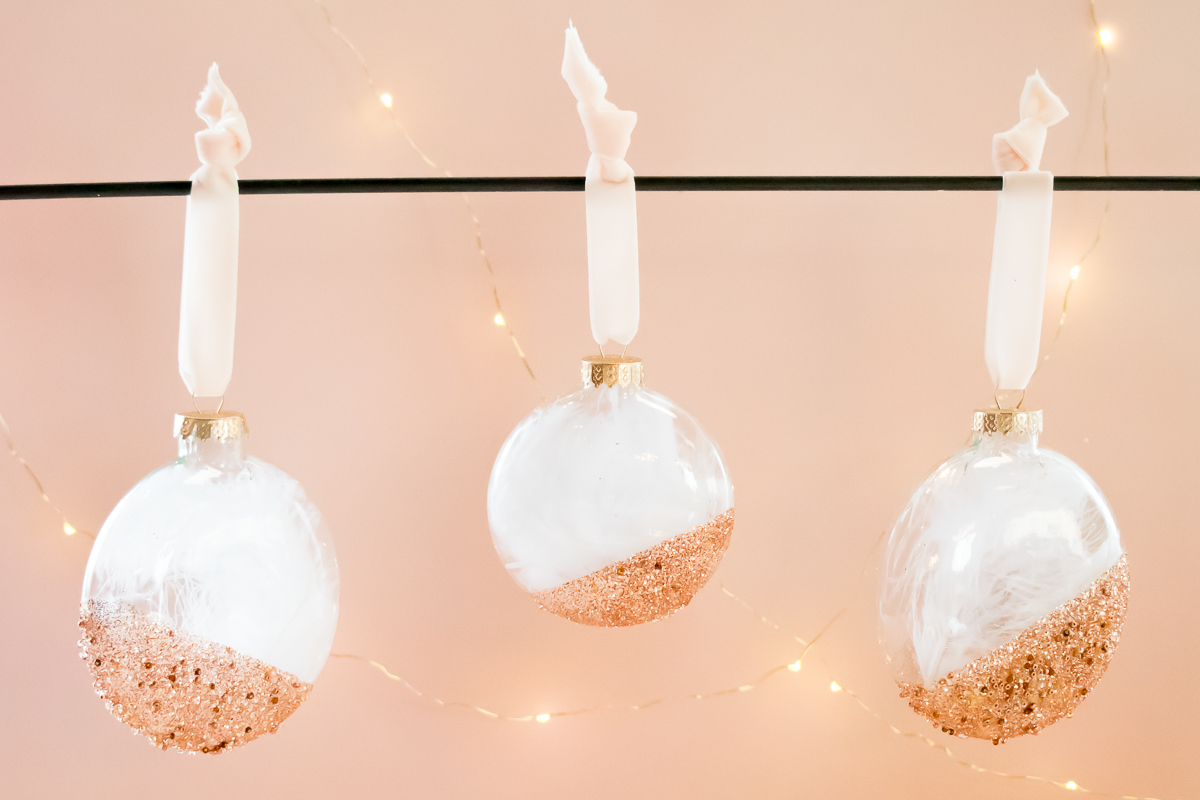
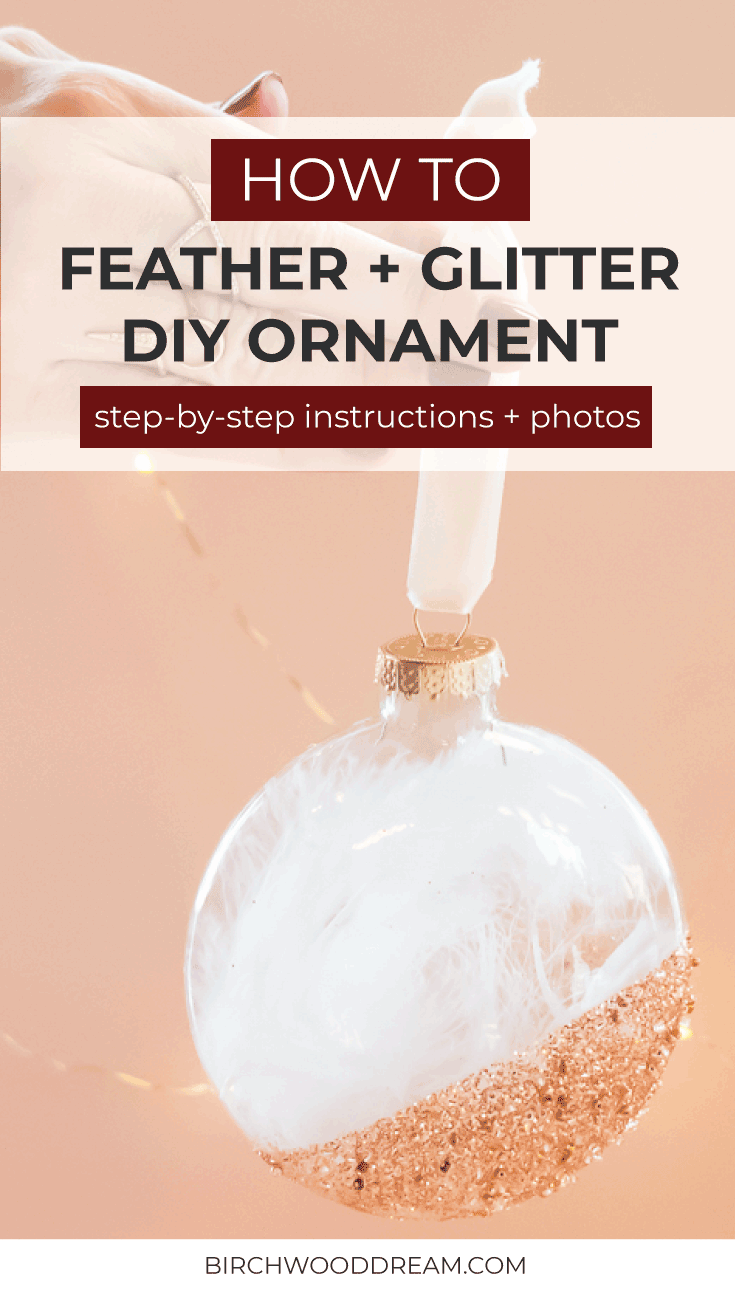
 Voila! A beautiful new DIY Christmas ornament for your tree or to gift to someone special! Have fun and experiment with different glitter colors and different types of feathers.
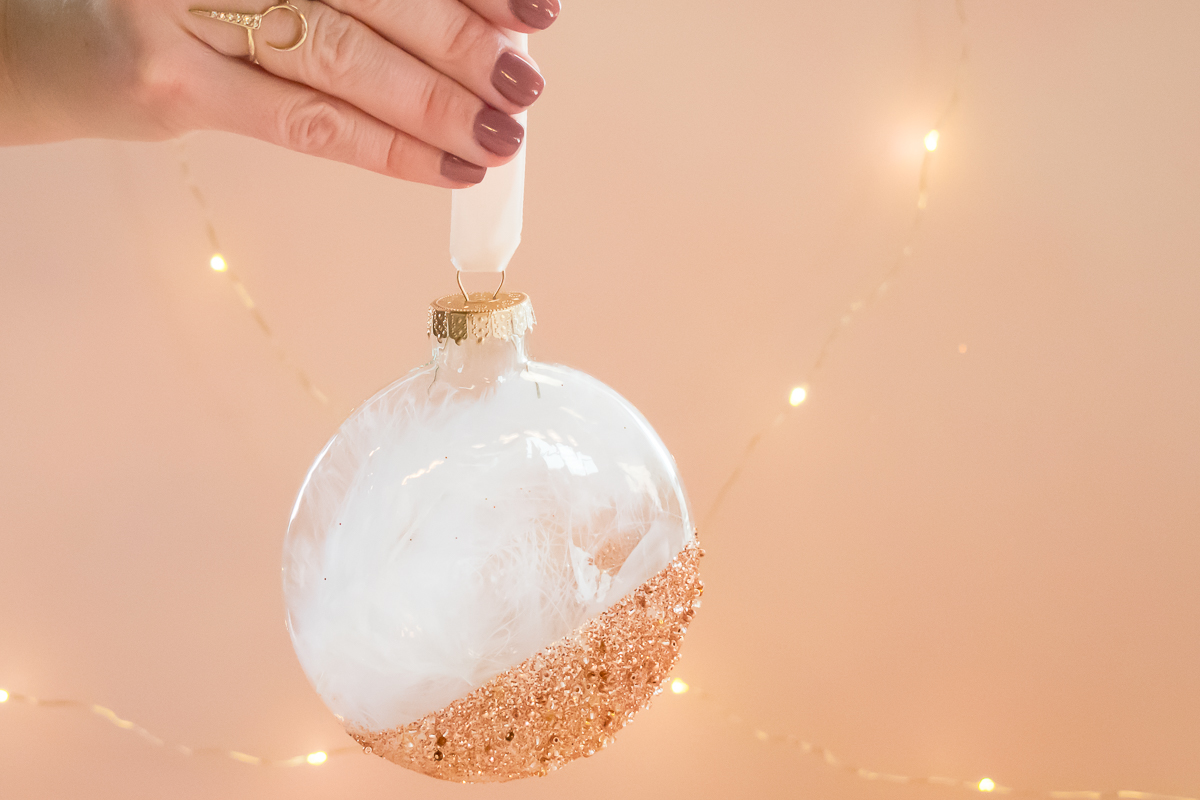




I Love how you used the beads and the gLittEr to add depth and interest. So many details in these ornaments! They are stunning!
Thanks, Mandy! The best part about these ornaments is that they are quick, easy, and stunning, all of my favorite things!