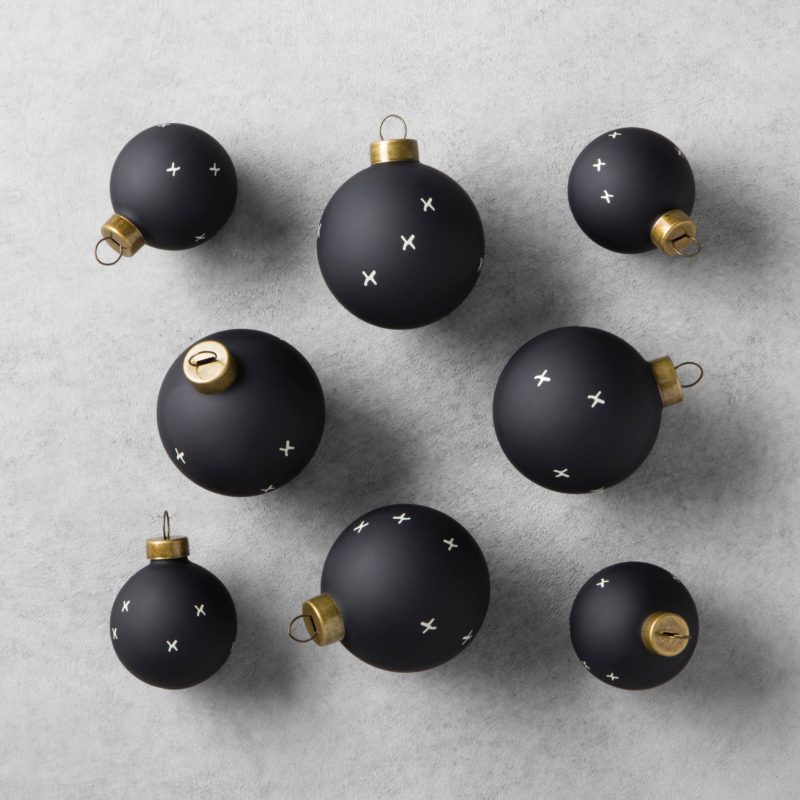
Chip and Joanna Gaines came out with a product line for Target stores called Hearth & Hand with Magnolia. I really love the black ornaments with little mint x’s from the product line. Especially since black ornaments are a little harder to find and even harder to find with a fun pattern on them. I didn’t like the price and thought to myself, I could make them for less. See below for the tutorial to create your own DIY Christmas ornaments inspired by the Hearth & Hand ornaments.
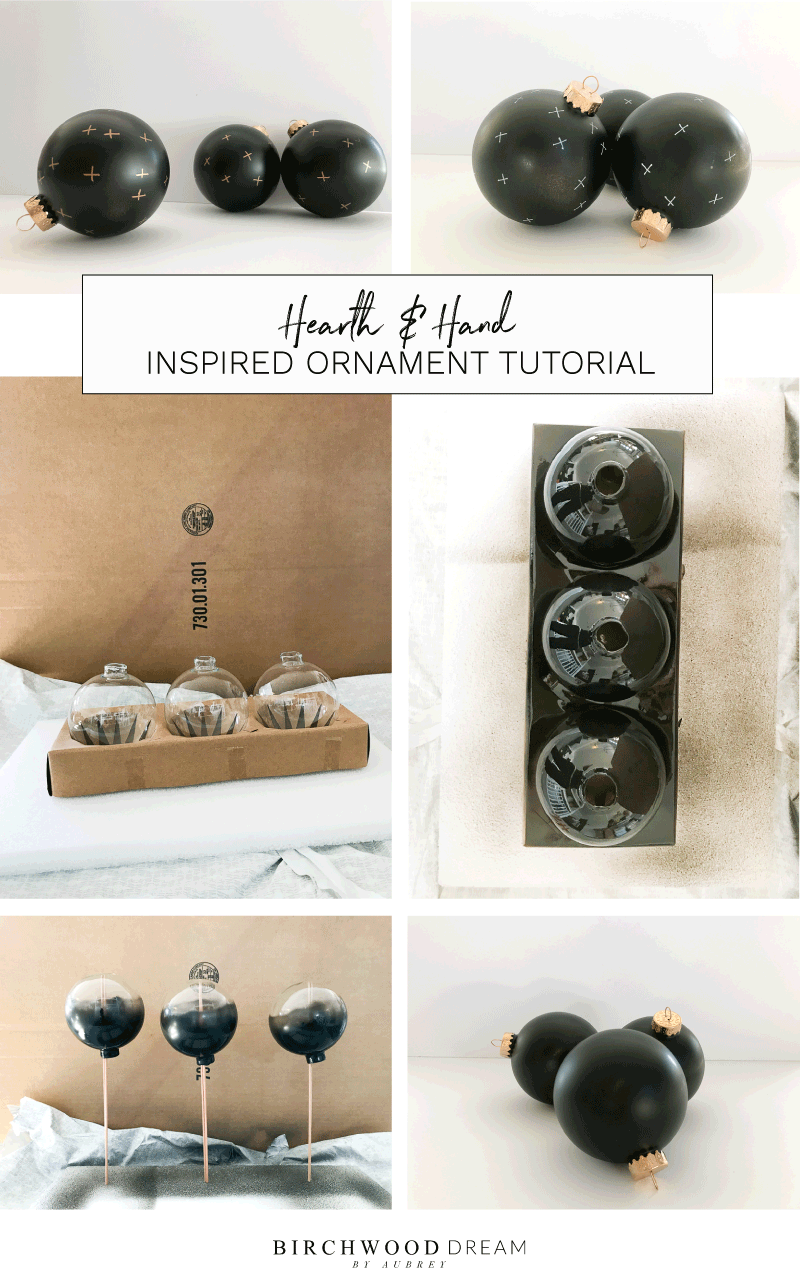
UPDATE: This year I created another version of these ornaments that are featured in December’s Design + Living Magazine. Check out the tutorial here!
INSPIRATION
This page may contain affiliate links, which means if you make a purchase by clicking on any of my links, I may get paid a small commission at NO extra cost to you. I only recommend brands and items that I use and trust. To learn more read my disclosure policy here.
Let’s get started creating our own ornaments inspired by the Hearth & Hand by Magnolia ornaments.
STEP 1 | GATHER THE SUPPLIES
Gather the following supplies.
- Styrofoam Board
- 4″ Diameter Clear Glass Ornaments
- Wooden Dowels
- Design Master Ubermatte Ultra Matte Spray Paint in Ink
- Design Master Premium Metals Spray Paint in 24KT Pure Gold
- Sharpie Fine Point Permanent Marker in Metallic Bronze
STEP 2 | PREP CLEAR ORNAMENTS
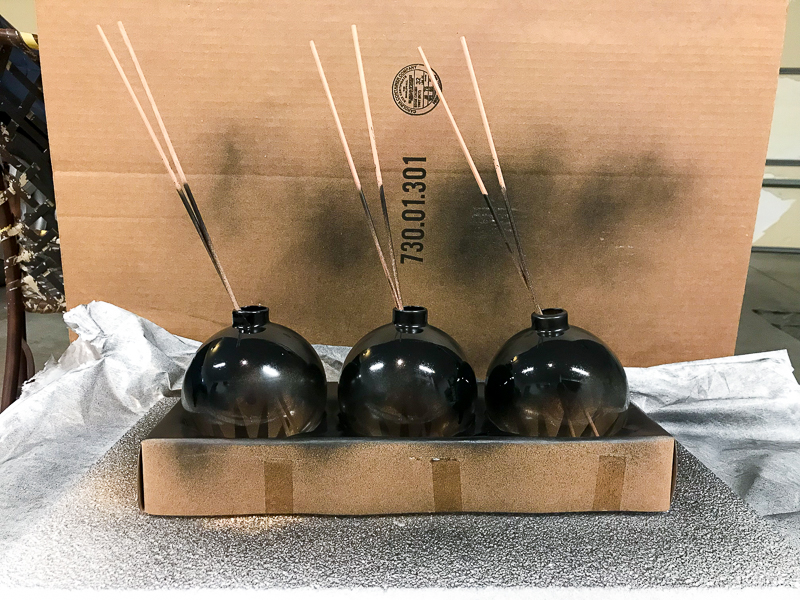
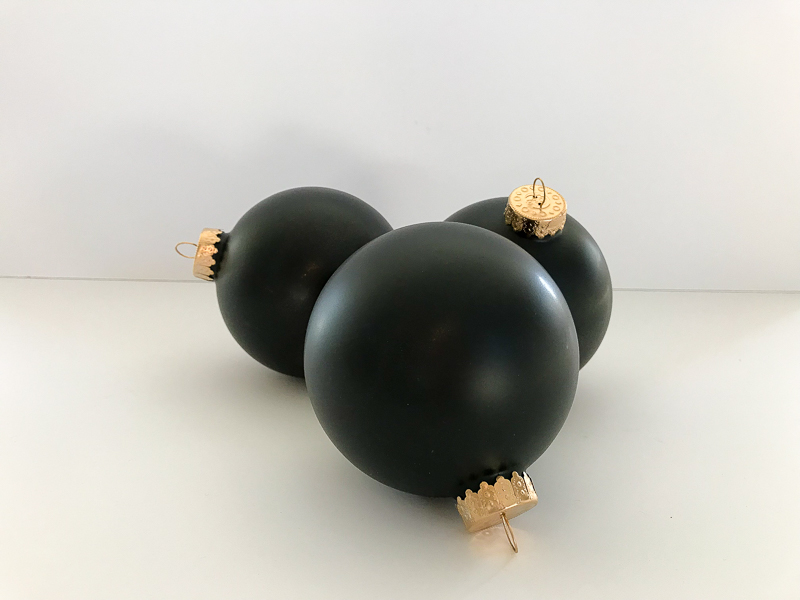
Remove ornament caps. Create a spot to spray paint the ornaments starting with the open top.
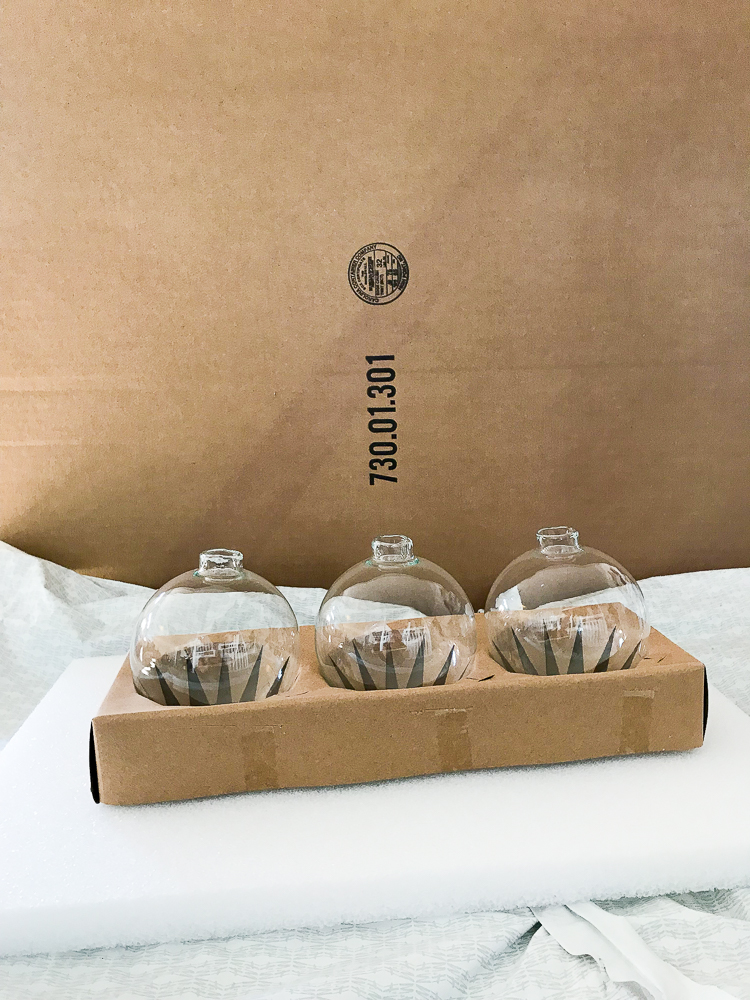
STEP 3 | SPRAY TOPS OF ORNAMENTS
Lightly spray the top of the ornaments with Designer Masters Uber Matte Black Spray Paint.
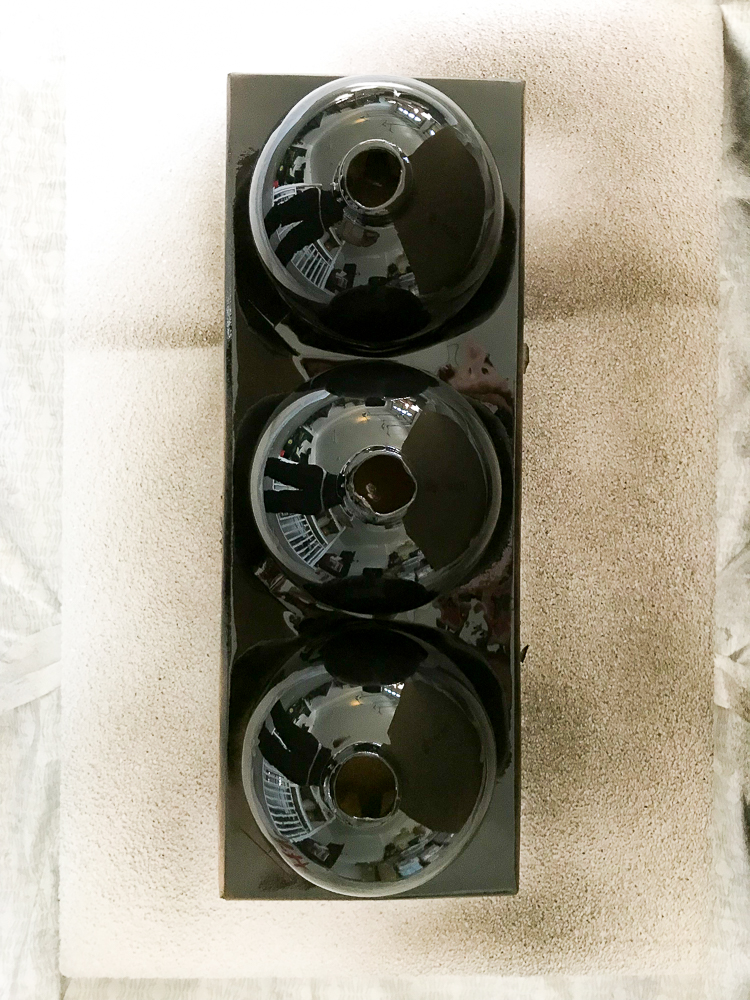
STEP 4 | FLIP ORNAMENTS USING WOODEN DOWELS
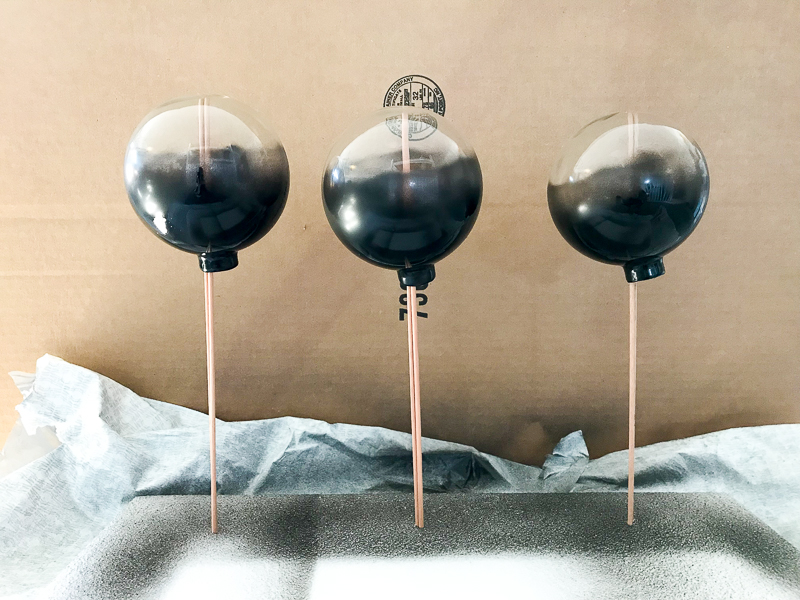
While paint is still wet insert two wooden dowels into the ornaments and carefully pick up and flip the ornament over.
Poke the sticks into the Styrofoam board.
STEP 5 | SPRAY BOTTOM OF ORNAMENTS
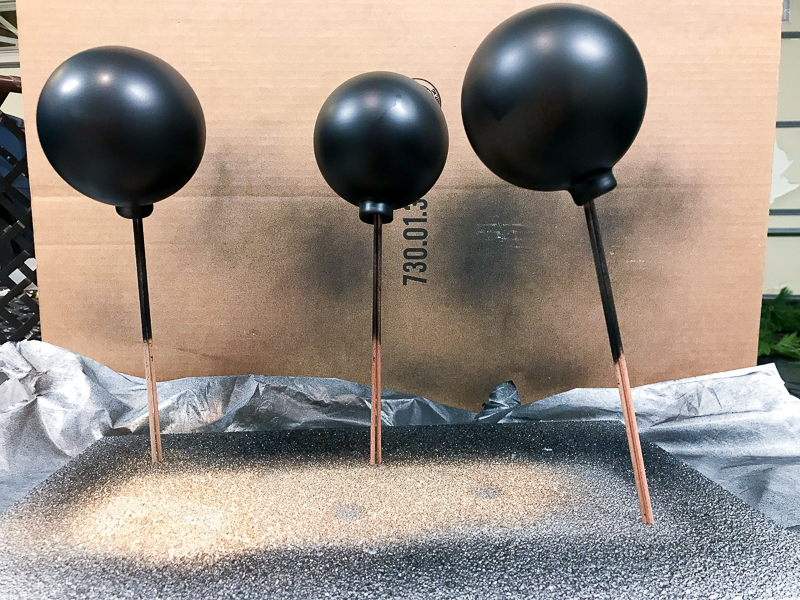
Lightly spray the bottom of the ornaments and let dry. Add another coat of spray paint if needed.
STEP 6 | SPRAY PAINT THE ORNAMENT CAPS
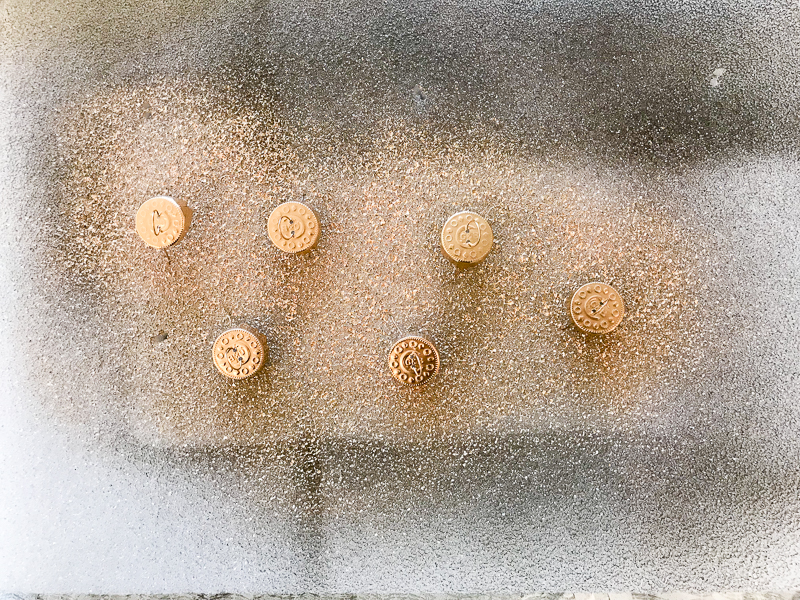
Poke ornament caps into the Styrofoam board. Lightly spray the ornament caps with Designer Master 24KT Gold Spray Paint and let dry.
STEP 7 | REASSEMBLE ORNAMENT
Once dry, put the tops back on the ornaments.
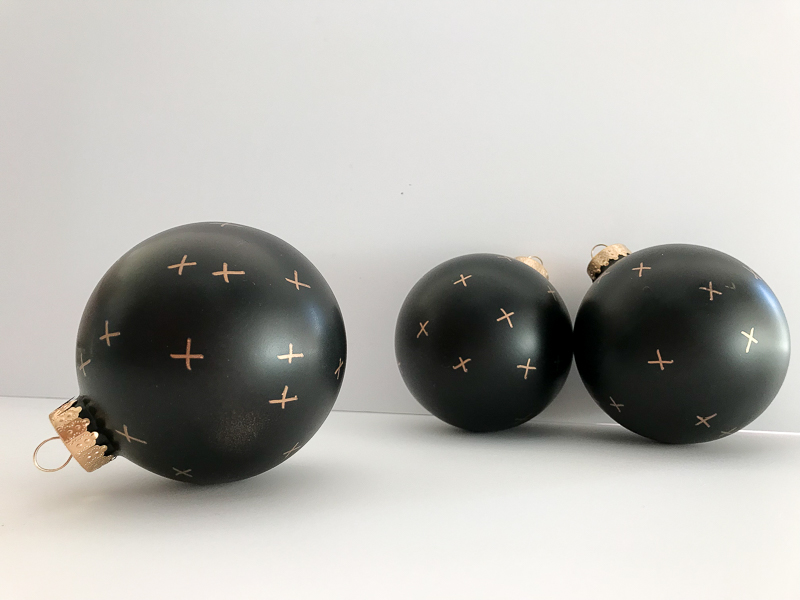
STEP 8 | CREATE X PATTERN
Take a Bronze Sharpie Marker, paint pen, or paint to create X pattern. I drew a random X pattern onto the ornaments. I really liked the Sharpie marker because it dried quickly. The new ornaments are ready to be hung on the Christmas tree.
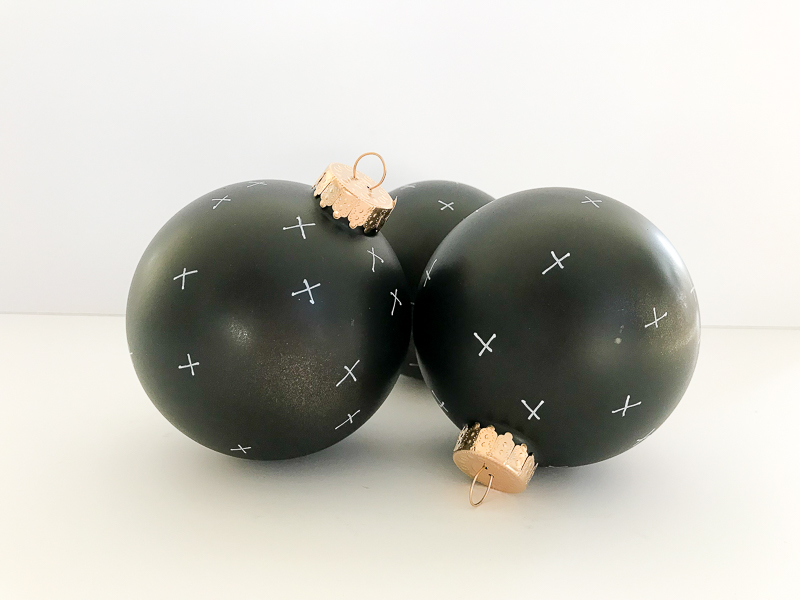
Have fun and experiment with different paint pens or paints to create your X’s or other shapes. The color options are wide open for the ornament base color and the X color. I used a Sharpie Paint Pen Extra Fine Point in White for the version below.
Have fun creating your new Christmas ornaments!

Leave a Reply