I LOVE container gardening! Getting the opportunity to design and create different arrangements from year to year. I don’t like to do the same thing twice.
Each year I start by going out and browsing the greenhouses to see if there is something unique that catches my eye. They seem to create new varieties to choose from every year. Then I will create a color scheme around it. Follow along as I show you how to plant a flower pot!
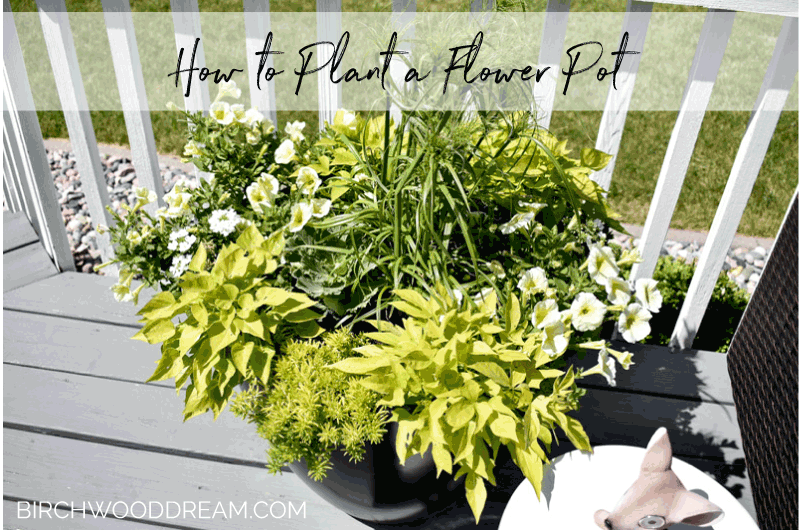 You will have heard that a good rule for container gardening is creating a balance between thrillers, fillers, and spillers. The thriller will typically be your tallest plant and focal point. And is the best place to start.
I then like to select the spillers. These are plants that will trail and mound over the edge of the pot essentially spilling out. You can have one, two or get wild and have three! My favorite type of spiller is the Supertunia, which is a Petunia hybrid. Like decorating there are no rules in container gardening, just have fun and select what you like.
Lastly, I select the fillers, and as you can guess it, their job is to fill in the empty spaces in the pot.
Once you have your flowers selected, gather your supplies and let’s start planting!
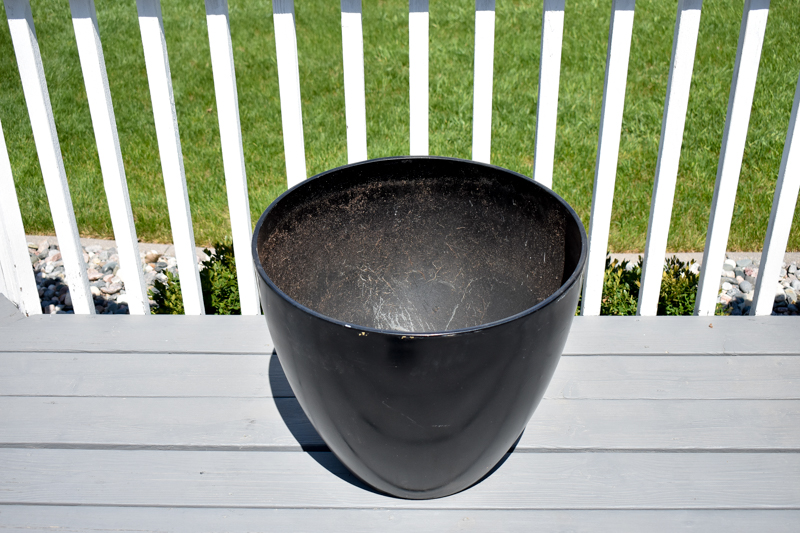
STEP 1 | START WITH AN EMPTY POT
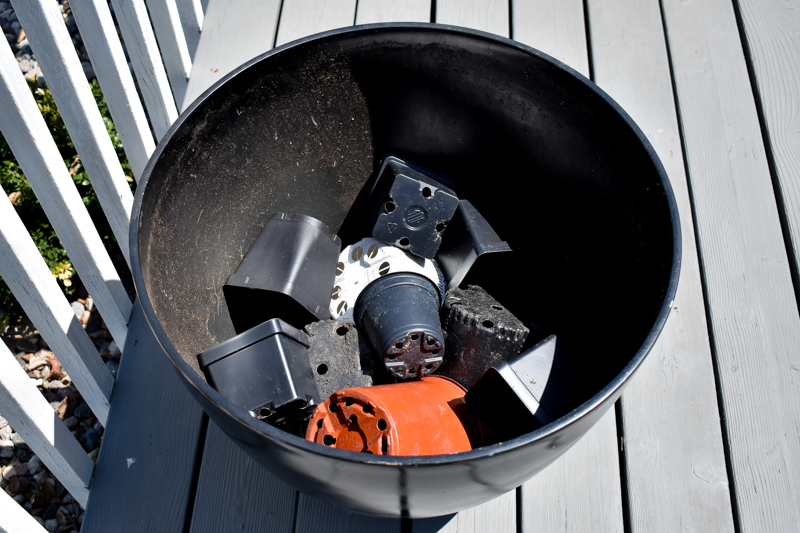
 STEP 2 | PARTIALLY FILL THE POT WITH EMPTY FLOWER CONTAINERS
Use empty flower containers to fill part of the pot. This will keep the pot light, and you won’t use as much potting soil.
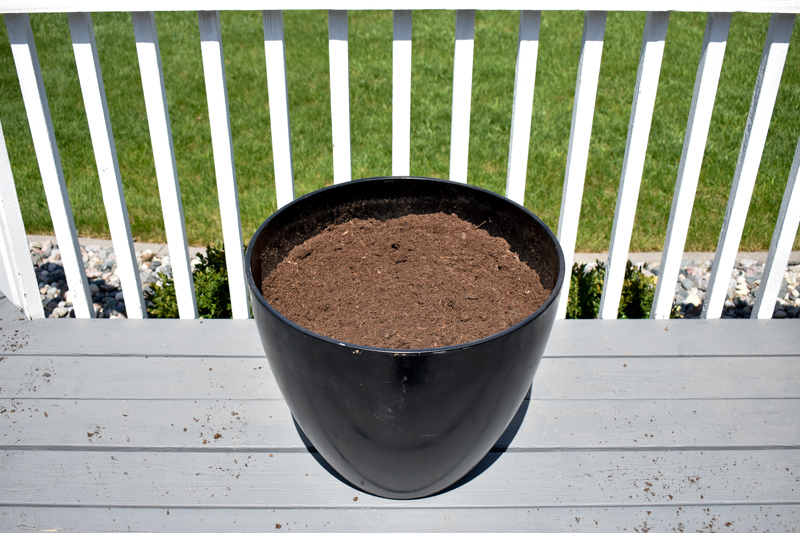
 STEP 3 | FILL WITH POTTING SOIL
Add the new potting soil. Make sure it is potting soil and NOT garden soil. I am using Miracle Grow Moisture Control potting soil that I picked up from my local Costco store.
Place your first plant into the container to check the height of your potting soil. You want the final height to end at the plant dirt level.
 STEP 4 | TEST ARRANGE YOUR POT
Arrange your pot with all the flowers while they are still in their plastic containers. Rearrange the pot or try different flowers until you are happy with the arrangement.
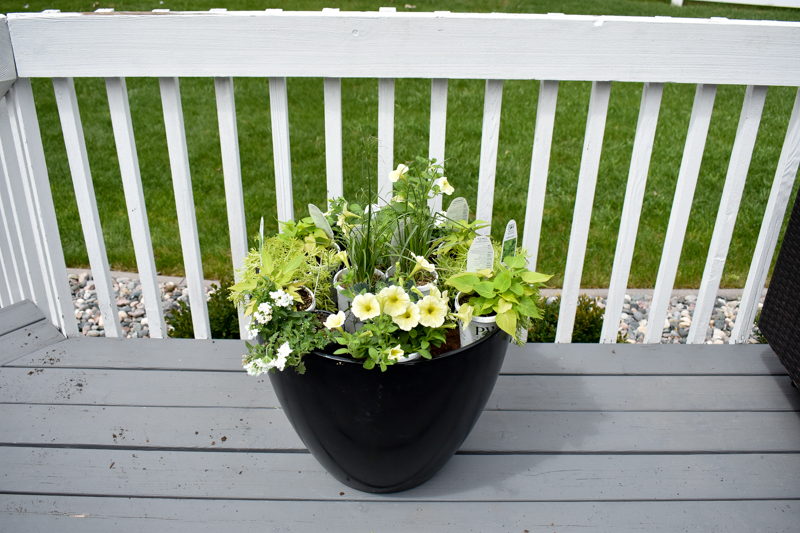 STEP 5 | TAKE OUT FLOWERS
Place the flowers around the pot in the final arrangement.
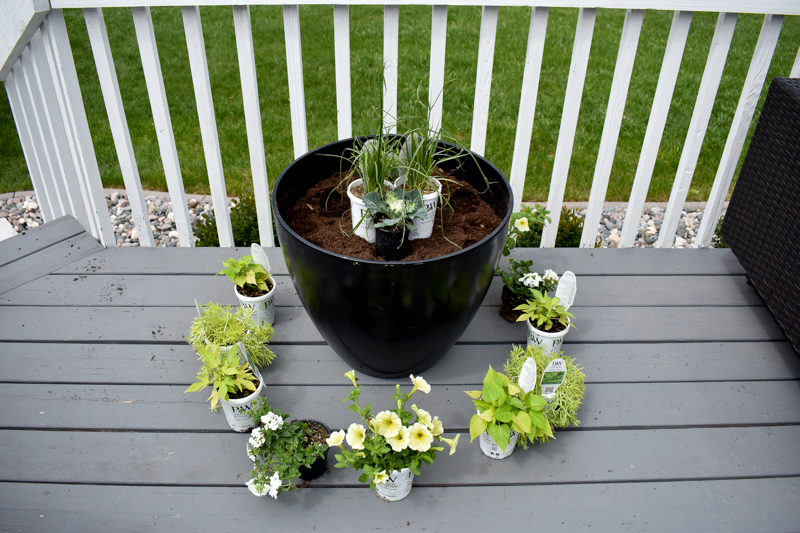 STEP 6 | PLANT THE FLOWERS
Start with the filler plant and work your way around your pot.
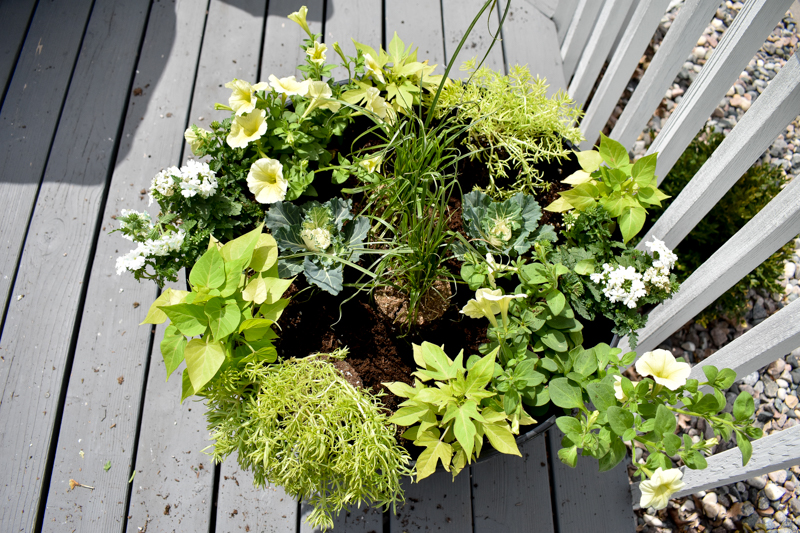 STEP 7 | FILL IN THE VOIDS
Add potting soil to the spaces in between the plants, filling in any voids.
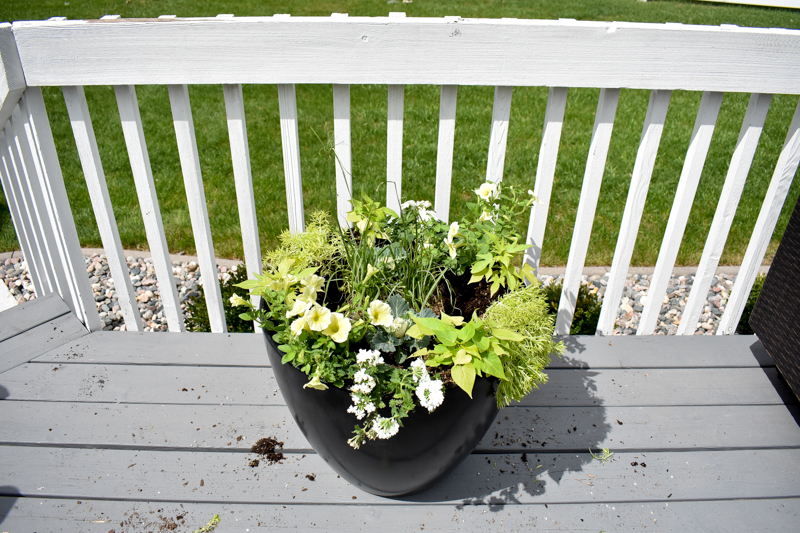 STEP 8 | ADD FERTILIZER
I like to add a sprinkle of Osmocote Plus plant fertilizer to the pot.
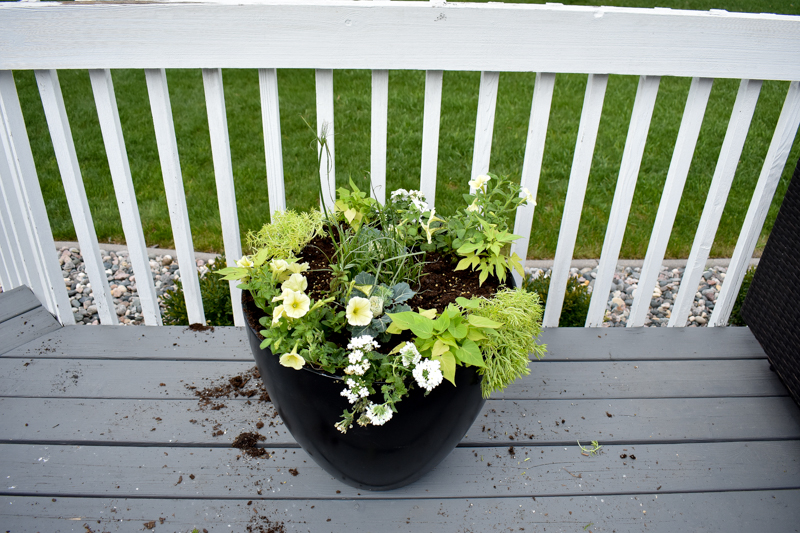 STEP 9 | SWEEP UP EXCESS POTTING SOIL
Potting can get a little messy. In my opinion, it isn’t fun unless you make a mess while playing in the dirt!
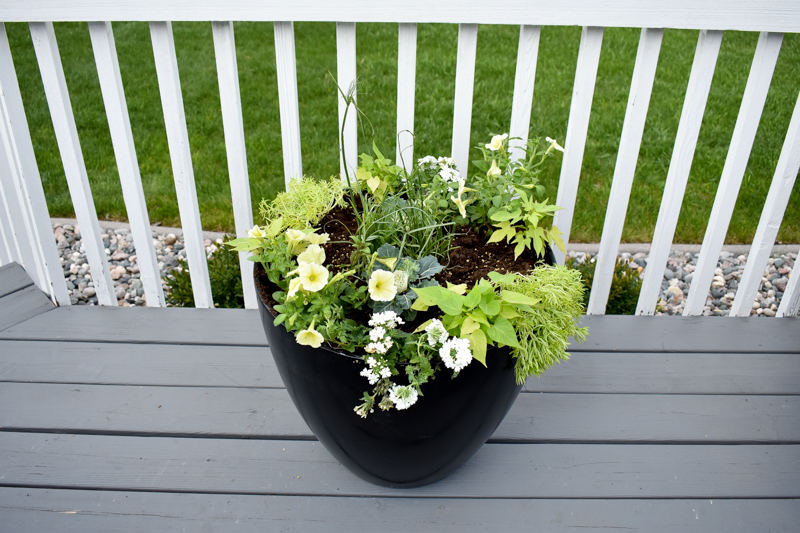 STEP 10 | GIVE YOUR POT A GOOD WATERING
Give your new pot a good drink of water.
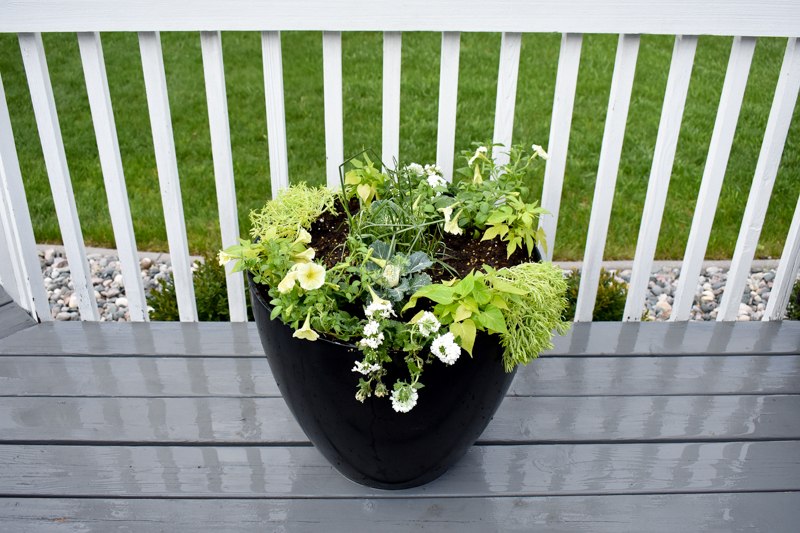 ENJOY YOUR NEW FLOWERS
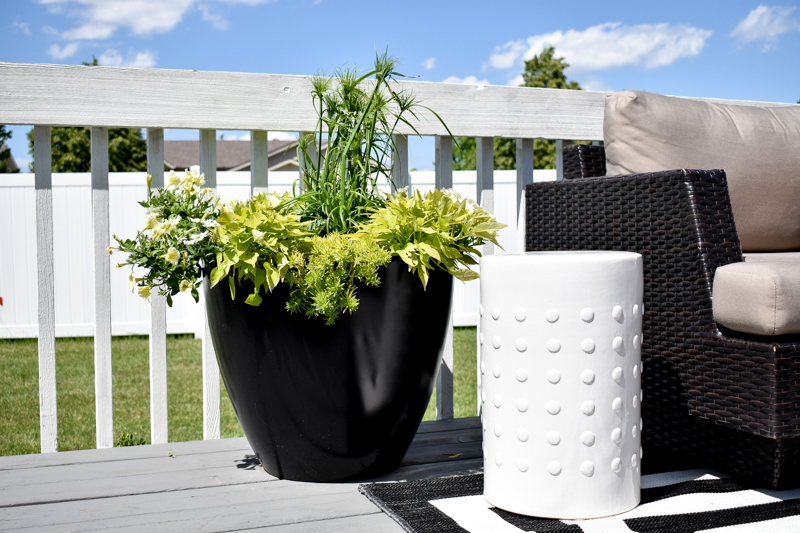
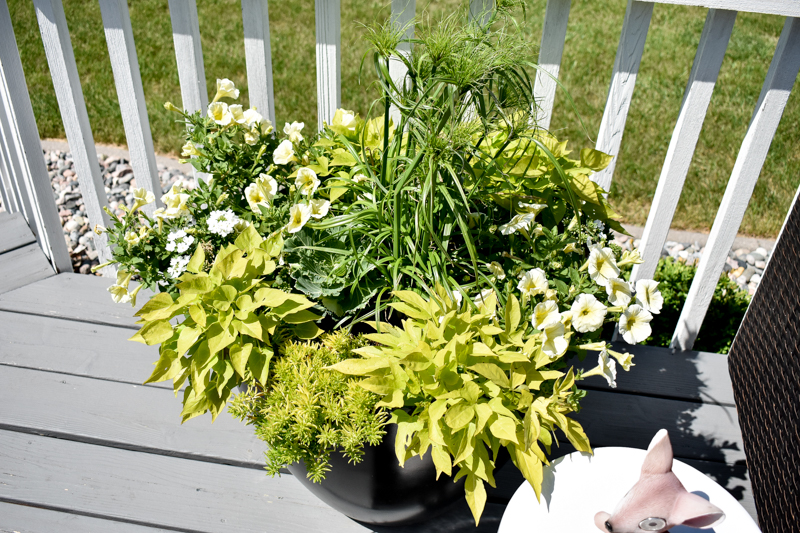
Now sit back and enjoy your beautiful flower pot throughout the summer! This is the pot a month later; it is growing crazy fast.



Leave a Reply