Welcome to the final installment of the Spring 2020 One Room Challenge, where I am remodeling our guest bedroom! Today I am sharing our new guest bedroom reveal with you. Sit back, relax; this is going to be a long one; I have lots of beautiful photos and sources to share with you in the guest bedroom!

Here we go, I even busted out the jazz hands for you, LOL! This has been a longer and more relaxed One Room Challenge, which I enjoyed. I took my time, took breaks when I needed, and enjoyed the process. As with any makeover, I discovered new sources and learned lots of new skills.

If you missed any of the other posts on the guest bedroom makeover caught up here.
- Week 1 – The Plan
- Week 2 – Shopping
- Week 3 – Bedroom Ceiling
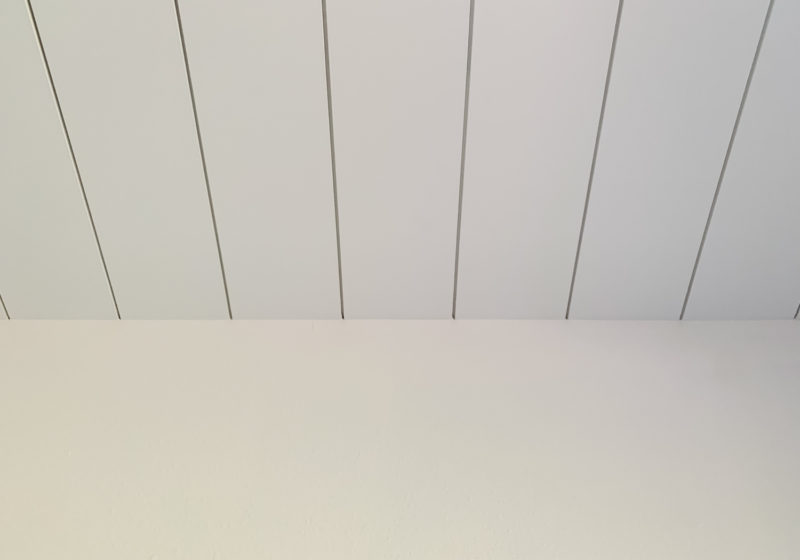
- Week 4 – Tongue and Groove Ceiling
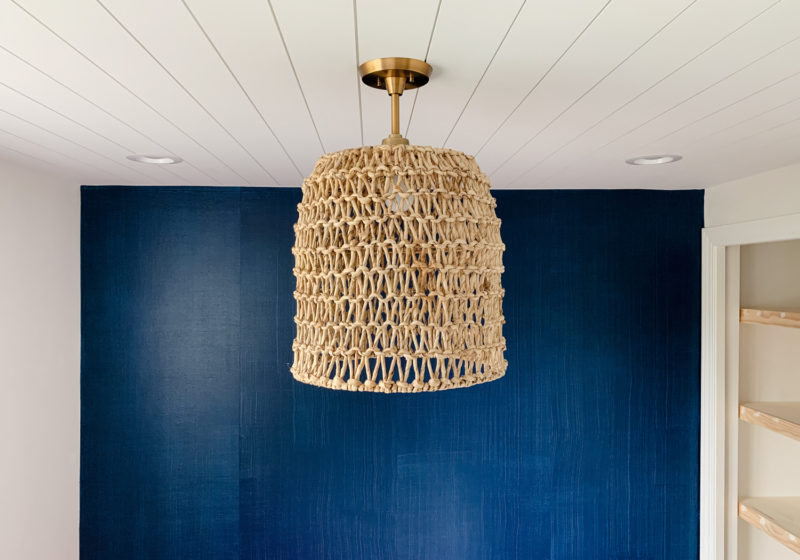
- Week 5 & 6 – Faux Denim Walls & DIY Basket Light Fixture
- Week 7 – Linen Closet
Guest Bedroom – Before Photos
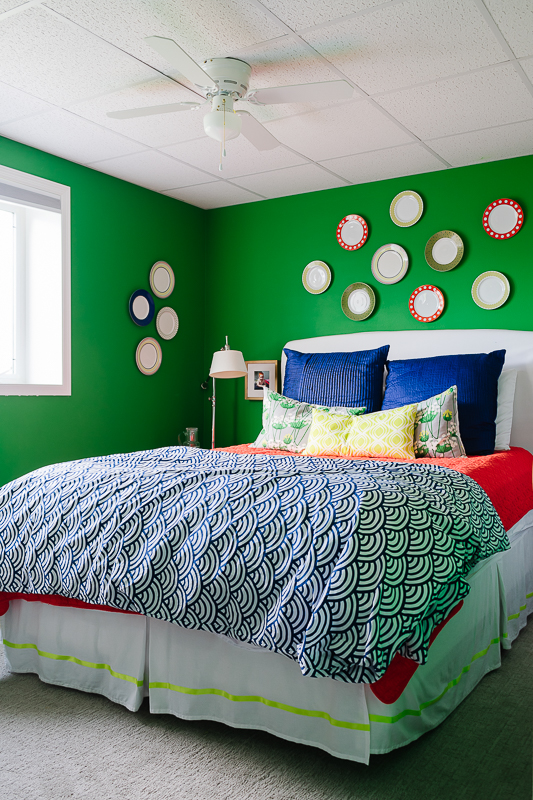
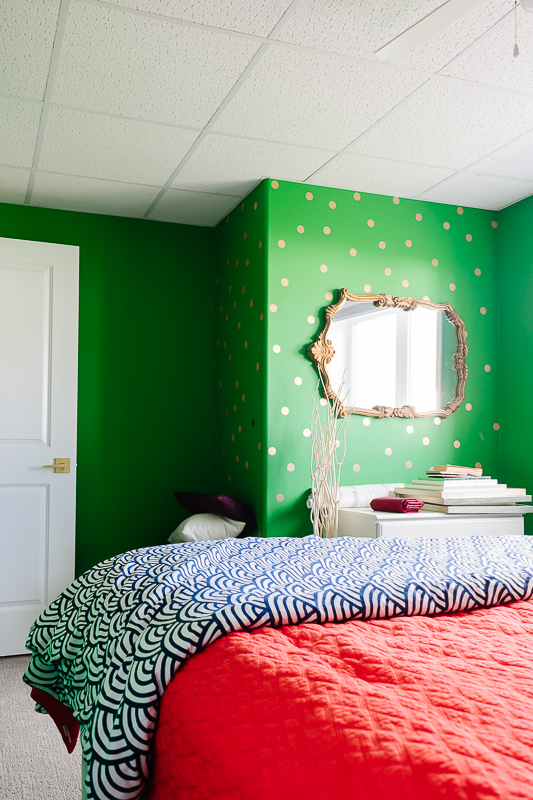
Being it is a small room, I kept most of the finishing details a secret from you. I wanted to save it all for the big reveal! Before we get to the fun part, we have to take a look back at where we started before the makeover.
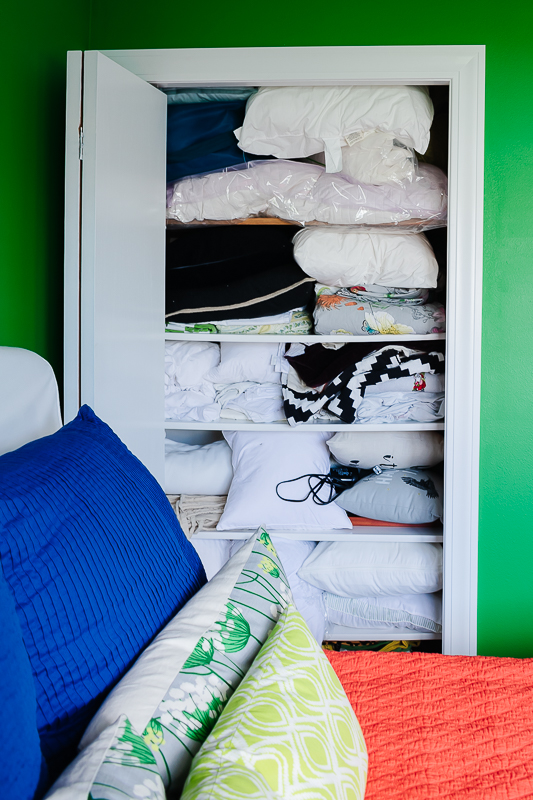
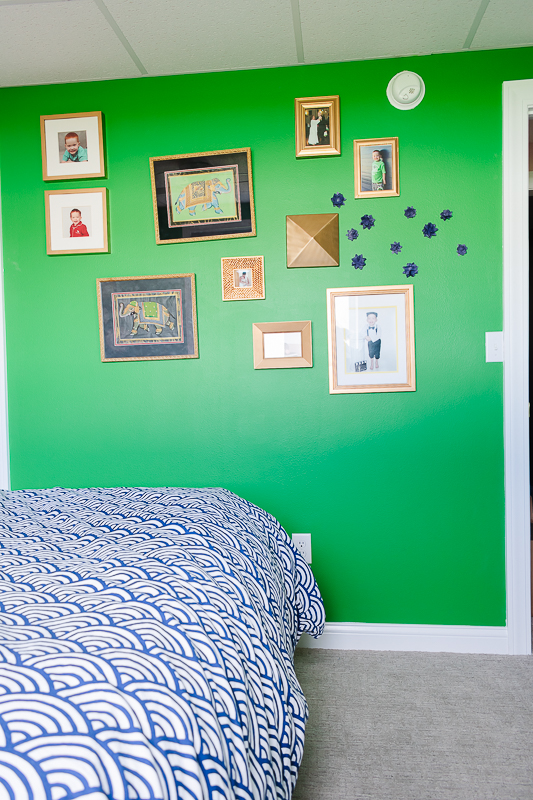
It was a bright and colorful room that I had enjoyed for several years. It was time to tone down all the colors and give the guest bedroom a new look.
This page may contain affiliate links, which means if you make a purchase, I may receive a small commission at NO extra cost to you. I only recommend brands and items that I use and trust. To learn more, read my disclosure policy here.
Entrance

There is a small wall nook created from the closet of the other bedroom in the basement. Before, I had a basket filled with extra blankets for guests. Now it is replaced with a blanket ladder to hang the extra throws onto.

The Bed and Bedding

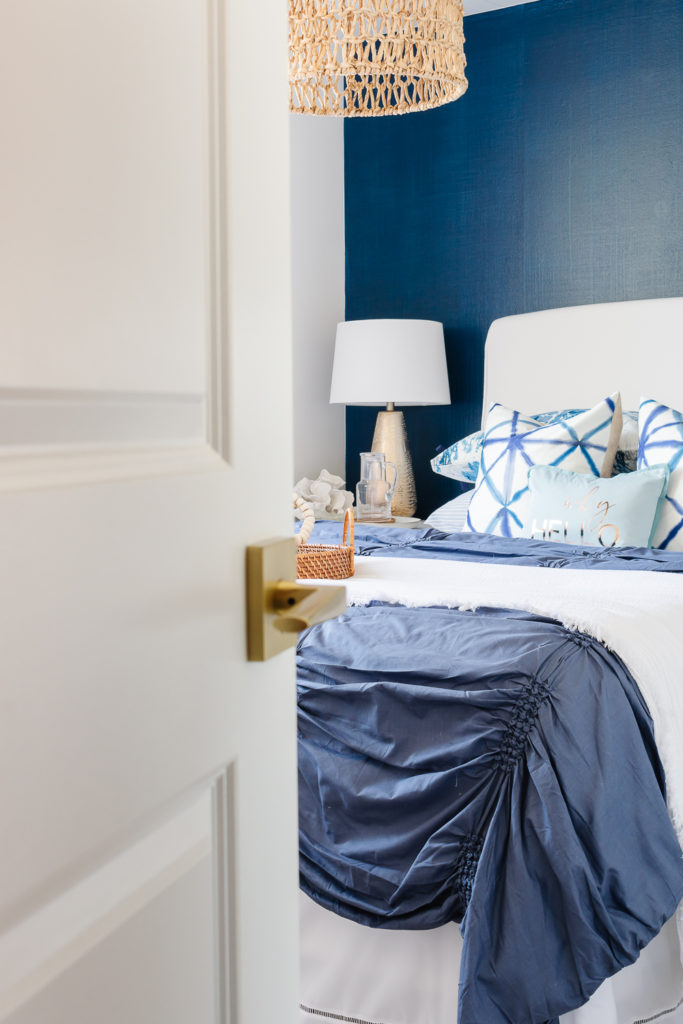
I had a lot of fun pushing myself to try and mix up my bedding choices. I wanted to play with mixing several different patterns. It all started with the duvet cover that I found on clearance from Pottery Barn Teen. With it being a solid indigo color, I knew I needed some fun patterns to give the bedding some life.

Next, I found the perfect fabric at Joann’s. It had all the colors I was playing with and a great pattern.
I searched high and low for patterned decorative pillow shams for the room and couldn’t find what I wanted. So instead, I made them! It was my first time making pillow shams, and I loved how they turned out! It was a straightforward project; I followed the Sew4Home tutorial.

I scored on the decorative pillow fabric that I found at the local flea market, I got the remnant for $12, there is still enough fabric leftover to make two more pillow fronts. These are 20” pillows I made using my invisible zipper pillow tutorial. I choose a different fabric for the backside of the pillow, to add a different texture and bring in a little of the basket color into the bedding.
For the front decorative pillow, it is an old Banana Republic pillow I found hiding in the linen closet. Does anyone else remember when the Banana Republic had a home section? I miss the great finds I would get there. I added the gold iron-on vinyl lettering using my Cricut Maker.

I reused the existing queen headboard in the guest bedroom, I purchased at Pottery Barn several years ago. The white decorative blanket and Tommy Hilfiger striped sheets I found at Home Goods. The white bed shirt is from Target. Those are all the elements I used to create the bed.
Nightstands
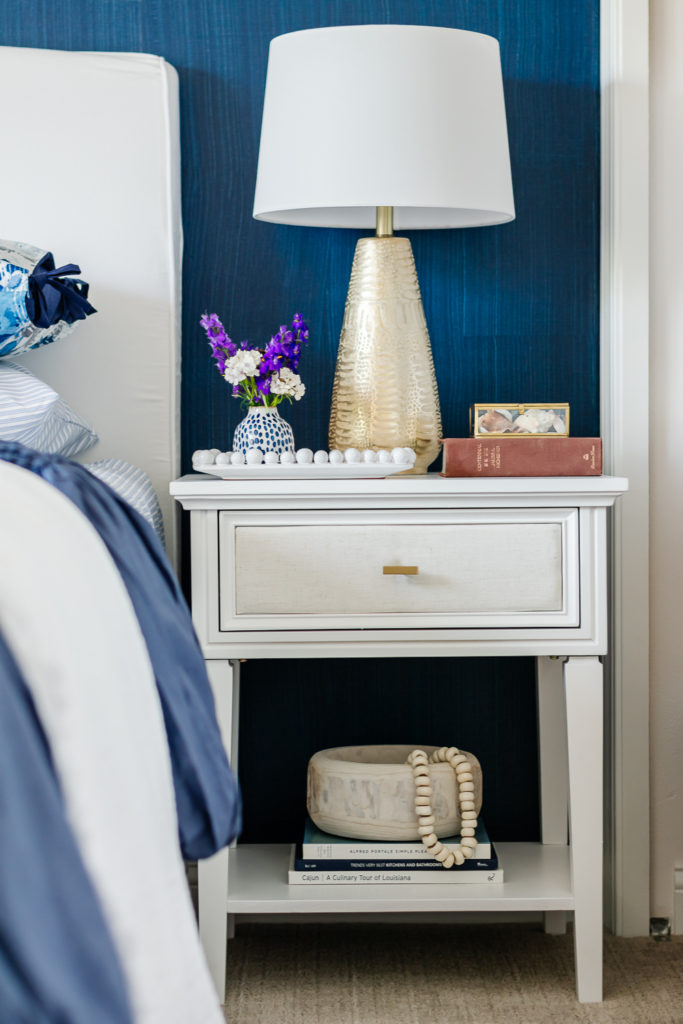
It took me until the very end to find the right nightstands for my budget. The first ones I tried from Target were too short and it really bothered me. I found these nightstands at Overstock, and they arrived last week. All I did was change out the drawer knob for the same hardware I used on the dresser.


Dresser

This was the same dresser that I had in the room, an old dresser I had found at a thrift store many years ago. I gave it a couple of coats of fresh paint in Sherwin Williams Extra White in a satin finish. And don’t forget the jewelry to any cabinet, new hardware! I love this easy transformation, it looks like a completely new piece!

Art

I wanted to change it up from what I had before with art and keep it simple with fewer pieces. This was one of my favorite projects and discovered some great new sources. The old photo gallery wall I went with three black metal frames from Target. The digital art downloads are from Chaos and Wonder on Etsy. I ordered the Giclee fine art photographic prints from mpix.com. The quick turnaround time and fun textured papers to choose from, completely in love with how the prints turned out.

The art above the dresser, I created using a 20” x 30” black frame from Hobby Lobby. The custom mat is from my other new favorite source, matboardandmore.com. The digital art download I purchased from Chaos and Wonder from Etsy. I had it printed as a Giclee 11”x14” fine art photographic print from mpix.com. It sounds complicated with all the different sources, but besides the frame, you do it all online and shipped directly to the house. All you have to do is assemble the pieces, and you get a custom art piece for $75!

Besides the Giclee fine art prints, my other favorite discovery from Mpix is adding a mat board to your prints. It is a feature that you choose when ordering from Mpix. The swan art piece on the dresser is an 8″ x 10″ Giclee fine art photographic print with mat board. I didn’t do anything else to it. I found this cool gold easel stand on Amazon to display it.
Linen Closet

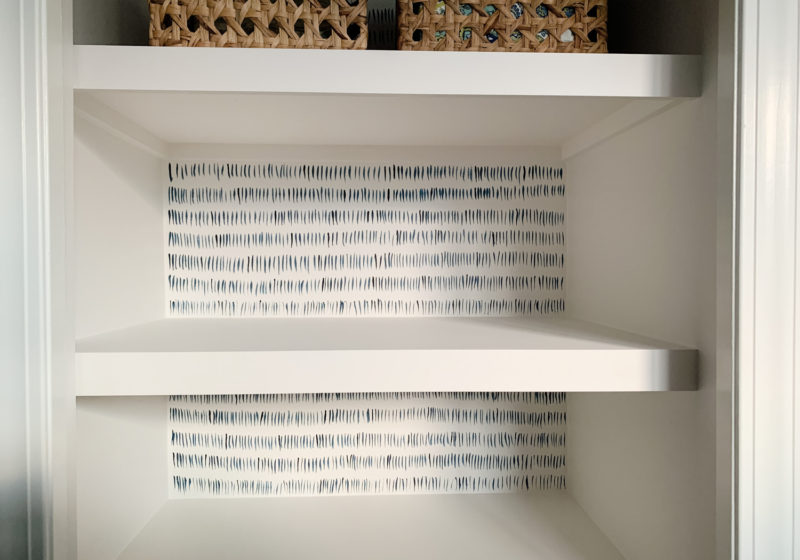
Learn how I created the new closet shelves in this post. Full disclosure, to get my linen collection down to this, I purged a lot. I was hanging onto all these linens thinking I would use them again, but in reality, I haven’t touched them in years. It was time to do more with less.
I grouped like items together in seagrass baskets from Target. I had a set of the brass bin labels from the Container Store from one of my last trips to Minneapolis last fall. I knew I would find a home for them somewhere. I am short one, as they come in a three-pack, but I will add another set to my next Container Store online order.


For the labels, I made them using black vinyl on my Cricut Maker. I held off for years on purchasing a Cricut machine, thinking I wouldn’t use it enough until they came out with the Cricut Maker with the fabric cutting feature! I do have to say I love it and have not regretted the splurge for one second. Let me know if you would be interested in the cut file.
It is now a fancy closet and I am completely obsessed, yes I have a thing for pretty and organized closets. I get a sense of peace and calm when spaces are pretty and organized.
Window Treatment

Why I have never added curtain panels in this bedroom is beyond me. I added a simple matte black rod with white curtain panels I ordered from Target. It was the first time I have hemmed curtains before, a lot of firsts on this project. It was not scary at all and effortless, I followed the tutorial from The Homes I Have Made.
DIY Basket Light Fixture

I love how the DIY light fixture turned out. See how I created it here.
Last Look at Guest Bedroom Reveal
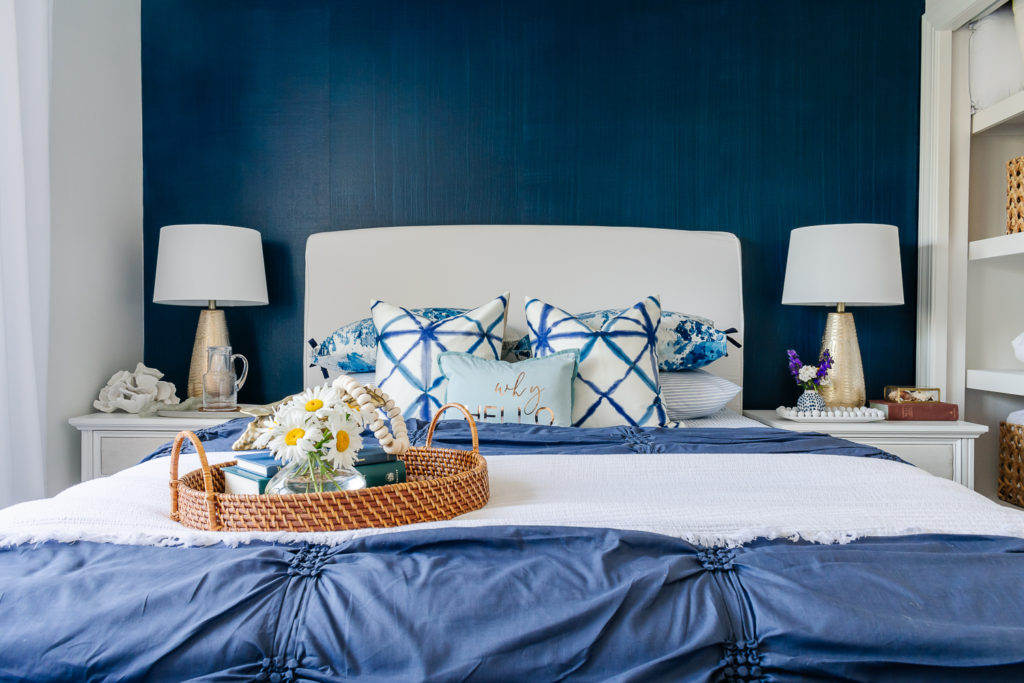


We are now once again ready for overnight guests. Now the room is done, and it is time to clean up the rest of my house. The undisclosed thing about doing a makeover is that the rest of your home gets destroyed in the process, LOL!
Don’t forget to follow along with the other participants in the Spring 2020 One Room Challenge by visiting the One Room Challenge Blog here.


Leave a Reply